What Is Rendering in Digital Art and How to Do It
Rendering in digital art means adding shading, highlights, and textures to bring your basic shapes and colors to life with depth and realism. It’s a crucial step that transforms flat images into vibrant, lifelike pieces by enhancing light, shadow, and surface details.
Whether you’re working on character art, landscapes, or concept designs, mastering rendering techniques can really elevate your digital creations.
You start by blocking in flat colors, then use layers to blend tones smoothly and emphasize light sources. Adding highlights and refining details helps create a believable, polished final piece.
Mastering these techniques will boost your artwork’s visual impact and make it more engaging. Keep exploring to enhance your skills even further.
Key Takeaways
- Rendering in digital art adds shading, highlights, and textures to create depth and realism in artwork. It transforms basic shapes and colors into lifelike images by emphasizing light sources and surface details.
- Key tools include brushes, layers, shading, highlights, and color blending for smooth transitions and texture refinement. These help bring your artwork to life in a way that feels natural and dynamic.
- The rendering process involves sketching, applying flat colors, shading for depth, adding highlights, and refining details. Each step builds on the last to create a polished final piece.
- The goal of rendering is to produce a polished, visually compelling, and believable digital artwork. When done well, it really makes your art stand out and feel complete.
What Is Rendering in Digital Art?
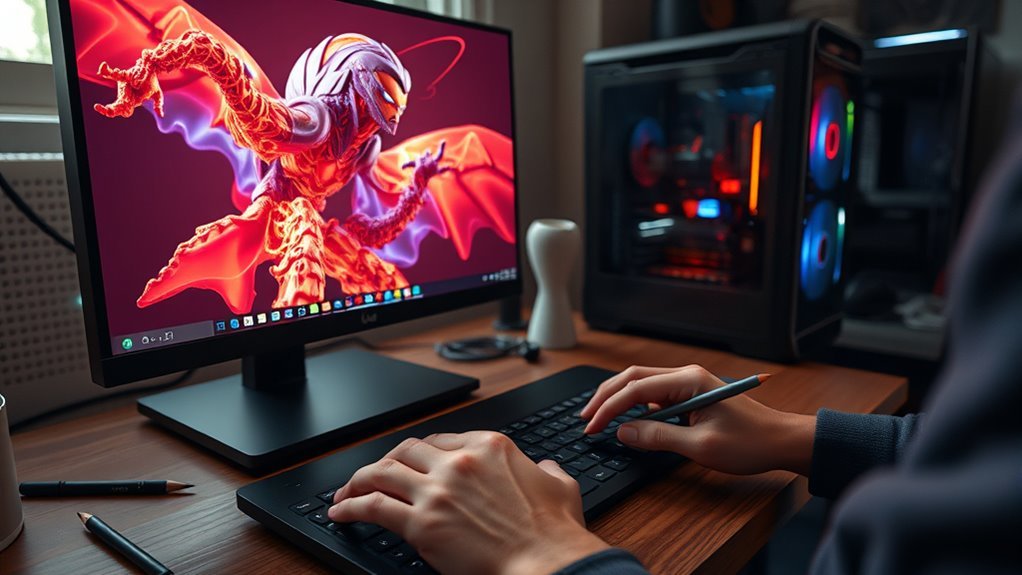
Although creating the basic shapes and colors forms the foundation of your digital art, rendering is what truly brings your work to life. Rendering involves adding shading, highlights, and textures that create depth and realism in your artwork.
When you apply shading, you give objects volume, making them appear three-dimensional rather than flat. Using brushes and layer effects, you can refine your piece by blending colors smoothly and emphasizing light sources through highlights.
Working with layers allows you to build textures and adjust details without affecting the entire image. This gives you control over depth and surface quality.
Rendering is the final step where your digital art gains polish, transforming simple shapes into visually compelling pieces. By mastering rendering techniques, you enhance the realism and visual interest of your work, making it more engaging and believable.
This process is essential for elevating your digital art beyond the basics.
Step-by-Step Guide to Rendering a Digital Painting

Before you plunge into detailed rendering, start by creating a clear sketch or thumbnail to establish your composition and pose. This initial step sets the foundation for your digital painting.
Begin your digital painting with a clear sketch or thumbnail to firmly establish composition and pose.
Next, apply flat base colors on separate layers to ensure accurate color placement. Then, focus on shading and blending to add depth and smooth transitions between light and shadow.
Finally, enhance your work with highlights and intricate details to achieve a polished look.
Follow these key steps to render effectively:
- Create a clear sketch to define composition and pose
- Lay down base colors on separate layers
- Add shading and use blending tools for smooth depth
- Apply highlights and refine details for a polished finish
Frequently Asked Questions
What Is Rendering and How to Do It?
Rendering is when you refine your digital sketch by adding shading, highlights, and textures. You do it by layering colors, blending smoothly, and emphasizing key areas to create depth and realism in your artwork.
It’s all about making your drawing look more lifelike and polished. Think of it as bringing your sketch to life with details that pop. The more you practice, the better you get at knowing where to add those shadows and highlights.
How to Render Step by Step?
Start with a clean sketch, then block in flat colors on separate layers. Gradually add shadows, highlights, and refine edges.
Erase unnecessary lines, enhance key details, and finish with final effects to complete your rendering. It’s all about building up the image step by step, so take your time and enjoy the process!
What Are the Five Rendering Techniques?
Imagine painting light and shadow dancing on a canvas; you’ll use blending, texturing, detailing, shading, and highlighting.
These five techniques breathe life into your art, crafting depth, surface, and vivid realism with every stroke.
Is Rendering Difficult to Learn?
Yes, rendering can be difficult to learn at first because you’ll need patience to master light, shadow, and blending techniques.
But with consistent practice and tutorials, you’ll gradually improve and find it more manageable.
Conclusion
Rendering in digital art might seem tricky at first, but once you get the hang of it, you’ll see how it truly brings your work to life. Don’t worry if your first attempts aren’t perfect—like any skill, rendering improves with practice.
Keep experimenting with light, shadow, and texture, and you’ll find your style evolving. Remember, every artist starts somewhere, and your unique touch will shine through as you master rendering.
In digital art, rendering is all about adding depth, realism, and emotion to your creations. By focusing on how light interacts with surfaces and playing with textures, you enhance your artwork’s overall impact. So, keep practicing your rendering techniques, and watch your digital art transform into something truly captivating and lifelike.