How to Make Moss Wall Art in 5 Easy Steps
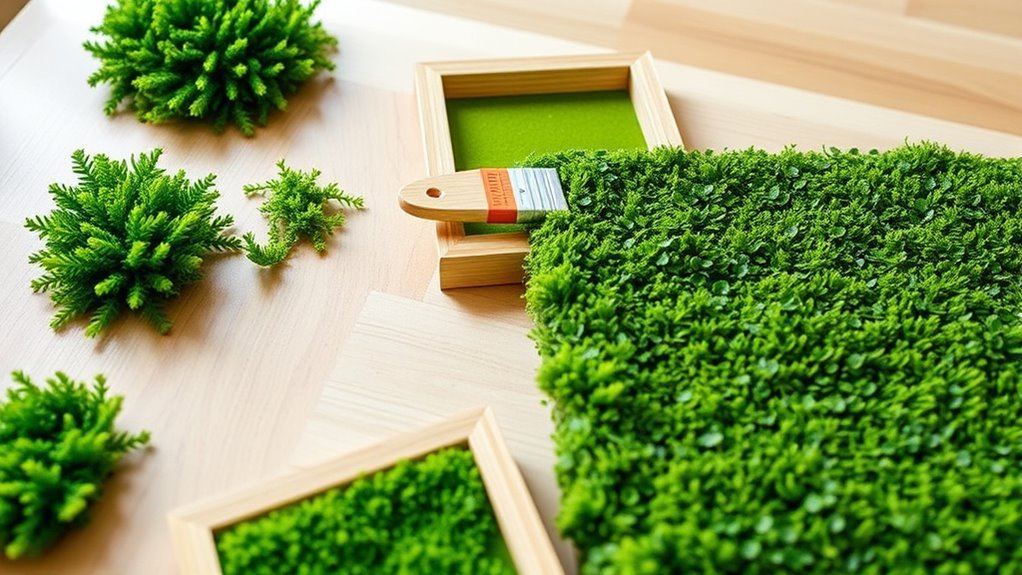
To make moss wall art in five easy steps, start by gathering preserved moss, a sturdy backing, and adhesives while prepping your workspace. Having all your materials ready will make the process smooth and enjoyable. Plus, a clean, organized area helps you focus on creating beautiful moss wall art.
Next, plan your design by sketching and deciding on patterns and focal points. This step is super important because it sets the tone for your piece. Don’t worry if you’re not a pro artist—simple shapes and natural layouts work great!
Prepare a strong backing and frame, then arrange and glue larger natural pieces first for structure. Building a solid base means your moss art will last longer and look more polished.
Finally, add moss and small faux plants for texture and depth to create a vibrant, natural look. Layering different moss types really brings your wall art to life. Keep going to uncover detailed tips for each step.
Key Takeaways
– Gather preserved moss, a sturdy backing, adhesives, and organize materials by type and color for easy access.
This way, everything you need is right there when you start.
– Plan your design by sketching patterns and measuring your display space accurately.
It helps to have a clear idea before you dive in.
– Prepare a strong backing and frame, securing the materials and adding hanging hardware.
Make sure it’s sturdy so your art stays put.
– Attach larger natural pieces first with strong adhesive, creating a balanced or intentional layout.
This sets the foundation for your design.
– Layer moss and small faux plants for texture, securing them firmly to create a natural, dimensional look.
Adding layers really brings your piece to life.
Gather Materials and Prepare Your Workspace
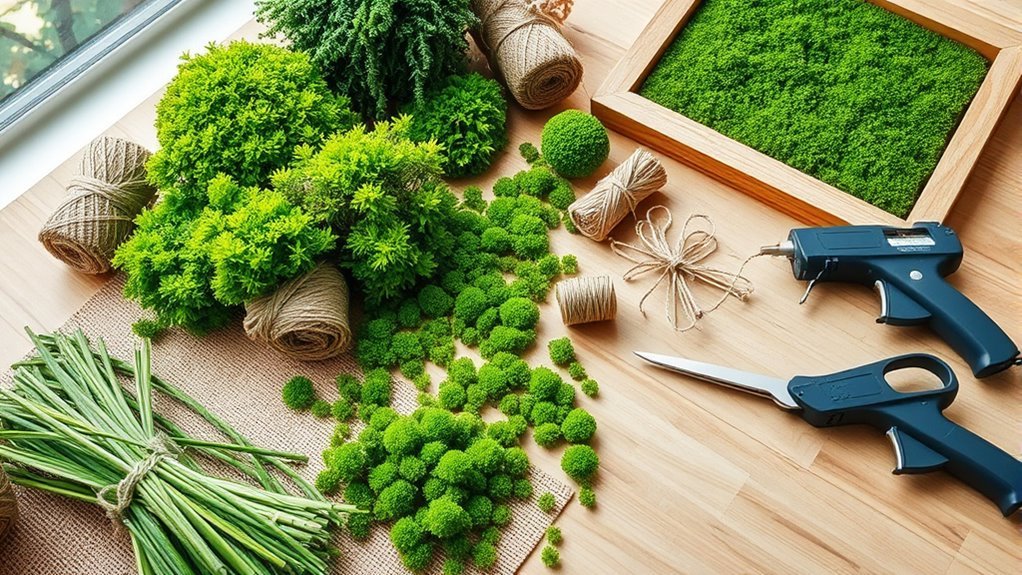
Before you begin assembling your moss wall art, gather all the necessary materials and prepare your workspace to keep the process smooth and organized. Collect preserved moss varieties like sheet moss, reindeer moss, and natural lichen to bring texture and color to your design.
Choose a sturdy backing such as a wooden frame or canvas that can support the weight of the moss and any decorative elements. Prepare your workspace by covering surfaces with newspapers or a drop cloth to catch moss crumbs and adhesive drips during assembly.
Have reliable adhesives like hot glue sticks or craft glue ready to securely attach the moss and other natural materials to your backing. To streamline your design process and avoid clutter, organize your materials by color and type before you start.
This preparation helps you focus on creativity without interruptions, making your moss wall art project both enjoyable and efficient.
Plan Your Moss Wall Design
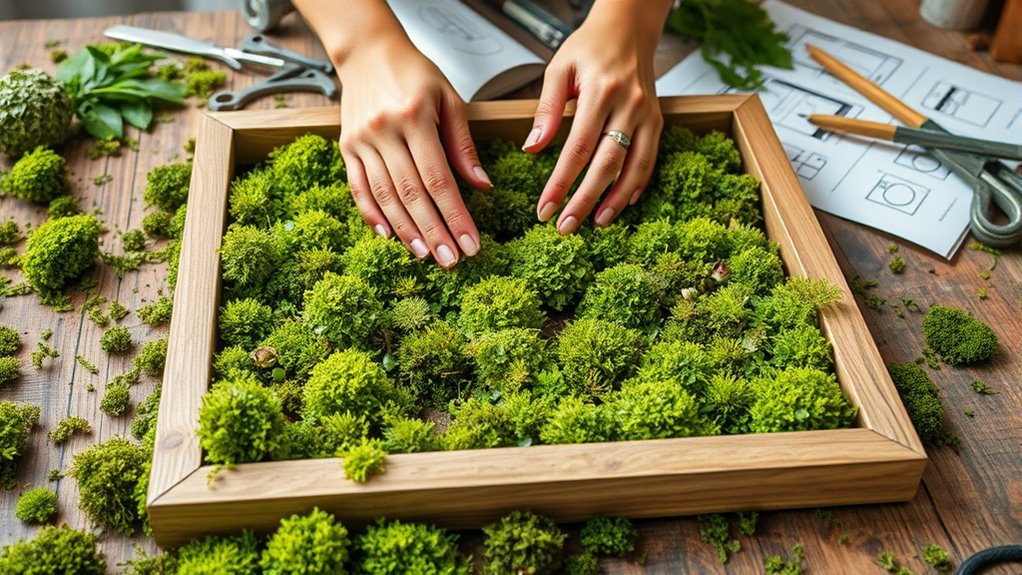
How will you bring your moss wall art to life? Start by visualizing the pattern you want—whether abstract, geometric, or a natural scene.
Next, measure the space where your moss wall design will hang to *guarantee* it fits perfectly. Use your measurements to sketch an outline, helping you plan the arrangement and avoid mistakes during assembly.
Incorporate various moss types and natural elements inspired by nature to add texture and color variety. As you develop your composition, decide on focal points like larger moss patches or unique natural accents to guide the viewer’s eye.
Creating a clear arrangement plan ensures a balanced, visually appealing piece. By thoughtfully combining these steps, you’ll design a moss wall that’s both striking and harmonious, setting the foundation for a successful project.
Prepare a Strong Backing and Frame for Your Moss Wall Art
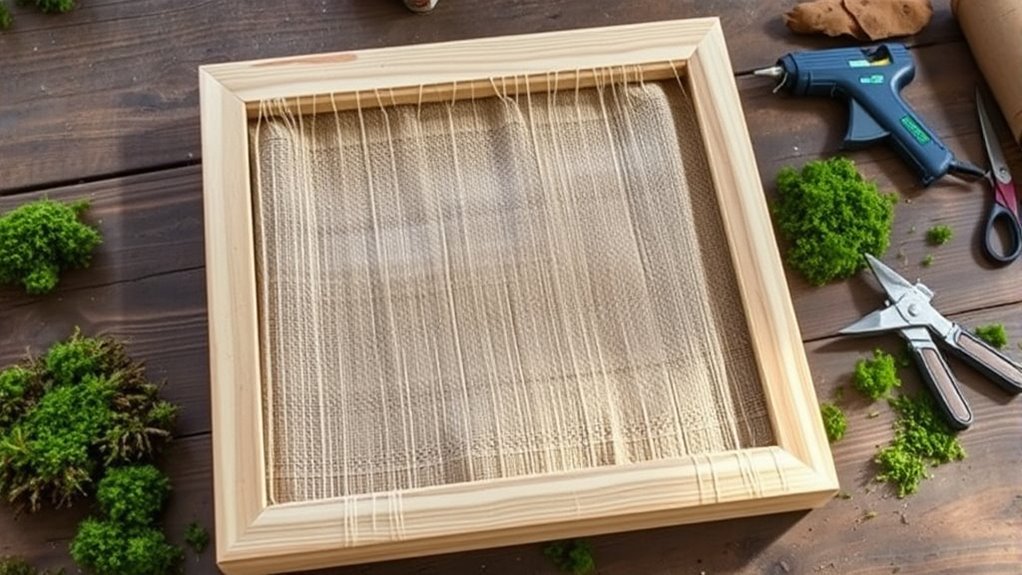
Since your moss wall needs a solid foundation, choose a sturdy backing like plywood or a canvas with a built-in frame to support the weight of the moss and decorations. If you opt for canvas, remove its front and then reattach it to the back, creating a smooth surface for your moss.
Start with a sturdy backing like plywood or a canvas to support your moss and decorations.
Secure the canvas or plywood firmly to the frame using glue to guarantee a flat, stable structure. Before adding moss, attach hanging hardware to the back of your frame for easy display later.
If your moss wall is large or heavy, reinforce the frame with extra support or bracing to prevent warping or sagging over time. This reinforcement will maintain the structure’s integrity and provide lasting support.
Taking these steps to prepare a strong backing and frame assures your moss wall art stays secure and visually appealing for years to come.
Place and Glue Larger Natural Pieces First
Once you’ve prepared your backing, start by placing the larger natural pieces like bark, branches, or big moss chunks on your surface to find their best spots. These large natural elements serve as anchor pieces, forming a structural framework for your moss wall art.
Focus on a balanced composition or an intentional asymmetry to create visual interest. Use a strong adhesive, such as hot glue or wood glue, to guarantee secure placement.
Apply enough adhesive to hold the weight, pressing each piece firmly for at least 15 seconds. This initial placement is vital to guide the arrangement of smaller elements later.
| Step | Tip | Purpose |
|---|---|---|
| Position pieces | Arrange before gluing | Find ideal spots |
| Apply adhesive | Use strong glue | Secure placement |
| Press firmly | Hold for 15+ seconds | Guarantee strong bond |
| Check composition | Aim for balance or asymmetry | Add visual interest |
Add Moss and Small Faux Plants for Texture and Depth
To bring your moss wall art to life, start layering different textures and colors of moss before adding small faux plants like air plants, succulents, or ferns. These faux plants add vibrant faux greenery that enhances both texture and depth.
As you work, tuck the plants into crevices within the moss layers or secure them with hot glue to create a natural, integrated look. Vary the sizes and shapes of your faux plants to boost dimensionality, placing them at different angles for a lifelike effect.
Layering moss and faux plants together creates a seamless, textured surface that mimics natural growth. Use hot glue sparingly but firmly to attach each piece, ensuring everything stays in place.
Frequently Asked Questions
How Do I Make My Own Moss Wall Art?
You start by choosing a sturdy base, plan your design, then glue preserved moss in layers. Press firmly, fill gaps with smaller moss pieces, add natural elements for texture, and let everything dry before displaying your moss wall art.
You start by choosing a sturdy base, plan your design, then glue preserved moss in layers.
Press firmly, fill gaps with smaller moss pieces, add natural elements for texture, and let everything dry before displaying your moss wall art.
What Are Some Creative Moss Art Ideas?
Over 50% of Earth’s oxygen comes from plants, which is pretty amazing. It’s a great reason to get inspired and create moss art with geometric patterns, personalized quotes, or even tiny terrariums.
You can add some depth by using bark, stones, and faux mushrooms. This gives your piece a woodland, textured look that really stands out.
How to Make Mossy Walls?
You start by choosing a sturdy base, then glue preserved moss and natural elements in layers.
Add decorative touches, let it dry fully, and avoid sunlight to keep your mossy wall fresh and vibrant.
It’s pretty simple once you get the hang of it! Just take your time and enjoy the process.
Does Moss Wall Art Need Water?
No, moss wall art doesn’t need water. Since preserved moss is treated to keep its color and texture, watering can actually damage it or cause mold.
Just keep it away from direct sunlight and humidity to maintain its look. It’s pretty easy to take care of!
Conclusion
Now, step back and admire your vibrant moss wall art—a lush, green oasis blooming right on your wall. With each textured layer, you’ve brought nature indoors, creating a calming escape that breathes life into your space.
Remember, this living artwork isn’t just decoration; it’s a refreshing reminder of the outdoors, crafted by your own hands. So, let your creativity grow, and watch your walls come alive with natural beauty every day.
Making moss wall art is an easy and rewarding way to bring a touch of nature inside. It adds texture, color, and a soothing vibe that brightens any room. Plus, it’s a unique DIY project that personalizes your space while connecting you with the calming energy of nature. Enjoy your beautiful, green moss wall art and the peaceful atmosphere it creates!