How to Do Nail Art at Home in 5 Easy Steps
To do nail art at home in 5 easy steps, start by prepping your nails—remove old polish, shape them, and gently push back cuticles for a smooth base. This prep work is super important if you want your nail art to look neat and last longer.
Next, apply a thin base coat to protect and strengthen your nails. Think of it as a little armor for your nails before you add any color or design.
Then, add colors and patterns carefully, using tools like tape for precision, and let each layer dry fully. Take your time here—rushing can smudge your design, and nobody wants that!
Finally, seal your design with a quick-dry top coat to keep it lasting longer. This step locks everything in place and gives your nails a shiny, professional finish.
Keep going to discover tips for flawless, professional-looking nails that will make everyone ask, “Where did you get your nails done?”
Key Takeaways
– Prep nails by removing old polish, shaping, pushing back cuticles, and lightly buffing for a smooth base.
This step sets you up for a flawless finish.
– Apply a thin, even base coat to strengthen nails and prevent discoloration, letting it dry fully.
It might feel like a small step, but it really makes a difference.
– Use tape, stencils, or steady hands to apply colors and patterns precisely on the dry base.
Get creative here! Don’t worry if it’s not perfect right away.
– Allow each nail polish layer to dry completely before applying the next to avoid smudging.
Patience pays off for the best results.
– Seal the design with a quick-drying top coat, covering edges, and reapply every few days for durability.
This keeps your nail art looking fresh and fabulous longer.
Prep Your Nails for a Smooth Base
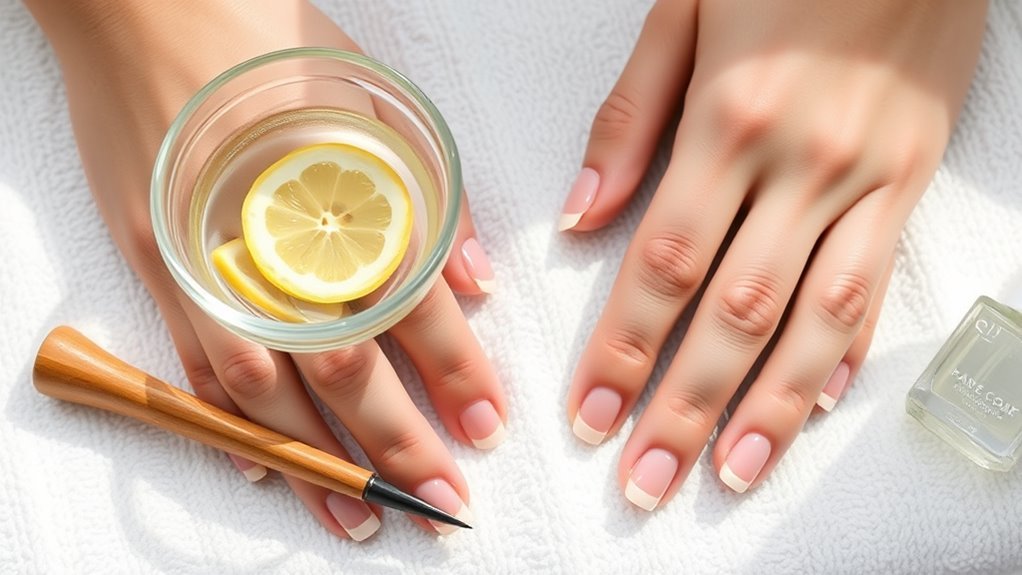
Before applying any color, start by removing old nail polish with a gentle remover to assure a clean surface. This step ensures no residue interferes with your new design.
Next, shape your nails using a nail file, filing in one direction to avoid splitting or damage. Choose your preferred shape—square, oval, or almond—and keep nails even for a polished look.
Then, gently push back your cuticles with a cuticle pusher to expose more of your nail bed and create a neat canvas. Avoid cutting cuticles, as this can lead to irritation.
After that, lightly buff each nail’s surface with a nail buffer to smooth out ridges and promote even polish application. This step helps your nail art look flawless.
Finally, wash your hands thoroughly to remove dust and oils, leaving your nails clean and ready for the next step. Taking these prep steps seriously sets you up for beautiful, long-lasting nail art.
Apply a Nail Art Base Coat to Protect Nails

When you apply a nail art base coat, you create a smooth surface that helps polish stick better and stops staining. Start by putting on a thin, even layer of base coat on each nail. This helps avoid bubbles and uneven texture, giving your nail art a flawless look.
Make sure to let the base coat dry completely before you move on. It’s best to pick a base coat that’s made to strengthen your nails and protect them from discoloration caused by pigmented polishes.
This extra step doesn’t just protect your natural nails, it also helps your nail art last longer. And hey, regularly reapplying the base coat keeps your nails healthy and your designs fresh.
Taking this simple step makes sure your nails stay strong and your nail art looks vibrant. It really sets a solid foundation before adding any colors or patterns.
Apply Colors and Patterns With Precision
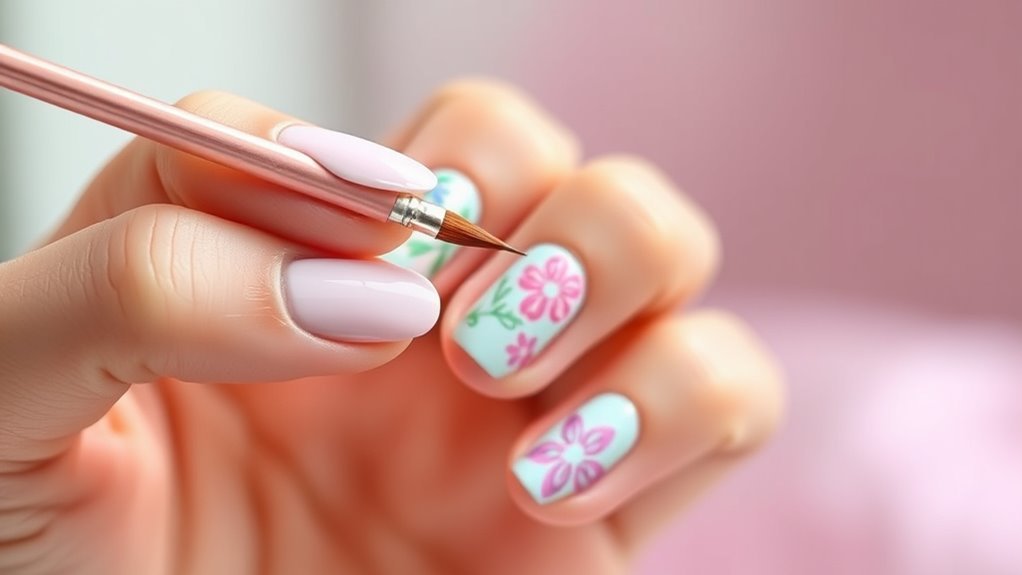
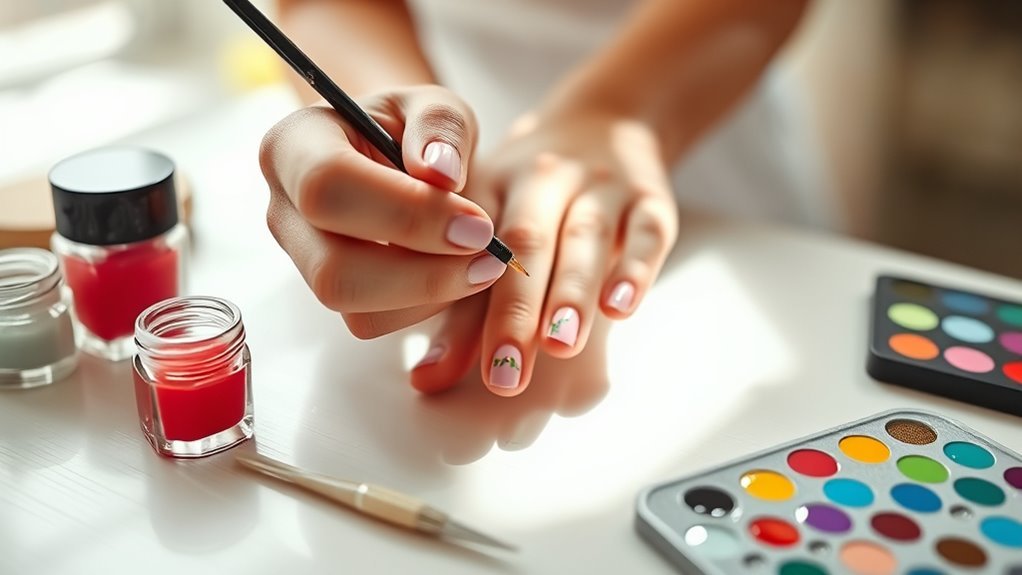
Although applying colors and patterns requires patience, using fine-tipped brushes or nail art pens lets you add precise details that make your designs stand out. Begin with a clean, dry base coat to guarantee your colors glide on smoothly and evenly.
When you’re ready to create patterns, rest your hand on a flat surface to keep it steady, reducing any shaking that could blur your design. For sharp, clean edges, especially when working with multiple colors or intricate shapes, use tape or stencils as guides.
These tools help you achieve professional-looking lines without the mess. Take your time applying each stroke carefully, and avoid rushing to maintain precision. While it’s tempting to layer colors quickly, remember to wait until each layer is fully dry before adding more to prevent smudges and maintain crisp details.
With these techniques, you’ll bring your nail art ideas to life with clarity and finesse.
Let Layers Dry Before Adding More
Mastering precise application sets a strong foundation, but letting each layer dry fully is just as important to keep your design flawless. If you rush, you risk smudging and ruining your hard work.
To guarantee a polished look, follow these key steps:
- Allow each layer to dry completely for 2-3 minutes before adding the next. This prevents smudging and helps maintain clean lines.
- Apply thinner coats of polish. They dry faster and reduce the chances of peeling or cracking.
- Use quick-dry top coats between layers to speed up drying time and keep your workflow smooth.
- If you smudge a layer, wait until it’s fully dry before removing and reapplying to avoid damaging your design.
Patience here pays off with smoother, longer-lasting nail art that looks professional and fresh. Don’t rush—your nails will thank you.
Seal Your Nail Art With a Top Coat
To keep your nail art looking fresh and vibrant, you’ll want to secure it with a clear top coat. After finishing your design, wait a few minutes to avoid smudging before applying the top coat.
Use the brush to spread it evenly over the entire nail surface, making sure to cover the edges. This step locks in your artwork and boosts its durability.
Opt for a quick-drying top coat to save time and minimize the chance of smears. Sealing your nails not only adds a glossy finish but also protects your design from chipping.
To maintain that salon-fresh shine and safeguard your nail art, reapply the top coat every few days. This simple step ensures your nails stay flawless longer, letting you enjoy your creative handiwork without frequent touch-ups.
Frequently Asked Questions
How to Do Simple Nail Art at Home for Beginners?
You start by cleaning and shaping your nails, then apply a base coat. Pick simple designs like dots or stripes, use contrasting colors, and let each layer dry.
It’s super easy once you get the hang of it! Finish with a top coat for durability and shine.
What Are the 5 Basic Nail Art Designs?
Picture your nails blooming with floral patterns, dotted with playful polka dots, striped like a candy cane.
Or maybe topped with elegant French tips, or glowing in solid colors. These five designs make your nails pop instantly!
How to Make Nail Art for Beginners?
Start simple with dots or stripes using a toothpick or fine brush. Let each layer dry before adding more.
Don’t rush—finish with a clear top coat to protect and shine your design. It really makes a difference!
How to Start Nail Art at Home?
You start nail art at home by cleaning and shaping your nails, then applying a base coat.
Pick simple designs, use quick-drying polish, and finish with a top coat to protect your lovely artwork.
It’s easier than it sounds, and a lot of fun once you get the hang of it! Just take your time and enjoy the process.
Conclusion
Now that you’ve mastered these five simple steps, your nails become a canvas for creativity and self-expression. Like a painter with a brush, you hold the power to transform ordinary nails into stunning works of art.
So, don’t be afraid to experiment and let your imagination run wild—because every stroke you make adds color not just to your nails, but to your confidence and joy. Nail art at home is a fun way to showcase your style without needing a salon.
With just a little practice, you can create beautiful, professional-looking designs right from your own space. Your masterpiece awaits, ready to brighten your day and boost your self-expression!