How Do You Make Art Prints in 5 Simple Steps
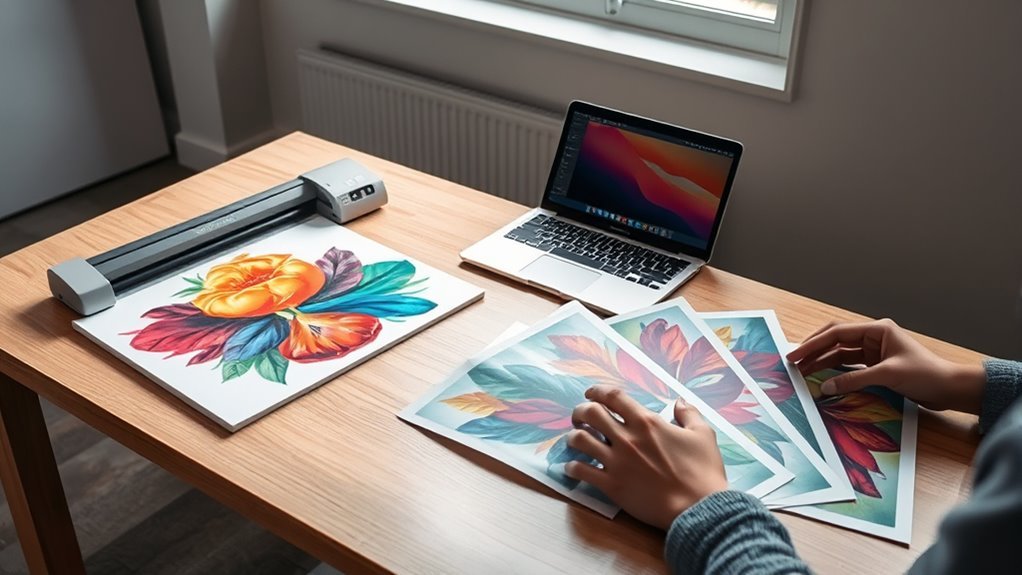
To make art prints in five simple steps, start by capturing high-resolution digital images of your artwork with clean, well-lit scans or photos. This ensures your prints will showcase every detail beautifully.
Next, edit and color-correct your images to guarantee print accuracy and true-to-life colors.
Then, select quality archival paper, pigment-based inks, and the right printer for longevity and vibrancy. These choices are key to making your art prints last and look stunning.
Print small test proofs, adjust settings, and repeat until the colors match perfectly. This step might take a little patience, but it’s worth it for flawless results.
Finally, sign, package, and protect your prints professionally. This adds value and keeps your art safe during shipping or display.
Keep going to explore each step in detail!
Key Takeaways
- Capture high-resolution digital images using a scanner or camera with accurate color and lighting. This step is super important to get the best quality from the start.
- Edit and color-correct images using software, adjusting levels and converting to CMYK for print accuracy. It might take a few tries to get everything looking just right.
- Select archival pigment-based inks and acid-free paper suited to the artwork’s style and desired finish. Choosing the right materials really makes a difference in the final print.
- Print test proofs on final paper, compare with digital files, and adjust settings until colors match closely. This part can feel a bit like trial and error, but it’s worth it for perfect results.
- Sign prints with archival pens, package with protective materials, and include certificates of authenticity. These finishing touches add that professional quality and value to your prints.
Create High-Quality Digital Images of Your Artwork
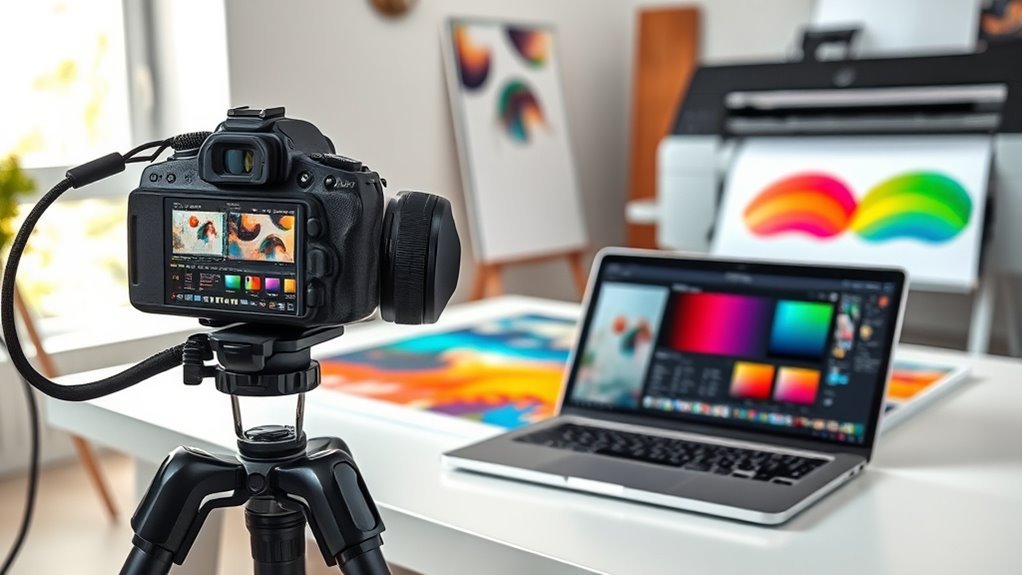
To create high-quality digital images of your artwork, start by using a high-resolution scanner set to at least 600 dpi to capture every fine detail. Before scanning, make sure your artwork is clean, dry, and free from dust to avoid imperfections in the digital file.
If your piece is larger than your scanner bed, scan it in sections, then stitch the images together using software like Photoshop’s Photomerge feature. This method guarantees a seamless, high-quality digital file that preserves the integrity of your original art.
When photographing instead of scanning, use natural or controlled lighting to prevent glare or color shifts, and keep your camera parallel to the artwork to minimize distortion. Remember, maintaining accurate color profiles during scanning or photographing helps keep your digital image true to the original.
This sets a solid foundation for the next steps in producing high-quality art prints.
Edit and Color-Correct Your Images for Accurate Prints
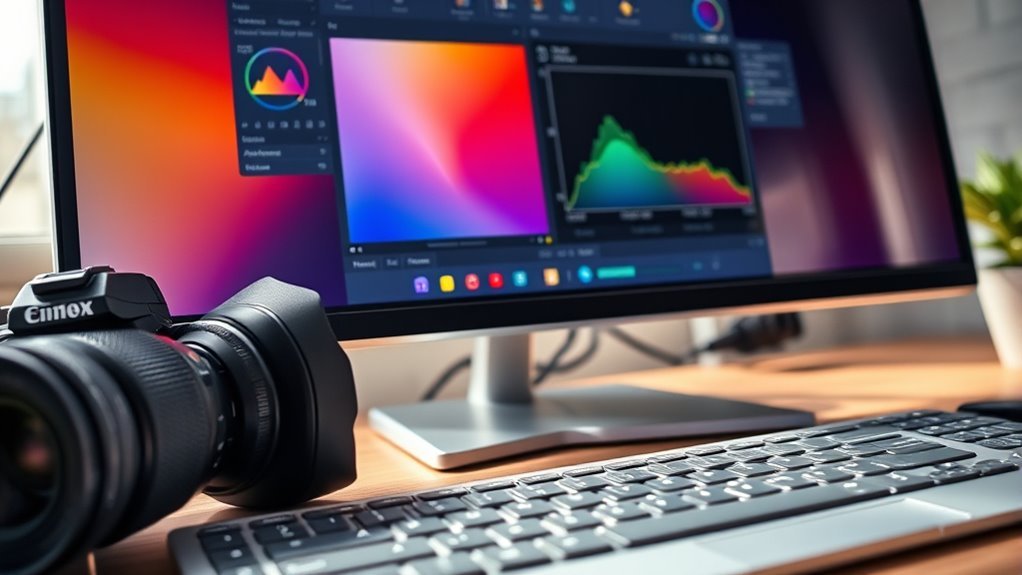
Once you have a high-quality digital image of your artwork, the next step is to edit and color-correct it for printing. Accurate color representation is key, so you’ll want to fine-tune your image using editing software like Photoshop.
Here’s how to ensure your print matches your original vision:
- Adjust levels, hue, saturation, and contrast while converting your image to the CMYK color profile. Remember, screens use RGB and print uses CMYK, so this step is crucial.
- Use the eyedropper tool to sample colors and fix inconsistencies. This helps keep your colors uniform across the entire image.
- Perform soft-proofing in your software to preview how colors will look on your specific printer and paper. And don’t forget to regularly calibrate your monitor to keep your display colors true.
Choose Printer, Ink, and Archival Paper for Art Prints

Although selecting the right printer, ink, and archival paper might seem intimidating, these choices directly impact your print’s quality and longevity. Start by choosing pigment-based inks like Canon Lucia Pro or Epson UltraChrome; they guarantee your art prints resist fading for up to 100 years.
Next, pick acid-free, archival paper such as Hahnemühle Photo Rag or Moab Entrada to keep colors vibrant and durable over time. Consider the paper’s finish—matte, gloss, or luster—to complement your artwork’s style and desired visual effect.
Make certain your printer supports the chosen paper size and type to avoid jams or misprints. To achieve the best print quality, regularly calibrate your printer and use ICC profiles tailored specifically for your archival paper.
These profiles help reproduce colors accurately and maintain consistency across prints, ensuring your artwork looks exactly as intended. With these careful selections, your art prints will stand the test of time and showcase your work beautifully.
Print Test Proofs and Adjust Settings for Best Results
When you print a small test proof on the same paper intended for your final artwork, you get a clear view of how colors and details translate from screen to print. This step is vital to guarantee color accuracy and overall quality before making your final print.
To get the best results, follow these steps:
- Compare your print test proofs closely with the digital file, checking for any color shifts, sharpness issues, or detail loss.
- Adjust settings such as your printer’s color profiles, DPI, and print quality based on what you observe in the test proof.
- Use calibration tools or software like Photoshop to fine-tune brightness, contrast, and color, then reprint the proof.
Repeat this process until the printed output matches your digital file closely. By carefully reviewing and adjusting settings, you’ll achieve prints that truly represent your artwork’s intended look.
Sign, Package, and Protect Your Art Prints Professionally
After perfecting your print’s color and detail through test proofs, the next step is to sign, package, and protect your art prints to maintain their quality and professionalism. Sign your prints using a high-quality, archival pen—typically placing the title on the bottom left, your signature on the bottom right, and the edition number in the center. This adds authenticity and a personal touch.
To safeguard your prints, use acid-free, archival backing boards and clear protective sleeves, which guard against damage during storage and shipping. When you package your prints, choose rigid mailers or tubes labeled “Do Not Bend” to keep them flat and safe.
Don’t forget to include certificates of authenticity or edition details inside the package to boost their perceived value. Always handle prints with clean gloves or hands to avoid smudges. By following these steps, you guarantee your art prints arrive in pristine condition and present professionally to your buyers.
Frequently Asked Questions
How to Start Making Art Prints?
You start making art prints by digitizing your artwork with a high-resolution scan or photo. Then, you edit the image for color accuracy before choosing quality paper and printer settings.
This helps you produce your first test print. It’s all about getting those details just right so your prints look amazing.
What Are the 5 Steps of Art?
You absolutely must follow these five steps to create incredible art: develop your concept, sketch boldly, refine every line, add rich details, and finalize with precision.
Skipping any? Impossible if you want masterpiece results!
How to Make Art for Beginners Step by Step?
You start by gathering your materials and choosing a subject. Sketch your idea lightly, then build layers with paint or pencil.
Keep practicing shading, color mixing, and composition until you create artwork you love.
It’s all about taking your time and enjoying the process. Don’t worry if it’s not perfect at first—you’ll get better with each try!
What Are the 5 Methods of Creating Artwork?
You’ll feel like a creative superhero using the five methods of artwork: traditional drawing or painting, digital creation with software, photographic captures, mixed media blending, and printmaking techniques like etching or screen printing.
These methods let you explore different ways to express yourself. Whether you love the feel of a brush or the precision of digital tools, there’s something for everyone.
Mixing techniques is also super fun—it keeps your creativity flowing and your art fresh. So, why not give them all a try?
Conclusion
So, now you’re basically a master printer, right? Just snap a perfect pic, tweak it like a pro, pick fancy paper and inks (because cheap won’t do), print a gazillion tests, and sign like a superstar. Easy!
Who knew art prints demanded such Herculean effort? But hey, if you want your masterpiece to survive past your cat’s curiosity and look stunning on someone’s wall, you’ve got to play the game.
Happy printing, Picasso! Remember, making art prints isn’t just about slapping an image on paper. It’s about choosing the right materials, perfecting your technique, and putting in the effort to create something lasting. Follow these simple steps and your art prints will shine, making your work stand out in any space. Keep practicing, and soon you’ll truly master the art print process!