10 Tips on How to Display Diamond Art Beautifully
To display your diamond art beautifully, start by picking a sturdy frame that fits snugly and complements your decor. A frame you can refurbish adds a personal touch and makes your artwork truly unique. Measuring precisely is key, so take your time to get it just right.
Mount your diamond art on canvas or foam board to keep it flat and supported. This helps maintain its shape and makes it easier to hang. Adding mats or decorative borders gives your piece a polished look that really stands out.
Seal your artwork with clear coats to protect the sparkle from dust and damage. For a quick and easy display, poster frames work great — just make sure your art is centered and wrinkle-free.
Keeping your diamond art out of direct sunlight will ensure it stays vibrant and brilliant for years to come.
Explore these tips to elevate your sparkling masterpiece and showcase your diamond art in the best light!
Key Takeaways
- Choose sturdy, well-fitting frames. You can also consider refurbishing thrifted frames to enhance your diamond art’s appearance and durability.
- Measure precisely and leave excess canvas for neat wrapping. This helps ensure smooth edges and secure mounting.
- Use mats and decorative borders like washi tape. They add polish and help conceal imperfections around the artwork.
- Apply a clear sealant after completing drills. This protects the sparkle and preserves the artwork’s longevity.
- Opt for poster frames for quick, affordable displays. They keep your art centered and flat, protected behind plastic covers.
Choose the Perfect Frame Size and Style for Your Diamond Painting
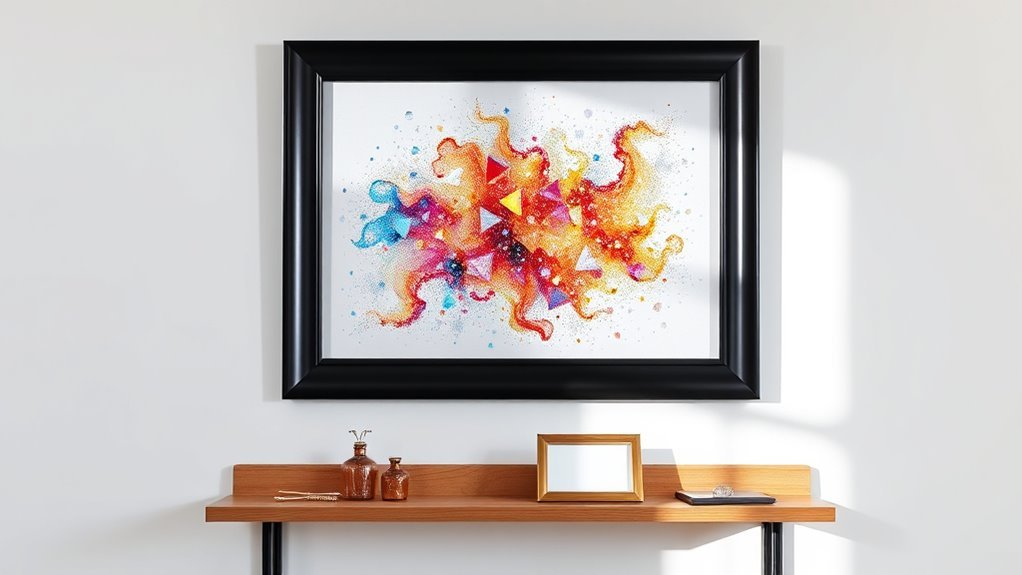
When choosing the perfect frame size and style for your diamond painting, start by selecting one slightly larger than your artwork. This guarantees a professional border and makes fitting easier.
First, measure your diamond art’s canvas dimensions carefully, including any borders you plan to keep or trim. This way, the frame fits just right—no squeezing or leaving gaps.
Next, think about the frame style. Whether it’s ornate, modern, or minimalist, pick one that complements both the artwork and your room’s decor.
Also, don’t forget that adding a mat or border inside the frame can really enhance the visual focus. It helps hide any uneven edges and gives your piece a polished look.
Finally, choose a frame material like wood or metal that matches your style and supports the canvas size securely. By measuring accurately and selecting the right frame style, you’ll showcase your diamond painting beautifully with a perfect fit and lasting appeal.
Prepare Your Diamond Painting for Mounting and Display
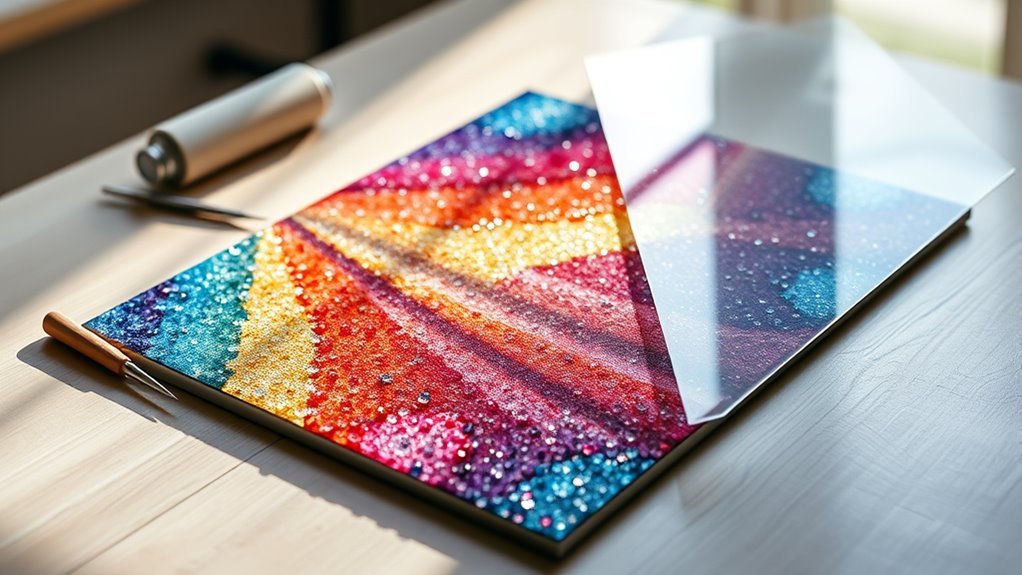
Before mounting, make sure you measure only the diamond drill area and trim excess borders. Leave enough material to wrap around the edges.
Use a gentle adhesive to secure your painting to the backing surface without bubbles. Then, press it firmly with a roller to keep it flat and well-attached.
This way, you’ll get a clean display that looks great and stays in place. Easy, right?
Measuring And Trimming
Two essential steps in preparing your diamond painting for display are measuring and trimming. Start by measuring only the diamond drill area, excluding any borders, to get the exact size for your frame or mounting.
Use a self-healing cutting mat and a clear ruler, like a Cricut Cutting Ruler, to guarantee straight, accurate measurements. When trimming, leave about 2 inches of extra canvas beyond the measured area to allow for wrapping or mounting.
Fold and trim the corners of this excess material into neat rectangles; this helps in achieving smooth edges when framing. Always double-check your measurements before trimming to avoid cutting too much or too little. This way, your diamond art fits perfectly into your chosen frame or display.
Securing And Wrapping
Although measuring and trimming set the foundation, safeguarding and wrapping your diamond painting properly guarantees it stays pristine and looks professional. First, measure only the diamond drill area, leaving out borders, to get precise wrapping dimensions.
Apply a thin, even layer of glue to the canvas, then carefully press your diamond art onto it for secure attachment. Trim edges about 2 inches beyond the canvas, allowing smooth wrapping around the frame’s sides.
Fold excess material neatly at the corners, trimming rectangles as needed to create crisp edges. Finally, staple the wrapped diamond painting to the back of the frame at five points per side, starting from the center and working outward to maintain tension.
This secure wrapping protects your artwork and readies it for beautiful display.
Use Mats and Backings to Secure Your Diamond Painting
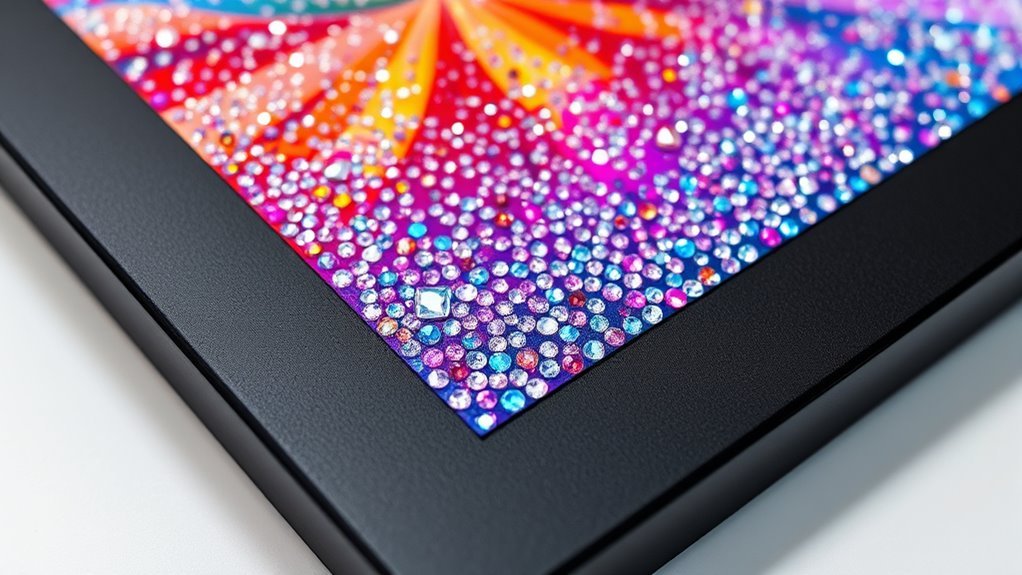
Using mats and backings can really elevate your diamond painting’s presentation by hiding uneven edges and adding a polished border. Choosing sturdy materials like foam board helps keep your artwork flat and prevents warping over time.
Plus, securing your painting with adhesive or tape on the backing guarantees it stays in place for a long-lasting display. It’s a simple step that makes a big difference in how your artwork looks and lasts.
Benefits Of Using Mats
Mats and backings play a crucial role in securing your diamond painting while enhancing its visual appeal. When you use mats, you create a polished, professional look by hiding uneven edges and emphasizing the artwork with a clean border.
The backing supports your painting, preventing warping and protecting it from dust and damage. Together, mats and backing keep your diamond art securely in place, stopping any shifting inside the frame.
Here’s why mats are beneficial:
- Provide a polished finish that showcases your artwork beautifully
- Secure the diamond painting, preventing movement and damage
- Add durability by supporting the piece and reducing wear over time
Using mats and proper backing ensures your diamond painting stays stunning and well-preserved. It’s a simple step that makes a big difference!
Backing Materials And Methods
A well-chosen backing material can make all the difference in how securely and beautifully your diamond painting is displayed. Using mats or sturdy backing materials like foam board provides essential support, preventing warping and concealing uneven edges.
By trimming excess borders and folding them over the backing, you create clean edges that hold your artwork firmly. Applying glue or double-sided tape between the painting and backing keeps everything flat and prevents shifting.
Adding decorative borders like craft paper or washi tape further conceals imperfections and enhances the overall look.
| Backing Material | Purpose | Benefit |
|---|---|---|
| Foam Board | Support | Prevents warping |
| Cardboard | Support | Adds rigidity |
| Glue/Tape | Adhesion | Secures artwork flat |
| Craft Paper | Border | Conceals edges |
| Washi Tape | Decoration/Border | Enhances aesthetic appeal |
Mount Your Diamond Painting on Canvas for a Gallery Look
Mounting your diamond painting on a pre-stretched canvas instantly elevates its appearance, giving it a professional gallery-style finish. When your diamond painting is mounted on canvas, it gains depth and stability, making it perfect for a striking gallery display.
Start by trimming the borders to fit the canvas neatly. Then, use spray adhesive on both the back of your diamond art and the canvas. Press and smooth out any air bubbles or wrinkles carefully to keep it looking flawless.
Secure the artwork by stapling or gluing from the center outward to guarantee even tension. Finally, seal the surface with a clear spray or brush-on sealant to protect and enhance its brilliance.
Keep in mind:
- A well-mounted diamond painting adds dimension and avoids sagging.
- Smooth adhesion prevents wrinkles and preserves the artwork’s integrity.
- A sealant safeguards the piece from dust and fading, maintaining its gallery display charm.
Frame Your Diamond Painting With Foam Boards or Cardboard
Two key materials—foam boards and sturdy cardboard—offer an easy way to frame your diamond painting neatly and securely. Start by cutting a foam board or cardboard to match your painting’s size, excluding borders for a precise fit.
Then, glue your diamond painting centered onto the foam board, pressing out any air bubbles or wrinkles to seal it flat.
Next, fold the excess foam board edges over the sides and secure them with double-sided tape or hot glue to create a clean, polished frame.
To enhance the look, add a decorative border with washi tape or patterned paper. This also helps seal the edges and hide any imperfections.
Finally, attach hanging hardware or Velcro strips to the back of your foam board frame for an easy and secure way to display your artwork on the wall.
This simple method keeps your diamond painting protected and beautifully presented.
Explore Affordable Secondhand Frames for Your Diamond Painting
Finding affordable secondhand frames can transform your diamond painting into a stunning focal point without breaking the bank. Thrift stores are treasure troves of vintage frames that you can repurpose to add character and charm to your artwork.
When you choose a frame close to your painting’s size, you avoid unnecessary trimming or adjustments, making the process smoother. Plus, you can refresh these frames with paint or small repairs to match your decor perfectly.
Here’s how to make the most of secondhand frames:
- Hunt for sturdy wooden or metal frames at thrift stores for durability and support.
- Look for unique vintage frames that add personality and style to your diamond art.
- Repurpose and refurbish frames to suit your space and highlight your painting beautifully.
Using affordable secondhand frames not only saves money but also gives your diamond painting a one-of-a-kind display. It’s a win-win!
Use Poster Frames for Quick and Easy Diamond Painting Displays
You can quickly give your diamond art a clean, professional look with affordable poster frames that usually cost under $25. Simply slide your painting behind the plastic cover for an easy setup that protects your work and keeps it looking sharp.
Make sure to center the artwork and leave white borders to enhance the overall presentation. It’s a simple trick that really makes your diamond painting pop!
Affordable Framing Solution
Poster frames offer a simple and affordable way to showcase your diamond art without breaking the bank. They’re perfect for framing large diamond paintings, usually costing under $25 at craft stores.
With plastic borders and a snap-in design, poster frames make it easy to give your artwork a professional look without special tools. Just slide your diamond painting behind the plastic cover, ensuring white borders for a clean finish.
You’ll find various sizes that fit custom or unusual pieces, making poster frames a versatile choice.
- Affordable framing option that suits any budget
- Quick assembly without needing extra tools
- Provides a polished, gallery-style display for your diamond paintings
Using poster frames helps you highlight your art beautifully and affordably. It’s really a smart way to make your diamond paintings stand out without spending too much.
Simple Installation Process
Although framing diamond art might seem intimidating, using poster frames makes the installation process quick and simple. You just remove the plastic cover from the poster frame, carefully insert your diamond painting behind the borders, and then reassemble the frame.
Make sure to center the artwork perfectly and press it flat to avoid wrinkles or bubbles. Poster frames come in various sizes, so you can find one that fits your diamond art snugly without needing custom framing.
They’re affordable and easy to use, usually costing under $25. Plus, this method lets you swap or update your displays effortlessly since poster frames open and reload without any tools or complicated steps.
This straightforward process keeps your diamond art beautifully showcased with minimal effort.
Clean Professional Appearance
How can you achieve a clean, professional look for your diamond art without spending hours or a fortune? Poster frames offer an affordable, quick solution that seals your artwork behind clear plastic, creating a neat, clean display. These frames typically cost under $25 and give your diamond painting a polished finish with minimal effort.
To enhance your display, center the art carefully and use white borders or mats to make the sparkle stand out. Plus, poster frames let you swap pieces easily for versatile decorating.
- Choose frames that fit your art snugly to maintain a clean, sealed look.
- Use mats to highlight details and add contrast.
- Ensure even borders for a professional, balanced presentation.
Consider Professional Mounting Services for Large Diamond Paintings
When you have a large diamond painting, professional mounting services can provide a secure and polished finish that’s hard to achieve on your own. These experts guarantee your artwork stays flat and firmly attached, preventing warping or waviness that often occurs with DIY attempts.
Many craft stores and framing shops offer professional mounting tailored specifically for large diamond paintings. This includes custom mats and a variety of framing styles that enhance your piece’s visual appeal.
Choosing professional mounting not only saves you time but also guarantees a museum-quality display that preserves your diamond art’s beauty. Plus, many framing shops provide discounts or coupons, making high-quality framing more affordable.
Seal Your Diamond Painting to Protect Its Sparkle and Longevity
To keep your diamond painting sparkling and secure over time, you should seal it once all the drills are firmly in place. Applying a clear sealant protects your artwork from dust, dirt, and moisture, preserving its shine and preventing diamonds from loosening or falling off.
Whether you use a brush-on or spray sealant, just apply a thin, even layer and let it cure for 24-48 hours. This will give you a durable, glossy finish that really enhances your painting’s appearance.
Sealing your diamond art is especially important if you plan to display it behind glass. It helps prevent dirt buildup and keeps everything looking clear and bright.
Remember to use a sealant that dries clear so your painting’s vibrant shine stays intact. Also, seal in a well-ventilated area to make sure it cures properly.
And try not to over-apply the sealant—you don’t want to dull that beautiful sparkle!
Care for and Position Your Diamond Painting to Keep It Beautiful
Although your diamond painting shines brilliantly right after finishing, caring for it properly and positioning it thoughtfully will keep it looking stunning for years. Start by choosing the right spot—avoid direct sunlight to prevent colors from fading.
Position your artwork where temperature and humidity are stable to prevent warping. Use appropriate framing with UV-protective glass; this not only enhances its look but offers essential protection from dust and environmental damage.
When hanging, mount your piece securely with hooks or nails that evenly support its weight to avoid sagging. Regularly dust your diamond painting with a soft, lint-free cloth or brush to maintain its sparkle and prevent buildup.
Frequently Asked Questions
What Are Some Creative Ways to Display Diamond Art?
You can frame diamond art with ornate or sleek frames, mount it on textured backgrounds, add fairy lights for sparkle. Creating gallery walls with varied sizes is another cool idea.
Or, use display stands to showcase your artwork anywhere with style and versatility. It’s all about making your diamond art shine in ways that suit your space and vibe.
What Are Common Diamond Art Mistakes?
Common diamond art mistakes are like loose threads in a tapestry—you’ll want to avoid weak adhesive, uneven trimming, and skipping seals.
Neglecting measurements and failing to secure the piece properly can also cause problems. These errors can really ruin your artwork’s beauty.
How to Make Diamond Art Look Better?
You can make diamond art look better by sealing it with a glossy finish, framing it behind UV-protective glass, and mounting it on sturdy backing.
Adding a quality mat and decorative touches will also enhance its appearance beautifully. It’s all about the little details that make your artwork pop!
Should Diamond Art Be Framed Under Glass?
Yes, you should frame diamond art under glass to protect it from dust and damage while enhancing its shine.
Just choose non-reflective glass to avoid glare and keep your artwork looking vibrant and flawless.
Conclusion
You’ve mastered the art of sparkling up your diamond painting, only to realize the real challenge is keeping it dust-free and untouched by curious hands. Ironically, the more beautiful you display it, the more it begs for protection—almost like a priceless gem.
But don’t worry, with these tips, your masterpiece will shine brilliantly while staying safe. After all, who knew that making your art look amazing would also require a little bit of guard duty?
Displaying diamond art beautifully isn’t just about aesthetics; it’s about preserving its sparkle and charm. With the right care and clever display ideas, your diamond painting can be both a stunning focal point and a well-protected treasure. Keep these tips in mind to ensure your diamond art stays dazzling and dust-free for years to come, making your home shine with creativity and elegance.