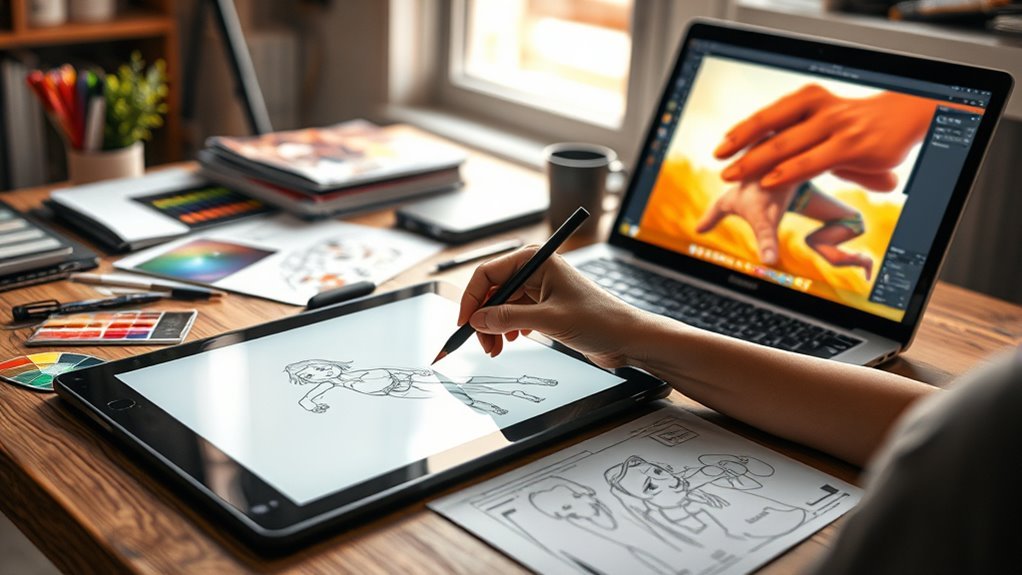
10 Essential Tips to Improve Digital Art Skills
To improve your digital art skills, always use references to sharpen accuracy without tracing. Setting up high-resolution canvases helps keep your work crisp and detailed. Also, organizing layers clearly with masks and backups makes editing way easier.
Planning your compositions using the Rule of Thirds and leading lines can really make your art pop. Balancing detail is key too—too much can clutter, too little can feel empty.
Mastering contrast and color theory adds depth and sets the mood perfectly.
Practice deliberately and stay patient—improvement takes time. Embrace setbacks as chances to grow, not failures. Keep optimizing your workflow by exploring software tools.
As you progress, you’ll discover even more ways to refine your digital art skills and create pieces you’re proud of.
Key Takeaways
– Consistently use multiple references to improve accuracy in anatomy, objects, and environments without relying on tracing.
It’s way better to study different sources than just copying one thing, right? This helps you understand shapes and forms more deeply.
– Organize layers clearly with labels, masks, and backups to streamline workflow and prevent data loss.
Keeping things tidy in your file saves you from a lot of headaches later on. Plus, backups are a lifesaver when tech acts up.
– Apply composition principles like the Rule of Thirds and leading lines to create balanced, visually engaging artwork.
These tricks help guide the viewer’s eye and make your art look more professional. Try experimenting with them to see what works best.
– Master contrast and color theory by balancing light, shadow, and harmonious color schemes to enhance depth and mood.
Playing with light and color can totally change the feel of your piece. It’s all about finding that perfect balance.
– Commit to regular practice with specific goals, patience, and reflection to steadily develop digital art skills.
Set small targets, be patient with yourself, and take time to think about what you’ve learned. That’s how improvement really happens.
Use References to Improve Accuracy and Detail
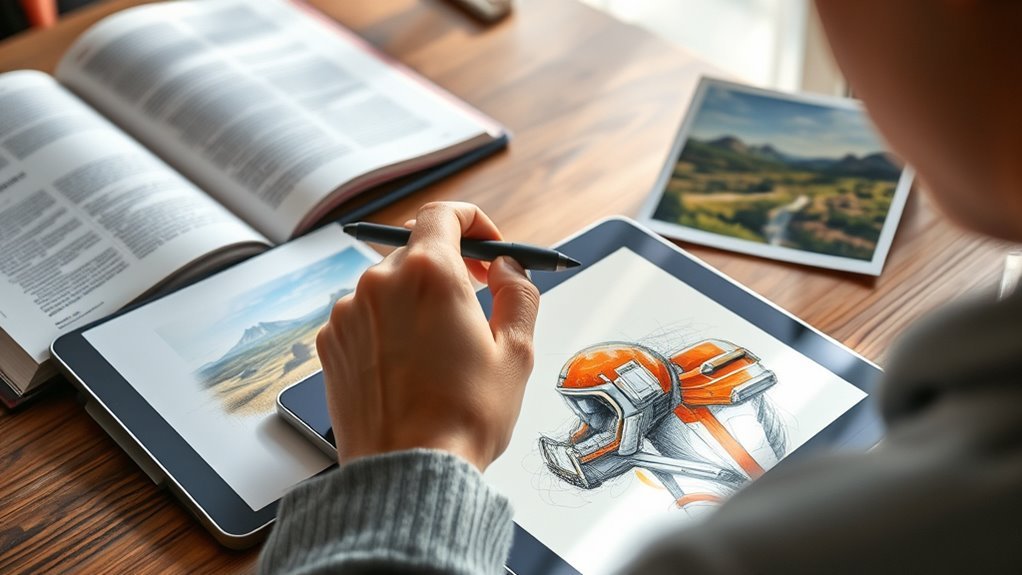
Using references allows you to capture anatomy, objects, and environments with greater accuracy and detail. When you regularly consult multiple references, you sharpen your observation skills, helping you notice nuances in lighting, textures, and perspective.
Consulting multiple references sharpens observation skills, revealing subtle details in lighting, textures, and perspective.
This practice *guarantees* your artwork isn’t just imaginative but grounded in reality, which boosts its believability. Instead of tracing, study your references carefully to internalize correct proportions and forms.
This approach improves your accuracy and strengthens your ability to draw from memory later on. Incorporating references into your workflow accelerates your learning curve by giving you concrete visual examples to analyze and replicate.
Over time, consistent use of references builds a solid foundation for your art, allowing you to create detailed and realistic illustrations with confidence. So, make it a habit to gather and study references—they’re essential tools that enhance your accuracy and elevate your artwork’s overall quality.
Set Up Your Canvas and Layers Properly
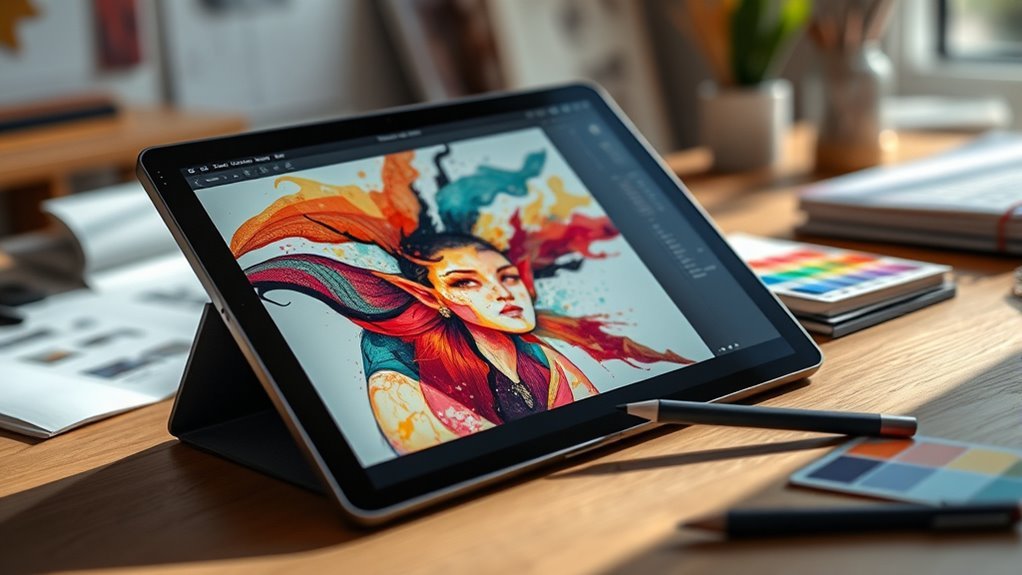
You’ll want to start with a high-resolution canvas—at least 300 DPI—to keep your work sharp and detailed. Organize your layers clearly by separating sketches, line art, and colors, which makes editing much easier.
Lock or label layers to avoid mistakes and keep your workflow smooth. Trust me, it really helps you stay on track!
Optimal Canvas Size
Setting your canvas to the right size and resolution lays the foundation for your digital artwork’s quality and flexibility. Choose a canvas size that matches your project’s final output—1920×1080 pixels works well for digital screens, while larger dimensions suit prints.
Always set your resolution to at least 300 dpi if you want high-quality prints. This guarantees your work stays sharp and detailed.
Organize your work by setting up multiple layers for sketches, line art, coloring, and effects. Separating background, midground, and foreground on different layers helps manage depth and makes editing easier.
Don’t forget to save different versions of your canvas regularly to protect your progress and experiment without fear. Proper canvas size and layer setup keep your workflow smooth and your art looking professional.
Effective Layer Management
Once your canvas size is optimized, organizing your layers properly can make a huge difference in how smoothly your workflow runs. Good layer management means creating separate layers for sketches, line art, coloring, shading, and effects.
This lets you edit non-destructively and keep your work flexible. Use clear, descriptive layer names and color coding to quickly spot elements, speeding up your workflow.
Layer masks and clipping masks help you isolate areas for precise adjustments without altering the whole image. Don’t forget to keep backup copies of important layers or versions to avoid losing progress.
Finally, adjust layer opacity and blending modes to control transparency and integrate elements better, enhancing your composition. Mastering these practices will streamline your digital art process and improve your results.
Plan Composition With the Rule of Thirds and Leading Lines

You can boost your composition by applying the Rule of Thirds, placing key elements along grid lines or intersections. It’s a simple trick that really makes your photos pop.
Use leading lines to guide the viewer’s eye directly to your focal point. These lines naturally draw attention and make your image feel more dynamic.
Combining these techniques helps create a natural flow and keeps your audience engaged. Trust me, it’s all about making your composition work effortlessly for you.
Applying Rule Of Thirds
How can you make your digital art instantly more engaging? By applying the Rule of Thirds, you can create a strong composition that naturally draws viewers in. This rule divides your canvas into nine equal parts with two horizontal and two vertical lines.
Place key elements along these lines or their intersections. Doing so establishes clear focal points and enhances visual balance. It makes your artwork feel dynamic rather than static.
Try these three steps to evoke emotion in your audience:
- Position your subject on one of the intersections to capture attention immediately.
- Use asymmetry to create tension and interest without losing harmony.
- Balance your composition by distributing elements thoughtfully along the grid, keeping the viewer’s eye moving smoothly.
Mastering this technique elevates your art’s impact effortlessly. It’s a simple trick but super effective!
Using Leading Lines
Three key techniques can elevate your digital art composition: combining the Rule of Thirds with leading lines. Leading lines guide the viewer’s eye through your artwork, creating depth and movement that make your piece more dynamic.
By placing these lines strategically, you form clear visual pathways that naturally direct attention toward your focal points, enhancing storytelling. Use natural elements like roads, rivers, or railings as effective leading lines, but avoid cluttering your scene—clear and purposeful lines strengthen your composition’s clarity.
When you balance leading lines with the Rule of Thirds, your composition feels harmonious and engaging, helping viewers navigate your artwork effortlessly. Mastering this balance will notably improve your digital art’s impact and professionalism.
Guiding Viewer Focus
Balancing the Rule of Thirds with leading lines sets the stage for guiding viewer focus effectively. By positioning key elements along the grid lines or intersections, you create a balanced composition that naturally draws attention.
Leading lines then guide the viewer’s eye directly to your focal point, enhancing visual flow and storytelling.
To evoke emotion and strengthen your art, try placing contrasting or bright elements at the intersections to establish a clear visual hierarchy. Simplify clutter by focusing on essential elements, ensuring the viewer stays engaged with the main subject.
It also helps to sketch thumbnail compositions beforehand. Planning your layout lets you emphasize important areas with intentional contrast and structure.
Using these techniques, you control the viewer’s journey through your artwork. This makes your digital pieces more compelling and impactful.
Balance Detail to Keep Your Art Clear
Although adding intricate details can be tempting, you should focus on larger shapes to keep your artwork clear and engaging. Balancing details with simpler forms helps maintain a clean composition and prevents your piece from looking cluttered.
Overloading your work with too many fine elements can distract viewers and waste your time, especially when your art is seen at smaller sizes. Instead, emphasize key elements and use simplified shapes to guide the viewer’s eye effectively.
| Aspect | Tip |
|---|---|
| Detail Level | Limit intricate details |
| Shape Focus | Prioritize larger shapes |
| Composition | Balance detailed & simple areas |
| Efficiency | Avoid excessive zooming |
Master Contrast to Add Depth and Focus
When you master contrast, you add depth and direct focus in your digital art. Balancing light and dark values across your layers creates a dynamic range that brings your work to life.
Contrast isn’t just about bright highlights or deep shadows—it’s the strategic use of both that guides the viewer’s eye and establishes dimension.
To make your art emotionally impactful, focus on these key points:
- Use layers to separate light and dark areas, allowing you to adjust contrast precisely without losing detail.
- Place the darkest shadows and brightest highlights thoughtfully to emphasize focal points and create tension.
- Avoid low contrast, which can flatten your piece and weaken its emotional pull—embrace subtle gradations to add richness.
Apply Color Theory for Harmonious Palettes
To create visually appealing digital art, you need to apply color theory and build harmonious palettes that enhance your work’s mood and impact. Understanding color harmony—like Complementary, Analogous, and Triadic schemes—helps you create balanced color palettes.
Try experimenting with values, saturation, and tints within these harmonies to add depth and emotion. Using color psychology, you can select colors that convey specific feelings, such as red for passion or blue for calm. This really helps enhance your storytelling.
Developing a signature palette ensures consistency and strengthens your style. Also, be mindful of cultural color meanings to avoid misinterpretations.
| Color Harmony | Description |
|---|---|
| Complementary | Opposite colors, high contrast |
| Analogous | Neighboring colors, smooth flow |
| Triadic | Three colors evenly spaced |
| Color Psychology | Colors evoke emotions and moods |
| Signature Palette | Consistent colors defining style |
Practice Deliberately to Master Key Digital Art Techniques
Mastering digital art techniques takes more than just time—you need to practice deliberately with clear, specific goals in mind. Deliberate practice is essential for skill mastery, helping you build a focused workflow that accelerates improvement.
Instead of vague efforts, break down complex skills into manageable parts and target them one at a time. It’s way more effective that way.
To help you stay motivated and see real progress, try this approach:
- Set clear, specific goals for each session, like perfecting shading or anatomy.
- Schedule consistent practice times to build muscle memory and reinforce techniques.
- Experiment deliberately with brushes, settings, and styles to expand your abilities.
Give it a shot—you’ll notice the difference!
Embrace Patience and Persistence for Growth
You won’t see big improvements overnight, so keep practicing consistently and give yourself time to grow.
Expect some challenges along the way, but don’t let them discourage you. Embrace the learning curves—they’re essential steps toward mastering your digital art skills.
Consistent Practice Matters
Although progress may feel slow at times, consistent practice plays a crucial role in improving your digital art skills. When you commit to a structured approach, you build a solid foundation that accelerates your growth.
Patience and persistence are your allies, helping you push through challenges and refine your drawing skills daily. To make the most of consistent practice, focus on these key points:
- Set clear, achievable goals to create a structured routine that keeps you motivated.
- Reflect on your past work to recognize improvements and learn from mistakes.
- Embrace persistence, understanding that every small effort compounds into noticeable progress.
Progress Takes Time
Progress in digital art often unfolds over months or even years, requiring steady patience and persistence. Your progress depends on regular practice and embracing setbacks as part of growth.
Persistence keeps you moving forward during slow phases, while patience helps you manage frustration. Remember, progress is gradual and celebrating small wins fuels motivation.
Here’s a quick guide to stay on track:
| Challenge | Approach |
|---|---|
| Slow improvement | Maintain consistent practice |
| Frustration | Pause and reflect patiently |
| Plateaus | Persist and try new techniques |
| Minor milestones | Celebrate and acknowledge |
| Long-term growth | Stay committed and motivated |
Embrace Learning Curves
Patience and persistence form the backbone of mastering digital art, especially when facing the steep learning curves that come with new techniques and tools. You’ll need consistent effort to push through frustrating moments and periods of slow progress.
Remember, growth isn’t linear, and every small step counts toward your improvement.
Here’s how to embrace these learning curves:
- Celebrate small victories to stay motivated during tough phases.
- Use persistence to overcome setbacks without losing sight of your goals.
- Commit to daily practice, knowing consistent effort builds your skills over time.
Avoid Common Beginner Mistakes That Slow Progress
When you skip backing up your work regularly, you risk losing hours of effort to unexpected crashes or mistakes. Make saving a habit, especially when working on unfinished work, so you don’t lose progress.
Another common mistake is quitting projects before completing details or refining your piece. This slows your growth because finishing artwork teaches you valuable skills like patience and attention to detail.
Also, don’t rely solely on memory for your drawings. Using references improves accuracy and helps you capture realistic proportions and textures.
Avoid getting stuck on tiny details too early, as this can overwhelm you and obscure the overall composition.
Finally, don’t ignore foundational skills such as anatomy, perspective, and color theory. Neglecting these basics limits your growth and makes advanced techniques harder to master.
Use Digital Art Software Features to Speed Up Your Workflow
Mastering foundational skills is important, but you can also speed up your improvement by making the most of your digital art software. Using features like layer modes, shortcuts, and automation lets you work smarter, not harder.
Here’s how to boost your workflow:
- Use shortcuts and hotkeys to access tools instantly. This cuts down on time spent navigating menus and keeps your focus on creating.
- Leverage layer modes such as multiply, overlay, and screen. These let you add shading, highlights, and effects efficiently without harming your base layers.
- Automate repetitive tasks through built-in actions or scripting. Automation frees you from manual repetition, so you can concentrate on refining your art.
Frequently Asked Questions
What Is the 70 30 Rule in Art?
The 70/30 rule in art means you spend 70% of your time practicing core skills like anatomy and perspective, and 30% exploring creativity.
This balance helps you build strong foundations while developing your unique style.
It’s a simple way to keep improving your basics without losing that personal touch in your work.
Are ADHD Good at Drawing?
Yes, you can be great at drawing with ADHD. Your creativity and hyperfocus boost your art, though distractions may challenge you.
With strategies, you’ll channel impulsiveness into unique, expressive, and impressive digital artwork. Keep practicing!
What Are the 7 Elements of Digital Art?
Think of the seven elements of digital art as ingredients in your creative recipe: line, shape, form, color, texture, space, and value. You’ll mix these to create stunning visuals that captivate and express your unique style.
Each element plays its own part, and together they make your artwork come alive. It’s like having a toolbox full of possibilities, ready for you to explore and experiment with.
What Is the 80 20 Rule in Art?
The 80/20 rule in art means you’ll get 80% of your results from 20% of your efforts.
Focus on mastering key skills like anatomy and composition to improve faster and work smarter, not harder.
Conclusion
Improving your digital art skills isn’t a sprint—it’s a journey where every brushstroke shapes your mastery. By using references, planning compositions, balancing detail, and embracing patience, you’re crafting more than just images; you’re building your artistic voice.
Remember, each mistake is a stepping stone, not a setback. So, immerse yourself in your software’s tools, practice deliberately, and watch your creativity soar.
Because your next masterpiece is just one confident stroke away, keep experimenting and refining your techniques. With dedication and these essential tips, your digital art skills will improve steadily. Embrace the process, stay curious, and enjoy every moment of creating. Your artistic journey is all about growth, and every effort counts toward becoming a better digital artist.