How to Make Sand Art Bottles in 7 Easy Steps
Start by gathering clean sand and dye it using liquid watercolor or food coloring inside bags. This is a fun way to add vibrant colors to your sand art bottles. Spread the sand out in the sun to dry completely, then store it airtight to keep it fresh.
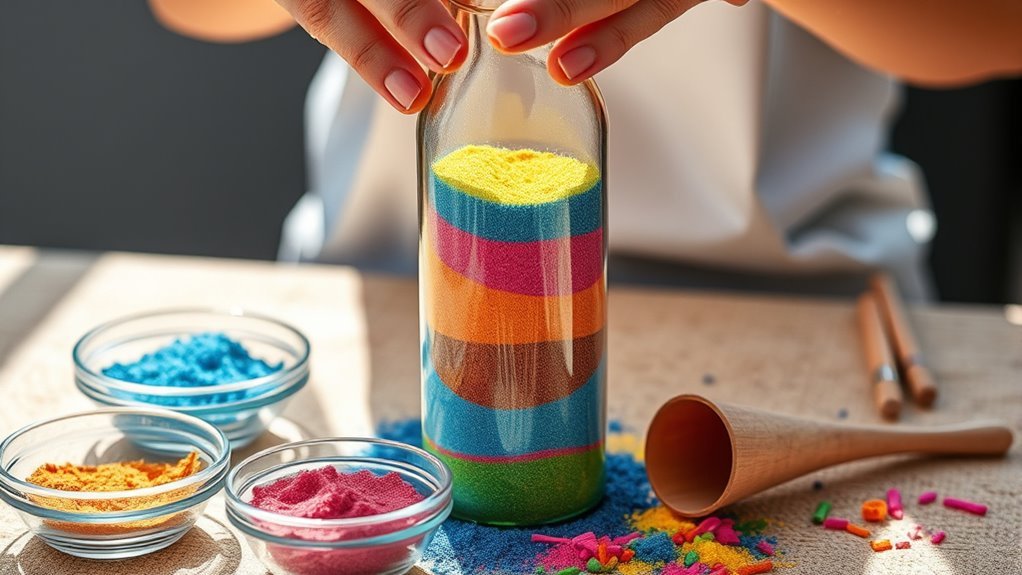
Next, carefully layer the colored sand inside bottles using funnels. Tilt the bottles as you pour to create interesting textures and patterns. Just be sure to avoid mixing the layers too much so the colors stay distinct.
Once you’re happy with your design, seal the bottles tightly with hot glue to keep the sand in place. You can even decorate the lids for a personal touch that makes your art pop.
Finally, keep your sand art bottles away from direct sunlight and dust to preserve their beauty for a long time.
Keep going to uncover tips that make your creations truly shine!
Key Takeaways
- Gather fine, clean sand and dye it using liquid watercolor or diluted food coloring for vibrant, evenly colored layers. Make sure the colors are just how you like them before moving on.
- Dry dyed sand thoroughly in the sun for at least 24 hours to prevent clumping and mold. This step is really important to keep your sand nice and dry.
- Layer sand slowly into bottles using funnels, tilting bottles and separating layers with a skewer to create neat, colorful patterns. Take your time here to get those layers looking perfect.
- Seal bottle lids tightly with hot glue and optionally spray waterproof sealant to protect and preserve the design. This will keep your sand art safe and looking great for a long time.
- Display bottles upright in shaded indoor areas, clean regularly, and avoid direct sunlight to maintain color vibrancy and layer integrity. That way, your sand art stays beautiful and lasts longer.
Gather Your Supplies for Sand Art Bottles
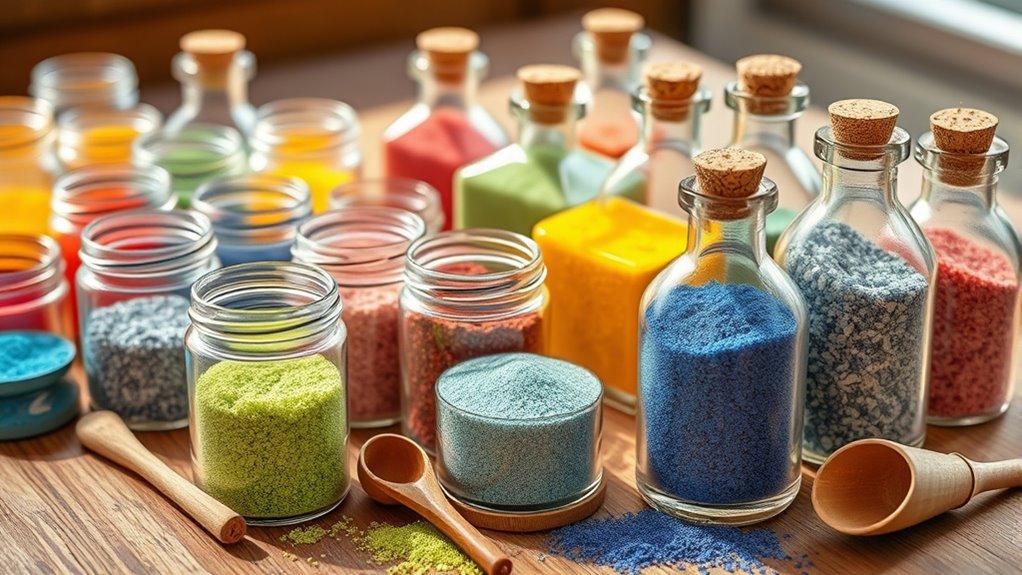
Before you start creating your sand art bottles, gather all the necessary supplies to make the process smooth and enjoyable. You’ll need fine, clean sand, which you can collect from the beach or reuse bottles like empty Looza juice containers for filling.
Start by gathering fine, clean sand and containers like empty juice bottles for a smooth sand art experience.
Since colored sand is essential for this DIY craft, have small spoons and funnels ready to help you transfer and layer the sand neatly into your bottles. While you won’t be dyeing the sand just yet, it’s good to prepare airtight containers for storing your colored sand once it’s ready.
Also, consider how you want to finish off your bottles—decorating lids with shells using hot glue and a bit of spray paint adds a polished touch. Having everything organized before you begin saves time and lets you focus on creating beautiful layers without interruption.
That way, this DIY craft becomes both fun and rewarding.
How to Dye Sand for Sand Art Bottles
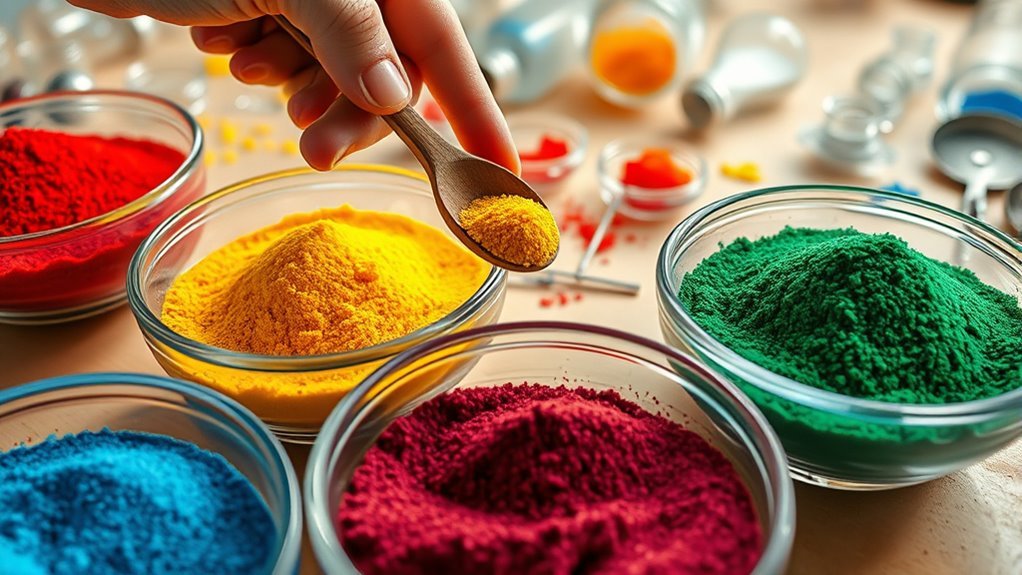
When you’re ready to add vibrant colors to your sand, start by placing fine, clean sand into Ziploc gallon bags and mixing in a small amount of liquid watercolor or diluted food coloring. This method allows you to easily dye sand for your sand art bottles.
Make sure to mix the sand thoroughly inside the bag to achieve an even color distribution. Using fine beach sand or recycled bottles like Looza juice bottles gives you a smooth texture that dyes well.
After mixing, pour the dyed sand onto trays and let it dry in the sun, stirring occasionally to prevent clumping. For added contrast in your sand art, combine the dyed sand with uncolored white sand.
This contrast really enhances the vivid patterns you create in your bottles. By following these simple steps, you’ll have a beautiful palette of colored sand ready to layer and design your unique sand art bottles.
Dry and Store Your Colored Sand
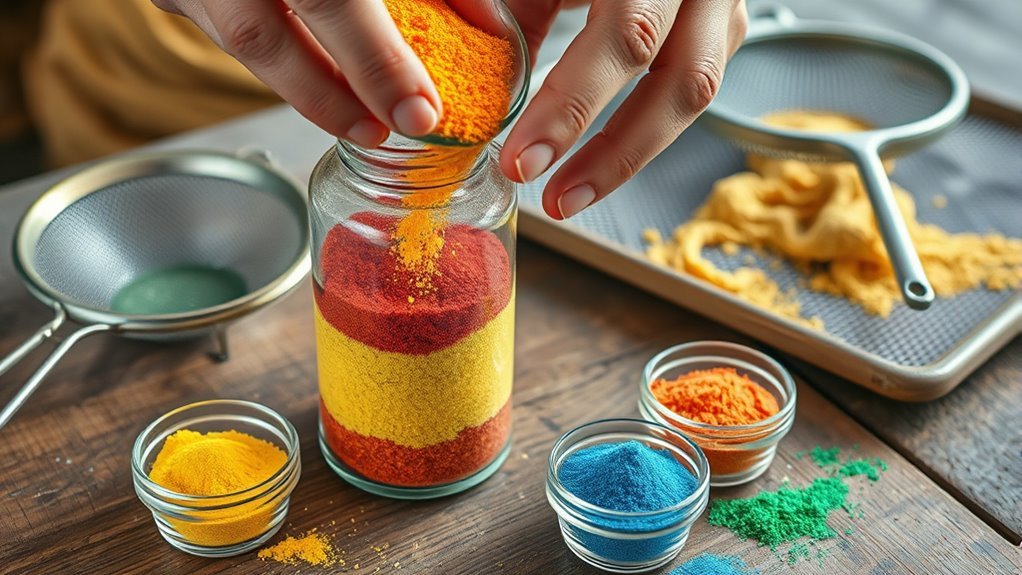
Although your sand looks vibrant right after dyeing, you’ll need to dry it completely on trays in the sun for at least 24 hours to prevent mold and clumping. Spread the colored sand evenly on trays, making sure it’s not piled up to allow thorough drying.
Once fully dry, you can store the sand properly to preserve its color and texture. Use airtight Tupperware containers to keep moisture out, which helps avoid mold growth and clumping during storage.
Be sure the sand is completely dry before sealing it. Label each container with the color and date to keep your supplies organized and easily accessible for your next project.
Store the containers in a cool, dry place away from direct sunlight, as this helps maintain the vibrancy of your colored sand over time. Proper drying and storing will ensure your sand stays perfect for creating beautiful sand art bottles whenever you’re ready.
How to Layer Sand Without Mixing Colors
To keep your sand colors from blending, pour each layer slowly using a funnel or paper cone. Tilt the bottle slightly to create interesting textures without mixing the colors.
If needed, use a skewer to gently separate layers before adding more sand. This way, you keep each color nice and distinct. It’s pretty simple once you get the hang of it!
Preventing Color Blending
If you want your sand art bottles to showcase clear, vibrant layers, you’ll need to pour each color carefully to prevent blending. First, make sure you pour the sand slowly and steadily, using a funnel or a folded piece of paper to control the flow. This helps keep the layers distinct.
Keep the bottle upright and steady while adding each layer to avoid mixing. Allow each colored sand layer to settle and dry slightly before pouring the next. This reduces the chance of colors merging.
Also, make sure not to overfill the bottle; leave enough space for careful placement of each new layer. Following these steps will help you prevent color blending and keep your sand art looking sharp and beautiful.
Layering Techniques
Controlling how you pour each layer plays a big role in keeping your sand art vibrant and neat. Use layering techniques like a funnel or paper cone to pour sand around carefully, avoiding air gaps and color mixing.
Try tilting your bottle slightly for uneven patterns and add each color slowly, letting previous layers settle. If layers shift, gently adjust them with a skewer.
Always fill from the bottom up, stopping just below the top to keep layers distinct.
| Step | Tip | Result |
|---|---|---|
| Pour with funnel | Minimize mixing | Clean, vibrant layers |
| Tilt bottle | Create visual interest | Uneven, artistic patterns |
| Use skewer | Adjust shifting sand | Neat, separated layers |
Seal Your Sand Art Bottles to Prevent Spills
When you’ve finished filling your sand art bottle, securing the lid tightly is essential to keep your design intact. First, make sure the lid or cork fits snugly to prevent any movement.
Once you’re confident it’s secure, apply a thin layer of hot glue around the rim or cap. Press the lid firmly in place to create a strong seal that keeps the sand from spilling out.
Apply a thin layer of hot glue around the rim and press firmly to seal your sand art bottle securely.
Hot glue works great because it dries quickly and forms an airtight barrier. Be sure to let the glue dry completely before handling your bottle to avoid any accidental leaks.
For extra protection, you can spray a clear waterproof sealant over the entire bottle. This additional layer reinforces the seal and guards against moisture or shifting sand.
Doing this keeps your colorful creation safe and secure for display. Taking these steps ensures your sand art bottle stays perfectly sealed and spill-free.
Decorate Your Sand Art Bottles for a Personal Touch
Although your sand art bottles already look beautiful, adding personalized decorations can make them truly stand out. To decorate your bottles, start by attaching shells or small decorative items to the bottle lids using hot glue.
You can spray paint the lids or shells in colors that match your design theme for a cohesive look. Personalize further by applying stickers, washi tape, or painting patterns directly onto the bottles.
Adding small charms or beads alongside the sand layers also creates extra visual interest. Once you finish decorating, seal the lids with a clear topcoat or varnish to protect your work and guarantee durability.
These simple steps let you personalize each sand art bottle uniquely, turning your creation into a charming, one-of-a-kind piece.
Display and Care Tips for Your Sand Art Bottles
To keep your sand art bottles looking their best, always display them upright to maintain those crisp layers. Avoid placing them in direct sunlight to protect the colors from fading over time.
Make sure the lids are sealed tight and store your bottles in a dust-free spot to preserve their beauty. This way, your creations stay vibrant and neat for a long time.
Displaying Sand Art
Since sand art bottles showcase delicate layers of color, you’ll want to display them in a cool, dry spot away from direct sunlight to keep the hues vibrant. When displaying your bottles, choose a stable shelf or a cabinet with a glass door to protect them from dust and accidental bumps.
You can also mount or hang bottles in decorative holders or frames to add visual interest. It’s a great way to make your display stand out.
Be sure to handle each bottle carefully when moving or cleaning it, so you don’t disturb the sand layers inside. Regularly dust your bottles with a soft cloth or brush to keep them clear and visually appealing.
These simple steps will help your sand art bottles stay beautiful and well-protected for years to come. Trust me, it’s worth the little extra care!
Preserving Layered Designs
When you want your sand art bottles to stay flawless, sealing the top tightly with hot glue or a snug cork is essential to keep the layers intact. This step helps preserve your layered design by preventing sand from shifting or spilling.
To further protect your creation, keep the bottle upright in a cool, dry spot away from direct sunlight. Sunlight can fade colors over time, so it’s best to avoid it. Also, try not to handle the bottle too often to maintain the crispness of the layers.
For extra care, spray a clear acrylic coating on the bottle to shield it from dust and moisture. By following these tips, you’ll preserve the beauty and integrity of your sand art. This way, it stays a vibrant, eye-catching display for years to come.
Frequently Asked Questions
How to Make Sand Art in a Bottle for Beginners?
You’ll start by choosing clear bottles and preparing colored sand. Use a funnel to layer sand carefully, creating patterns.
Fill the bottle fully, then seal it tightly to keep your design intact and vibrant over time. It’s pretty fun and super easy once you get the hang of it!
How to Make Sand Art Step by Step?
You start by layering dyed sand in a bottle using a funnel, spoon, or paper cone. Pour carefully to create patterns.
Fill to the top, seal the bottle, and optionally decorate the lid for a polished finish. It’s a simple way to make your sand art look amazing!
How Are Sand Art Bottles Made?
You dye sand with liquid colors and then let it dry. After that, you carefully layer it inside a clear bottle using funnels or spoons.
Make sure to fill it tightly so the colors don’t mix. Once you’re done, seal the bottle up.
Finally, add decorations to complete your sand art bottle. It’s a fun way to create something colorful and unique!
What Liquid Goes in Sand Art?
You use water, you use diluted liquid watercolor, you use food coloring, and sometimes you use gel or powdered tempera mixed with water. These liquids bring vibrant colors and keep the sand vivid without staining or damage.
It’s pretty cool how these options work. They let you get those bright, eye-catching colors without messing up the sand or making a big stain.
Conclusion
Creating sand art bottles isn’t just about layering colors—it’s about capturing moments, memories, and moods in a glass vessel. Each grain of sand symbolizes a small part of your story, carefully dyed and placed to reflect your creativity and patience.
When you seal your bottle, you’re preserving more than just sand—you’re preserving a snapshot of time, a piece of yourself. So, display your art proudly, knowing it holds a world of meaning within.
Making sand art bottles is a fun and meaningful craft that lets you express yourself with every layer. Whether you’re creating a gift or a keepsake, these colorful bottles capture your unique style and memories beautifully. So grab some sand, get creative, and enjoy the process of making your own sand art bottle masterpiece!