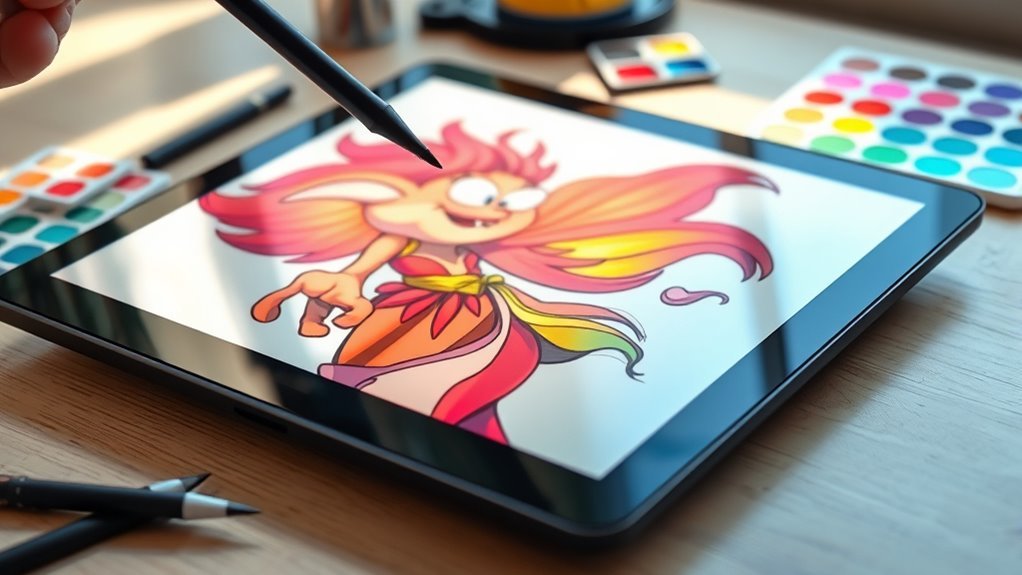
Step-by-Step Guide to Coloring Digital Art
Start by selecting your main colors from your reference using medium saturation and light hues for skin, hair, and clothing. This helps create a natural and balanced look right from the start. Block in large, simple base shapes to establish composition and harmony before adding any details.
Next, identify your light source to guide where shadows and highlights go. Knowing this will make your artwork feel more three-dimensional and realistic.
Then, use clipping masks with hard brushes to add sharp shadows and soft blends for highlights.
This approach builds depth and realism in your digital art. Keep practicing, and you’ll discover even more techniques to refine your work and make it truly stand out. Don’t worry if it feels tricky at first—every artist finds their own rhythm over time!
Key Takeaways
- Identify main colors from the reference image, focusing on skin, hair, and clothing. Use an eyedropper tool to pick base hues.
- Block in large, simple base shapes with flat colors. This helps establish the composition and color harmony before you dive into details.
- Refine colors on separate layers by adjusting hue and saturation. Keep the original shapes intact to enhance the overall mood.
- Figure out where your light source is coming from. This way, you can plan shadows and highlights, especially on prominent facial features and recessed areas.
- Add shadows and highlights using clipping masks. Use soft blending to create depth and realistic lighting effects.
Choosing Colors and Blocking Base Shapes in Digital Art
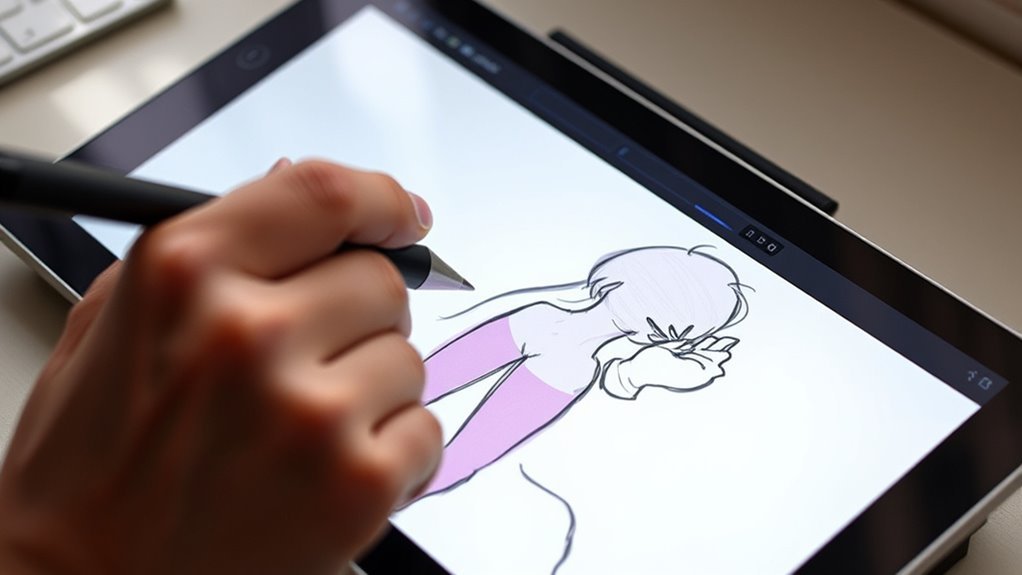
Before you immerse yourself in details, start by observing your reference image to identify the main color palette for key elements like skin, hair, and clothing. This initial step helps you pinpoint the dominant colors that define your artwork’s mood and harmony.
Begin by studying your reference to capture the key colors that set your artwork’s mood and harmony.
Use the eyedropper tool to sample medium saturation, light value hues as your base colors for accurate color matching. Next, block in large base shapes with flat, solid colors instead of focusing on tiny details.
This approach establishes a strong foundation for your piece and balances the overall composition. Concentrate on the major color areas first, ensuring your base shapes align correctly with the reference.
Don’t hesitate to adjust hue and saturation on separate layers, which lets you refine your color palette without altering your original shapes. By mastering these basics, you set yourself up for a smoother, more controlled coloring process that respects the artwork’s structure and color harmony.
Adding Shadows and Highlights to Create Depth
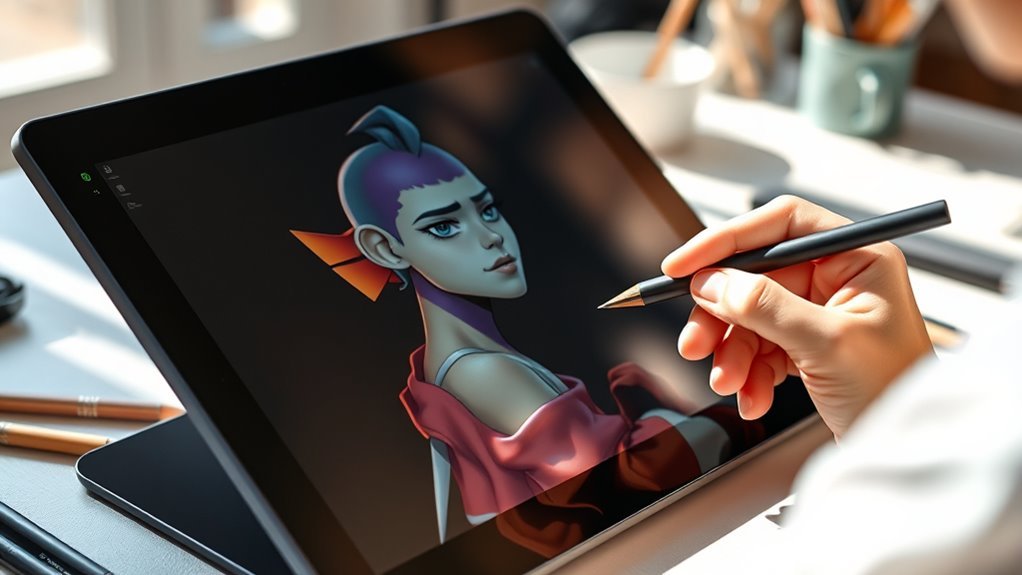
Once you’ve established your base colors, start by identifying the main light source in your scene to guide where shadows and highlights should fall. This step is crucial for creating natural depth and dimension in your artwork.
To add shadows and highlights effectively, here’s what you can do:
- Use a clipping mask with a hard-edge brush to paint shadows on areas where light is blocked.
- Apply highlights on prominent features like cheekbones, nose, and lips to simulate light reflection.
- Blend edges softly with a smooth brush to create gradual transitions between shadows and highlights.
- Incorporate darker, saturated shadows in recessed parts and lighter, bluish highlights on surfaces facing the light.
Frequently Asked Questions
What Software Is Best for Digital Coloring Beginners?
You’ll find software like Procreate, Krita, and Medibang Paint perfect for digital coloring beginners. They’re user-friendly, packed with helpful tools, and won’t overwhelm you as you learn to bring your art to life.
These programs make it easy to get started without feeling lost. Plus, they have tons of features that help you experiment and grow your skills. Give them a try and see which one feels right for you!
How Do I Organize Layers Efficiently in Digital Art?
Don’t put all your eggs in one basket—separate your line art, base colors, and shading into different layers. Name and group related layers, and use folders to keep everything tidy.
This way, you’ll work faster and stress less. It’s all about staying organized so your workflow feels smooth and manageable.
What Hardware Tools Improve Digital Coloring Precision?
You’ll improve digital coloring precision using a pressure-sensitive tablet, like a Wacom or Huion, paired with a stylus that offers tilt and pressure control.
A high-resolution monitor also helps you see colors and details clearly. It makes a big difference when you’re trying to get those tiny nuances just right.
How Can I Avoid Color Banding in Digital Paintings?
To dodge color banding’s harsh lines, you’ll want to add subtle noise or gradients, like mist softening a sunrise. Work in higher bit depths and avoid harsh shifts, letting your colors flow smoothly across the canvas.
It’s all about making those transitions gentle. Think of your colors blending naturally, not jumping in chunks. That way, your digital painting feels more alive and polished.
What Are Common Mistakes to Avoid in Digital Coloring?
You’ll want to avoid using too few colors, neglecting layer organization, ignoring lighting, and overusing saturation. Don’t skip blending or rely solely on the brush tool.
These mistakes can make your digital coloring look flat or unnatural. So, it’s worth paying attention to these details to keep your artwork vibrant and dynamic.
Conclusion
Now that you’ve mastered choosing colors and blocking base shapes, along with adding shadows and highlights, your digital art will truly come alive. It’s like having a toolbox full of creative tricks to bring your vision to life.
Think of yourself as a painter with a palette or a writer with words—you hold the power to transform a blank canvas into a vibrant story. Keep experimenting with different colors and techniques.
Remember, every stroke you make is a step closer to creating your own masterpiece. Just like the great artists who came before you, your unique style will shine through with practice and patience. Embrace the process of coloring digital art, and watch your skills grow with each new project.