How Do You Make Digital Art in 10 Essential Steps
To make digital art in 10 essential steps, start by choosing software that fits your style and setting up your workspace with the right gear. Picking the right tools is key because it sets the foundation for your creative flow.
Whether you’re into detailed illustrations or bold graphic designs, the right software and setup make all the difference.
Begin with a rough sketch, then refine your linework before blocking in base colors on separate layers. This step-by-step approach helps keep your work organized and easy to adjust as you go.
Add shadows and highlights for depth, apply textures and details for realism, and finalize by merging and exporting your artwork.
Remember to save multiple file formats to keep your options open. Keep going to discover how each step sharpens your skills.
Key Takeaways
- Choose and set up digital art software and hardware suited to your style and comfort. This will help create an efficient workflow that feels natural to you.
- Begin with a rough sketch using basic shapes. This step helps you establish composition, proportions, and the overall structure of your piece.
- Refine your linework by cleaning up strokes and erasing the sketch layers. Finalize your lines before you start adding color—it makes everything look sharper.
- Apply base colors on separate layers. Then, build up light, shadow, and highlights consistently to add depth and realism to your artwork.
- Add textures and details on dedicated layers. When you’re happy with the result, save and export your artwork in multiple formats to keep it safe and shareable.
Choose Digital Art Software for Your Style
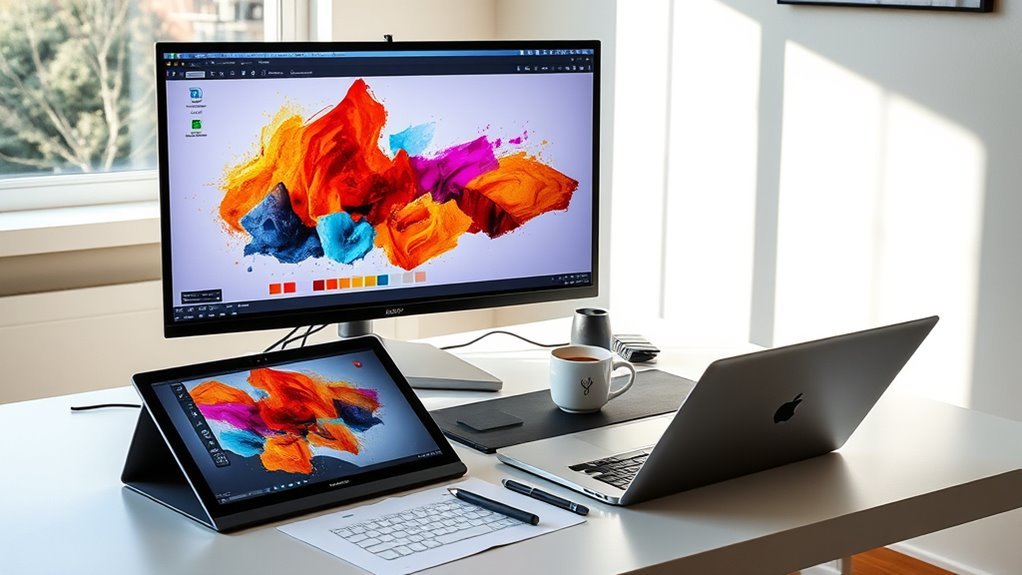
Before you plunge into creating digital art, you need to choose software that fits your style and goals. Digital art software varies widely, so consider what suits your artistic goals best.
Selecting the right digital art software is key to aligning your tools with your creative vision and goals.
For example, if you prefer illustration, Procreate offers excellent iPad compatibility and intuitive layer management. On the other hand, Photoshop provides advanced painting and editing tools with cross-platform device compatibility, ideal for detailed work.
Think about the features you need, like custom brushes or animation tools, to guarantee the software supports your workflow. You don’t have to commit right away—try free or trial versions such as Krita or GIMP to explore different interfaces and capabilities.
Research what professionals in your genre use to get a clearer idea of what matches your skill level and style. Choosing the right digital art software early on sets a solid foundation for your creative journey.
Set Up Your Workspace and Get Your Gear Ready
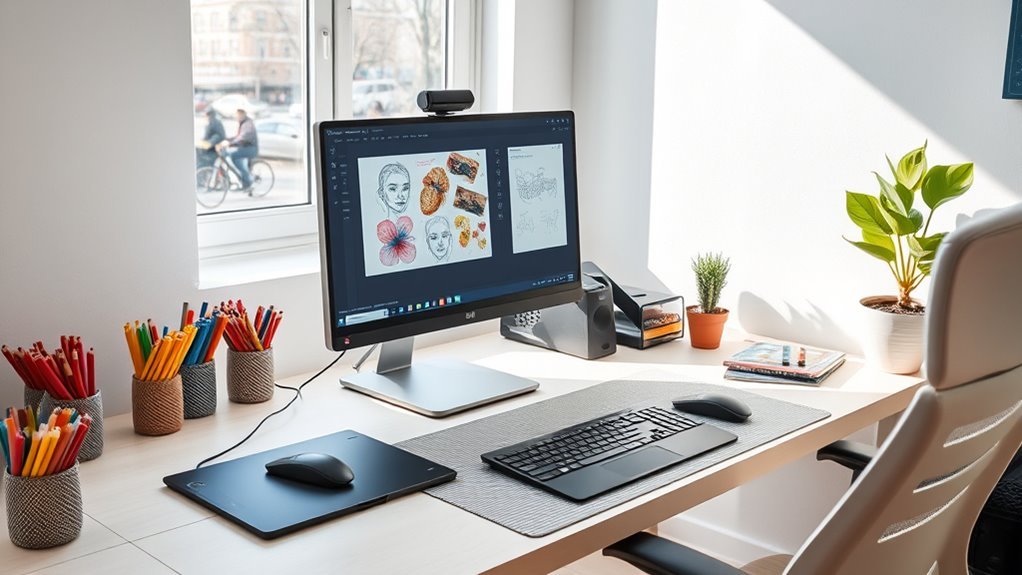
Once you’ve chosen your digital art software, it’s essential to set up your workspace and gather the right gear to create comfortably and efficiently. Start by picking a digital device that suits your software and comfort—whether it’s a computer, tablet, or smartphone.
Next, find a stylus compatible with your device to ensure precise control and pressure sensitivity. Finally, arrange your surroundings to boost productivity.
Here are three key steps to set up your digital art workspace:
- Complete your software setup by installing and exploring features, brushes, and shortcuts to streamline your workflow.
- Create an ergonomic workspace with a comfortable chair, a color-accurate monitor, and proper lighting to reduce strain.
- Organize your digital files and tools so everything’s easy to access, helping you stay focused and creative.
With these essentials ready, you’ll draw with ease and enjoy the creative process.
Start With a Rough Sketch to Plan Your Design
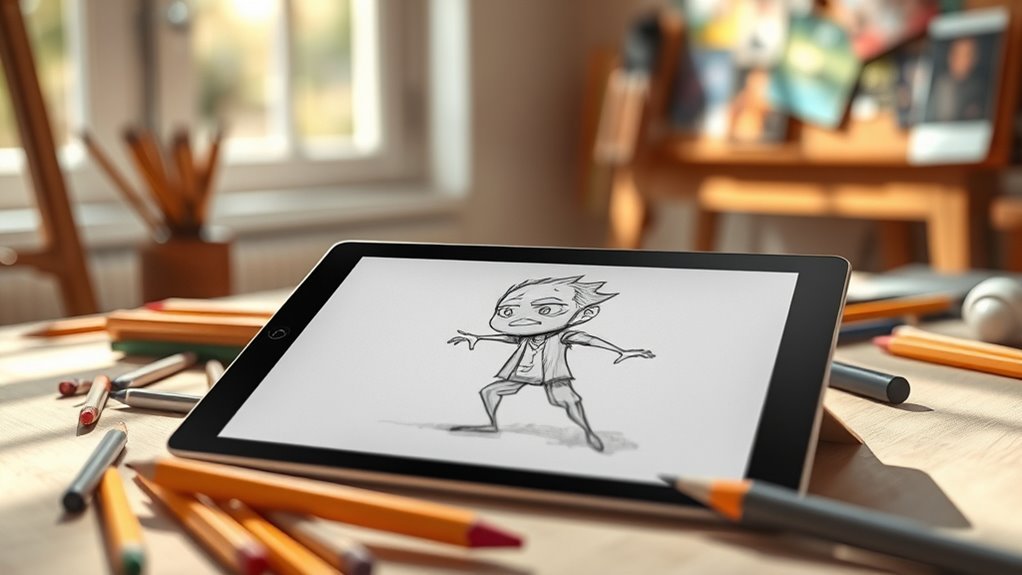
With your workspace set and tools ready, you can start shaping your ideas by creating a rough sketch. Begin by making a loose, light digital sketch to establish the overall composition and placement of your design’s elements.
Use simple shapes like circles, cones, and cubes to build the basic structure of complex objects. Focus on the general silhouette and proportions. This rough outline serves as your initial layer, so keep it simple and use a contrasting color or low opacity to differentiate it from future layers.
Don’t worry about details yet; just concentrate on capturing the flow and scale of your design. It’s totally normal to keep tweaking your sketch as you go. Regularly review and adjust your rough sketch to make sure the composition aligns with your creative vision.
This early planning stage really helps you avoid major changes later on. Plus, it gives your digital art a solid foundation to build upon.
Refine Linework and Remove Sketch Layers
Now it’s time to clean up your lines by zooming in and carefully refining each stroke. Use the eraser tool to remove any rough sketch marks and make your linework crisp.
Once you’re happy with the result, delete or hide the sketch layer to keep your artwork neat and ready for coloring. This step really helps your piece look polished and professional.
Cleaning Up Lines
Although your initial sketch lays the groundwork, you’ll want to clean up your lines to achieve a polished look. This step is essential for refining your linework and preparing your art for coloring.
Here’s how to tackle cleaning up lines effectively:
- Use the selection or lasso tool to isolate rough or stray lines, then zoom in to refine edges with a smaller brush for precision.
- Utilize the eraser tool to remove unwanted or overlapping lines, ensuring your contours are smooth and continuous.
- Once satisfied, consider merging or rasterizing your cleaned line layers to finalize the linework before moving on.
Deleting Sketch Layers
After cleaning up your lines, it’s time to remove the underlying sketch layers that helped guide your work. Deleting the sketch layer clears visual clutter, making your workspace neat for finalizing.
You can delete the sketch layer by selecting it and pressing delete or using the layer menu. Alternatively, hide the sketch layer to keep it as a backup while viewing your refined linework clearly.
Always verify your linework is finalized and saved before deleting the sketch layer to avoid losing essential details. Here’s a quick overview:
| Action | Purpose | Tip |
|---|---|---|
| Delete layer | Clear workspace | Press delete or use menu |
| Hide layer | Preserve sketch | Toggle visibility |
| Finalize linework | Prevent accidental edits | Save before deleting |
| Backup sketch | Recover if needed | Use hide instead of delete |
Use Layers to Separate Sketches, Colors, and Details
When you use layers to separate sketches, colors, and details, you gain greater control over your digital artwork. This approach lets you make adjustments without affecting other parts of your piece.
Typically, you’ll start with a rough sketch on one layer, then add new layers for colors and refined details. This method keeps your work organized and flexible.
Begin with a rough sketch layer, then build up with colors and details for organized, flexible artwork.
Here’s why using layers is essential:
- You can lock or hide layers, so you focus on editing colors without disturbing the sketch.
- Separating elements prevents accidental erasing or overwriting during the creative process.
- Once satisfied, you can merge layers to simplify your file before exporting.
Block in Base Colors for Each Major Element
To create a strong foundation for your digital artwork, block in base colors for each major element using simple, solid tones. Assign a separate color layer for each element to keep your work organized and editable.
Use flat color layers with one primary base color per element to guarantee clear visual separation. Quickly fill these areas using selection tools or bucket fill, focusing on smooth, even coverage rather than detail.
Keep these base colors separate from your sketch and detail layers so you can adjust colors easily without affecting other parts of your digital illustration.
| Major Element | Base Color | Color Layer Tip |
|---|---|---|
| Background | Light Blue | Use a separate layer |
| Character | Warm Tan | One flat color per part |
| Foreground | Dark Green | Fill with bucket tool |
| Props | Bright Red | Keep layers organized |
Blocking in base colors sets you up for smooth, efficient shading and detailing later. It really makes the whole process easier down the line.
Add Shading and Highlights to Create Depth
To add depth, you’ll want to use shading techniques like soft, gradual strokes with pressure-sensitive brushes that mimic natural light. Apply highlights on raised areas where light hits directly to make your art pop.
Try experimenting with layer modes like multiply for shadows and overlay for highlights. This can help you achieve a more realistic look. Give it a go and see how much more life your art can have!
Techniques For Realistic Shading
Although shading can seem challenging at first, mastering realistic techniques will bring your digital art to life by adding depth and dimension. To create convincing shading, start by establishing a consistent light direction.
Use a soft, low-opacity brush to build up shading gradually on layers set to multiply blending mode. This helps create natural shadows without harsh edges.
Next, apply highlights carefully with a small, high-opacity brush on areas that catch direct light. Often, using overlay blending mode adds a subtle glow.
Finally, study real-world objects or reference photos to understand how light interacts with surfaces. This will enhance your shading’s realism.
Here’s a quick technique checklist:
- Build shading gradually with soft brushes and multiply layers.
- Add highlights sparingly on reflective areas using overlay layers.
- Observe real objects to mimic natural light and shadow patterns.
Applying Highlights Effectively
Shading sets the foundation for depth, but applying highlights brings your digital art to life by emphasizing where light strikes most intensely. In digital painting, you’ll want to place highlights on the brightest areas where the light source hits directly—usually on top or protruding parts of your subject.
Use a soft brush with low opacity on an overlay or screen layer to build subtle, realistic highlights gradually. Always keep the light source direction consistent; highlights should appear opposite shadows to enhance depth and volume.
For glossy or reflective surfaces, increase contrast or layer multiple strokes to intensify highlights. Properly applied highlights give your artwork a convincing three-dimensional feel, making your digital painting more dynamic and lifelike.
Apply Textures and Details for Realism
When you apply textures and details, your digital art instantly gains a new level of realism that flat colors alone can’t achieve. Start by using textured brushes or importing texture images to add authentic surface qualities.
Layer different textures to create depth—mix rough and smooth patterns for tactile variation. Don’t forget to adjust each texture’s opacity and explore blending modes to make them blend naturally within your painting.
Here’s a quick guide to enhance your artwork with textures and details:
- Use a separate layer for each texture to keep your work flexible and editable.
- Zoom in closely to add fine details like skin pores, fabric weaves, or scratches for enhanced realism.
- Scale and tweak each texture layer’s blending mode and opacity until it integrates seamlessly.
Merge Layers and Export Your Final File
After adding textures and fine details that bring your artwork to life, the next step is to merge your layers and prepare your file for export. Before you merge layers, save a version of your digital art with all layers intact. That way, you can revisit and edit it later if needed.
When you’re ready, use the “Merge Layers” or “Flatten Image” function to combine all visible layers into a single one. This simplifies your final file and makes it ready for exporting.
For exporting, choose widely supported formats like .PNG or .JPEG. These are ideal for sharing online or printing.
Exporting a flattened final file ensures compatibility and reduces file size. Just remember to keep a separate layered copy of your artwork for future edits.
But when it’s time to distribute your work, export a clean, merged version. Merging layers and exporting your final file properly wraps up your digital art process, giving you a polished piece ready to showcase or print.
Save Your Digital Artwork in Multiple Formats for Flexibility
You should save your digital artwork in multiple formats to keep your options open for sharing, printing, and editing. Always preserve an editable, layered version like a PSD file so you can make changes later.
Choosing the right formats helps you maintain quality and flexibility throughout your creative process. This way, you’re ready for whatever comes next with your art!
Choose Appropriate File Formats
Saving your digital artwork in multiple file formats gives you the flexibility to use your creations across different platforms and purposes.
When you choose appropriate file formats, you guarantee your work looks great whether it’s online, in print, or for future edits. Here’s how to pick the right ones:
- Use PNG for transparency, JPEG for quick online sharing, and TIFF for high-quality prints.
- Export vector formats like SVG or AI if you need scalable graphics without losing quality.
- Regularly backup files in various formats and locations to avoid data loss and maintain access.
Preserve Editable Layered Copies
Choosing the right file formats goes hand in hand with preserving editable layered copies of your artwork. To keep your work flexible, always save a layered, editable copy in formats like PSD. This way, you can easily make adjustments without starting over.
Don’t forget to save as PSD regularly to preserve all layer information. Besides, export flattened versions in PNG or JPEG for sharing or online use. It’s smart to keep multiple layered files in different formats too, ensuring compatibility across platforms and printing needs.
To avoid data loss, make a backup of your layered files and update them often. By preserving editable layered copies, you maintain full control over your digital art’s future revisions and edits.
Frequently Asked Questions
What Are the Steps to Creating Digital Art?
You start by picking your software and setting up your workspace. Then, sketch roughly and build layers with colors and details.
Use references for accuracy—it really helps. Finally, refine and save your artwork in the right format.
What Are the 7 Elements of Digital Art?
The seven elements of digital art are line, shape, color, value, texture, space, and form. You’ll use these to create depth, guide the viewer’s eye, and build structure, mood, and visual interest in your artwork.
Each element plays its own unique role. Together, they help you bring your ideas to life in a way that really connects with people.
How Can I Create Digital Art?
Did you know over 60% of digital artists use layers? You can create digital art by sketching on layers, adding colors and details with brushes, and saving your work in editable formats for easy adjustments and sharing.
It’s pretty cool because layers let you work on different parts of your art without messing up other areas. Plus, saving in editable formats means you can always come back and tweak things later. Give it a try and see how it changes your process!
What Skills Are Needed to Create Digital Art?
You need drawing fundamentals, color theory, shading, and lighting skills. Master software tools, layer management, and brush customization.
Get comfortable using styluses and shortcuts, and practice consistently to sharpen your digital art techniques and creativity. It really helps to keep at it regularly!
Conclusion
By following these 10 essential steps, you can confidently create stunning digital art that reflects your unique style. Did you know that over 60% of digital artists say mastering layers dramatically improves their workflow and creativity?
With the right software, tools, and techniques, you’ll bring your ideas to life more efficiently than ever. So, jump in, experiment, and watch your digital art skills grow with each project you complete!
Digital art creation is all about practice and exploration. As you experiment with different brushes, layers, and effects, you’ll find what works best for you. Remember, mastering these tools not only boosts your efficiency but also enhances your creative expression.
Stick with these steps, and you’ll see your digital artwork evolve beautifully. Happy creating, and enjoy the exciting journey of digital art!