10 Steps to Create Mixed Media Art
To create mixed media art, start by gathering diverse materials like paper, fabric, paint, and found objects. Choose a sturdy, primed surface that can handle different textures and mediums. Planning your composition with quick sketches helps you visualize the final piece before diving in.
Next, layer collage elements and textures to give your artwork depth and interest. Don’t be afraid to experiment with different materials and techniques as you build up your layers. Adding fine details with pencils, pens, or paint markers brings precision and personality to your work.
You can also enhance your piece with stencils or stamps for unique patterns and effects. Finish by applying bold highlights using acrylic pens or gel pens to make your colors pop.
Finally, seal your work with a clear varnish to protect it and ensure its longevity. Following these steps will help you master every stage of creating vibrant mixed media pieces.
Key Takeaways
– Prepare sturdy, primed surfaces and organize diverse materials like paints, papers, and tools before starting your mixed media artwork.
It really helps to have everything ready to go so you can focus on creating without interruptions.
– Plan your composition with thumbnail sketches to establish focal points and balance negative space effectively.
Doing a few quick sketches lets you play around with ideas and find what works best.
– Layer collage elements, paints, and textures thoughtfully, allowing each layer to dry for depth and visual interest.
Take your time here—letting layers dry adds a nice dimension to your piece.
– Enhance details using fine lines, stenciling, stamping, and bold accents like acrylic paint pens or metallic gel pens.
These little touches can really make your artwork pop and stand out.
– Seal the finished piece with clear, non-yellowing varnish and store it away from sunlight and moisture for preservation.
This step keeps your art looking great for years to come. Just find a safe spot to keep it protected.
Choose Your Mixed Media Materials and Tools
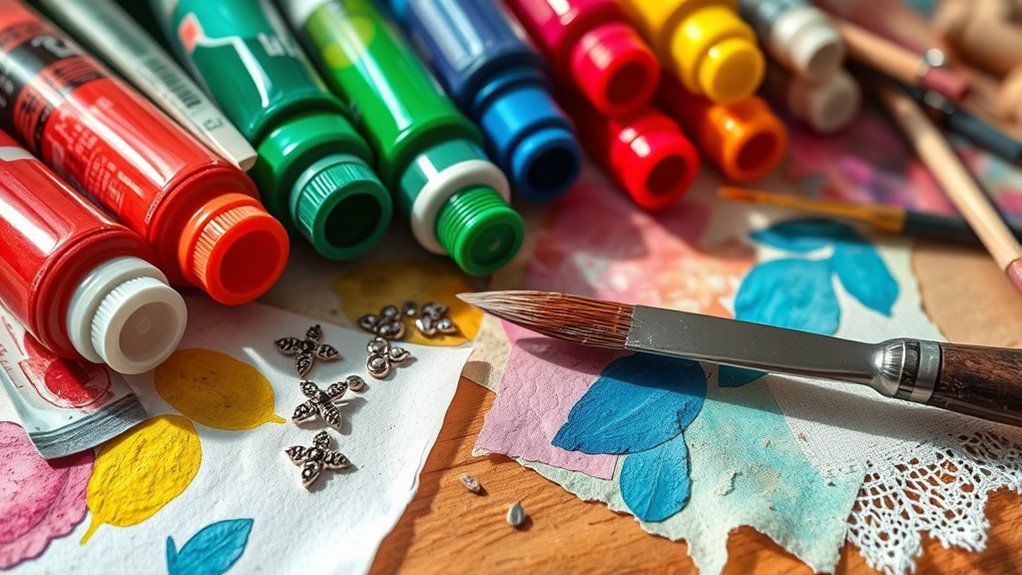
Start by gathering a variety of materials like paints, collage papers, and found objects to build a rich mixed media piece. You’ll want to collect diverse mixed media supplies to explore different artistic mediums, including fabric, embroidery, or even household items.
These add unique textures and depth to your work. Keep essential tools handy, such as brushes, glue, matte medium, palette knives, and stencils, to help you apply layering techniques smoothly.
Organizing your supplies before you begin will make your creative process more efficient and inspire spontaneous ideas. If you’re into art journaling, having a well-stocked collection of materials encourages experimentation and personal expression.
Pick the Best Surface for Your Mixed Media Art
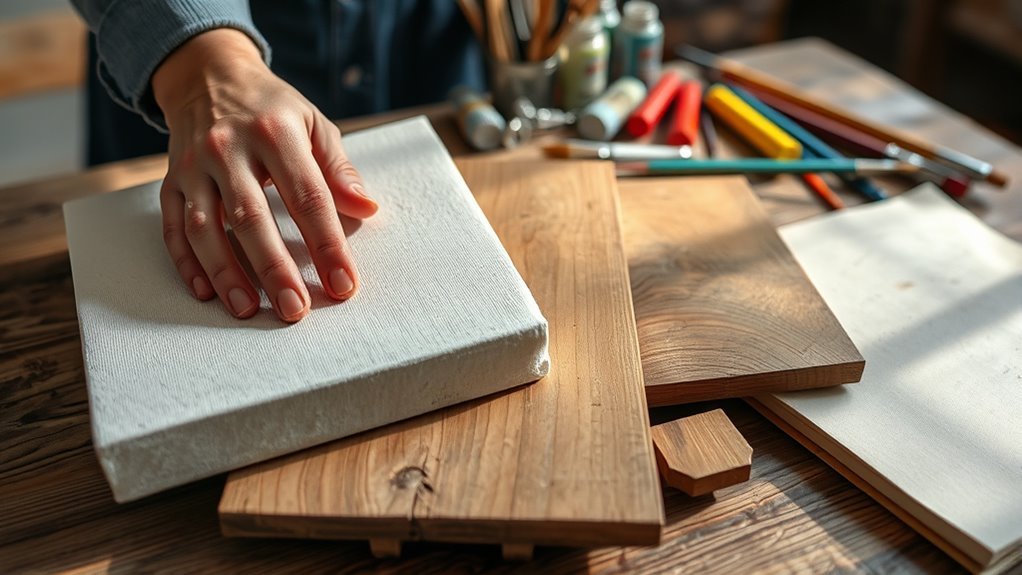
Selecting the right surface for your mixed media art is essential because it needs to support multiple layers without warping or deteriorating. You’ll want to choose sturdy options like canvas, heavy mixed media paper, or wood panels that can handle the weight and texture of layering various materials.
Canvas boards and cradled panels are excellent for preventing warping, especially if you plan to work with wet media. Consider the size and shape carefully to guarantee your design fits well and the surface stays stable throughout your process.
Before you start, applying a primer like gesso creates a smooth, absorbent base that helps your adhesives and paints adhere better. Be sure to pick a surface compatible with acrylics, watercolors, inks, and collage elements to keep your options open for creative experimentation.
Prepare Your Surface With Base Layers
Start by choosing a surface that can handle multiple layers, like canvas or mixed media paper. Next, apply a layer of gesso or primer to create a smooth base that helps your materials stick better.
This step guarantees your surface stays durable as you build your artwork. It really sets you up for success!
Choosing Suitable Surfaces
Choosing the right surface is essential for mixed media art, as it needs to handle multiple layers and different textures without warping or deteriorating.
When selecting your canvas or other surfaces, consider materials that offer strong support and durability. Proper surface preparation is key to achieving the best results and ensuring your textures and media adhere well.
- Use canvas board panels, wood, cardboard, or mixed media pads to support various textures.
- Clean the surface thoroughly to remove dust or grease before starting.
- Select surfaces compatible with acrylics, watercolors, collage papers, and textured materials.
- Support stretched canvases with a backing or attach ribbons/velcro to prevent warping.
- Prepare surfaces carefully to create a stable base, enhancing texture and paint adhesion.
Applying Gesso Primer
Applying gesso primer is one of the most important steps to prepare your surface for mixed media art. Gesso creates a smooth surface that enhances paint adhesion and prevents staining of the material underneath.
Use a wide, flat brush to apply an even, thin layer of gesso primer across your canvas, wood, or cardboard. Let it dry completely before layering additional media.
Applying multiple coats improves coverage and texture—just allow each layer to dry fully and lightly sand between coats if you want a smoother finish. Gesso also seals porous surfaces and unifies absorbency, ensuring your paints apply consistently without bleeding.
Ensuring Surface Durability
Once your gesso primer has dried, it’s important to build a durable base that can handle multiple layers without warping or bleeding. Preparing your surface properly ensures your mixed media art stands the test of time.
Start by cleaning your surface thoroughly. You want to remove any dust and grease so your layers stick better.
Next, apply an even layer of gesso or primer. This creates a smooth, stable foundation for your work.
If you’re working with porous surfaces like paper or cardboard, use sealing or fixative sprays. This helps prevent the surface from soaking up too much of your materials.
For textured surfaces, try embedding a matte medium or gel layer. It strengthens and stabilizes the base, making it more durable.
And don’t forget to let each base layer dry completely before adding more media. This avoids smudging or lifting and keeps your artwork clean and crisp.
Plan Your Composition and Choose a Focal Point
How do you guarantee your mixed media artwork captures attention from the start? You begin by planning your composition and choosing a clear focal point. Decide on the main subject to establish a visual center, then experiment with different placements to balance emphasis within your layout.
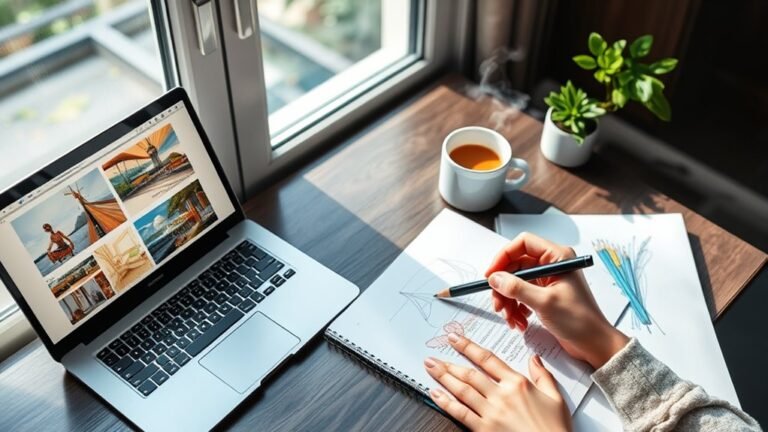
Using thumbnail sketches helps you explore various arrangements before committing to the final piece. Think about the overall flow—how the background, layers, and focal point interact to guide the viewer’s eye.
Also, plan for negative space around your focal point; this enhances its prominence and creates visual harmony, making your artwork more engaging.
| Step | Description |
|---|---|
| Identify Focal Point | Choose the main subject |
| Experiment Placement | Try different focal point positions |
| Sketch Layouts | Use thumbnails to explore ideas |
| Plan Flow | Ensure eye movement is guided |
| Manage Negative Space | Create balance and harmony |
Start Layering Collage Elements and Textures
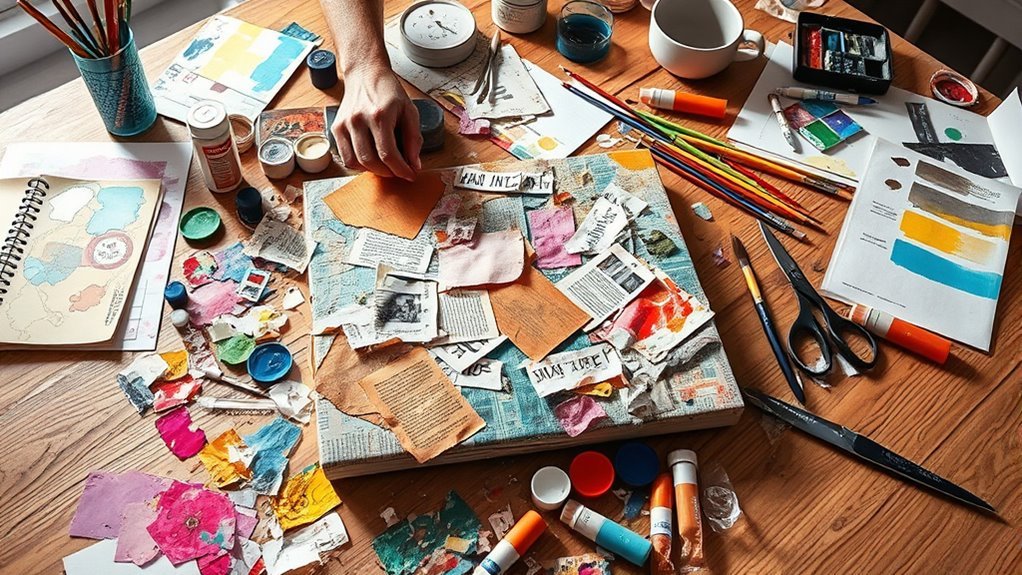
As you start layering collage elements, gather a variety of papers like vintage pages, scrapbook scraps, or handmade sheets and arrange them loosely on your surface. This initial placement helps you explore your composition and how different layers interact.
Use a light layer of matte medium or glue to adhere each piece, overlapping edges to create depth and texture. You can also incorporate other materials like fabric or tissue paper to add tactile interest. Remember to adjust as you go, keeping the overall composition balanced and engaging.
Try these tips to enhance your collage layers:
- Overlap papers to build visual depth and complexity
- Add natural objects like shells or small rocks for texture
- Use translucent tissue paper to soften and blend areas
- Experiment with layering inks or light washes for subtle color shifts
- Let each layer dry before adding the next to maintain clarity and structure
Build Depth With Mixed Media Paints and Mediums
While layering collage elements sets a strong foundation, you’ll want to build depth by applying mixed media paints and mediums thoughtfully. Use transparent or diluted paints to build layers gradually, creating depth and dimension without overpowering your base.
Incorporate a variety of mediums like acrylics and inks alongside your collage elements to add complexity and rich texture. Apply darker shades or contrasting colors in the background to push layers forward, enhancing visual depth effectively.
Try using tools such as palette knives or sponges to spread and blend your mediums. This helps achieve subtle *progressions* between layers.
Don’t be afraid to experiment with overlapping translucent washes and opaque textures. Mastering these mixed media techniques will give you a multi-dimensional effect.
Add Drawing and Detailing to Enhance Your Art
Once you’ve built a textured foundation, adding drawing and detailing will really bring your mixed media art to life. This step enhances your piece by layering fine lines and intricate accents that deepen texture and visual interest.
Use fine-tipped pens or colored pencils to carefully outline and highlight key elements. Make sure your drawing complements the existing layers without overpowering them.
Try applying drawing techniques like hatching or stippling to introduce subtle depth and dimension. It’s a good idea to start with a light pencil sketch or gesso outline to keep your details precise.
Here are some tips to refine your detailing:
- Use fine-tipped pens like Posca for crisp, clear lines.
- Incorporate hatching, stippling, or cross-hatching to build texture.
- Outline important shapes with light pencil or gesso before detailing.
- Add small decorative accents to focus attention.
- Combine watercolor pencils or ink for soft shading and highlights.
This thoughtful layering of drawing and detailing will really elevate your mixed media art’s complexity and finish. Give it a try—you’ll see the difference it makes!
Experiment With Stenciling, Stamping, and Marks
You can use stencils made from cardboard or plastic to add precise shapes and patterns by applying paint or ink with brushes or sponges. It’s a great way to get clean, sharp designs on your work.
Try stamping with rubber or foam stamps to create repeating motifs and textured effects that bring your piece to life. Stamping can really add some fun and rhythm to your artwork.
Don’t forget to experiment with different mark-making tools like pencils or charcoal to add spontaneous lines and dynamic details. Playing around with these tools can make your piece feel more alive and personal.
Stenciling Techniques Overview
Although stenciling might seem straightforward, mastering the technique takes some practice and experimentation. You’ll want to explore various stenciling techniques to apply medium evenly and create crisp designs.
Be sure to secure your stencil using painter’s tape or adhesive to avoid shifting. Layering stenciled images with painting or collage adds rich depth to your mixed media art.
Don’t hesitate to try different stencil sizes and overlapping patterns for unique textures.
- Use a stencil brush, sponge, or spray to apply medium evenly
- Fix the stencil firmly to prevent bleeding or smudging
- Experiment with opacity by adjusting paint thickness or spray distance
- Combine stenciled shapes with other media for layering effects
- Overlap patterns to build complexity and visual interest in your piece
Creative Stamp Usage
Building on stenciling techniques, stamping offers another dynamic way to add texture and pattern to your mixed media art. Use rubber or foam stamps with ink or paint to create repetitive patterns that bring consistency and depth.
Don’t hesitate to experiment by making your own stamps from materials like foam, linoleum, or even carved potatoes for unique effects. It’s a fun way to get really creative with your designs.
Combine stamping and stenciling techniques by layering different patterns and textures, which adds visual interest and complexity to your work. Try mixing things up with various tools such as brushes, sponges, or household objects like combs.
This will help diversify your stamped and stenciled patterns. With these stamping techniques, you’ll enrich your pieces with tactile texture and intriguing designs that really elevate your mixed media art.
Dynamic Mark Making
Three powerful techniques—stenciling, stamping, and freehand mark making—can transform your mixed media art by adding varied textures and dynamic lines. Dynamic mark making really breathes life into your pieces, creating rich layering and energetic movement.
By experimenting with these methods, you’ll build complex textures that draw the eye and add depth.
Try these approaches to enhance your work:
- Use stencils for precise, repeatable shapes and patterns.
- Press stamps with different inks or paints for textured impressions.
- Apply freehand marks with brushes, sponges, or palette knives.
You can also combine techniques to develop intricate layering and visual rhythms. Vary the pressure and tools to create spontaneous, expressive lines.
Incorporating dynamic mark making enriches your mixed media compositions, making each piece uniquely textured and vibrant. Give it a try and see how it changes your art!
Add Bold Accents and Highlights to Your Artwork
Adding bold accents and highlights can transform your mixed media artwork by drawing attention to key areas and enhancing depth. Start by using acrylic paint pens with broad tips, like Mont Marte’s 48-color set, to apply vibrant layered accents easily on top of your piece.
Metallic gel pens work wonderfully on dark or textured surfaces, adding striking highlights that boost contrast and visual interest. You can also incorporate white or light-colored acrylic paint with a palette knife or brush to emphasize specific elements, bringing dimension to your work.
For finer details, Posca or similar paint markers allow you to draw sharp, vivid lines that focus the viewer’s eye. Remember to layer highlights strategically over darker areas; this technique creates luminosity and makes your artwork feel dynamic.
Seal and Preserve Your Mixed Media Art
Although your mixed media artwork may look complete, sealing it is vital to protect your creation from dust, moisture, and fading caused by UV exposure. Proper sealing helps guarantee the longevity of your piece while preserving its vibrant colors and textures.
To protect your work effectively, choose a clear, non-yellowing sealant like spray varnish or acrylic varnish.
Keep these tips in mind for sealing your mixed media art:
- Test the sealant on a small, hidden area to check compatibility before full application.
- Apply thin, even coats, allowing each layer to dry fully before adding the next.
- Use sealing especially if your piece contains delicate or textured materials.
- Work in a well-ventilated space to avoid inhaling fumes.
- Store your sealed artwork away from direct sunlight and moisture to maximize longevity.
Frequently Asked Questions
What Is the Process of Mixed Media Art?
You combine different materials like paint, paper, and textures, layering them on a surface. You experiment with techniques and adapt as you go.
It’s all about exploring and letting your creativity flow. When you’re done, you finish by sealing your work to preserve its depth and detail.
What Are the 7 Elements of Art Mix?
The 7 elements of art mix are line, shape, form, space, value, texture, and color. You’ll combine these to build your artwork’s structure, depth, and feel.
This mix makes your piece dynamic and expressive. It’s all about how these elements work together to bring your vision to life.
What Is the 70/30 Rule in Art?
You’ve probably felt overwhelmed by busy artwork—that’s where the 70/30 rule helps.
It means 70% of your piece highlights the main subject, while 30% supports it. This creates balance and makes your focal point truly shine.
What Are the Elements of Mixed Media Art?
You’ll find the elements of mixed media art include layering, texture, collage, mark-making, and using various materials together. These combine to create depth, visual interest, and a rich, expressive story within your artwork.
It’s all about mixing things up and letting different textures and materials play off each other. This way, your artwork feels alive and full of character.
Conclusion
Now that you’ve explored these 10 steps, you’ll see how each layer builds on the last, creating rhythm and harmony in your mixed media art. You don’t have to follow every step perfectly; instead, trust your instincts and experiment boldly.
The truth is, the flow comes from your creative choices, blending materials and techniques naturally. So jump in, play with textures, and watch your unique masterpiece come alive with every brushstroke and collage piece.
Remember, mixed media art is all about combining different elements like paint, paper, fabric, and found objects to express your vision. Embrace the process, have fun mixing materials, and let your creativity guide you. With each layer, you’re crafting something truly original that reflects your personal style and artistic voice.