How to Steam Milk for Latte Art in 10 Essential Steps
Choose fresh, cold milk—whole milk works best for creamy microfoam. It’s the foundation for steaming milk perfectly for latte art. Pre-warm your stainless steel pitcher and fill it one-third full.
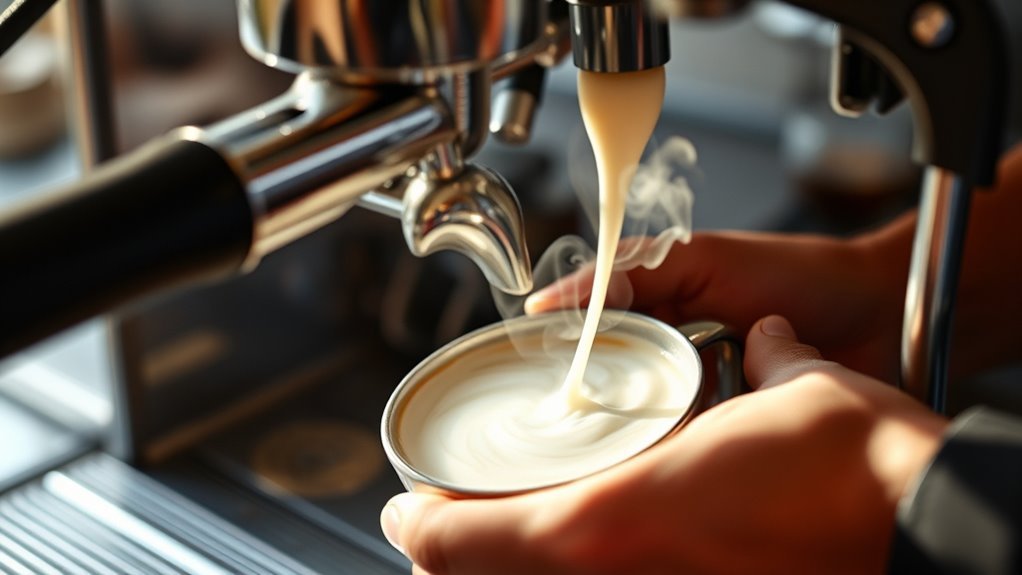
Purge the steam wand to get rid of any water buildup. Then, place the wand just below the milk surface at an angle to gently aerate for 3–5 seconds, creating tiny bubbles.
Next, submerge the wand deeper to heat the milk to 140–150°F. This helps form that smooth, velvety microfoam you want for your latte.
Tap and swirl the pitcher to remove any large bubbles. Then, pour immediately with controlled movements to create sharp, beautiful latte art.
Keep practicing and following these tips to perfect your milk steaming technique. It really makes all the difference!
Key Takeaways
- Use fresh, cold whole milk and a stainless steel pitcher filled one-third full for optimal microfoam and texture. This helps create the perfect base for your latte art.
- Position the steam wand just below the milk surface at a slight angle to gently aerate for 3–5 seconds. You want to introduce just the right amount of air to get that creamy foam.
- Submerge the wand fully and create a whirlpool to evenly heat milk to 140–150°F while maintaining smooth microfoam. This motion helps keep the texture silky and consistent.
- Immediately pour steamed milk slowly and steadily, increasing speed halfway to preserve microfoam and ensure sharp latte art. Pouring with control is key to making your design pop.
- Hold the pitcher at a 45-degree angle, adjusting height and tilt for precise control and detailed design accuracy. A little tweak here and there can make all the difference in your latte art!
Choose the Right Milk for Steaming and Latte Art
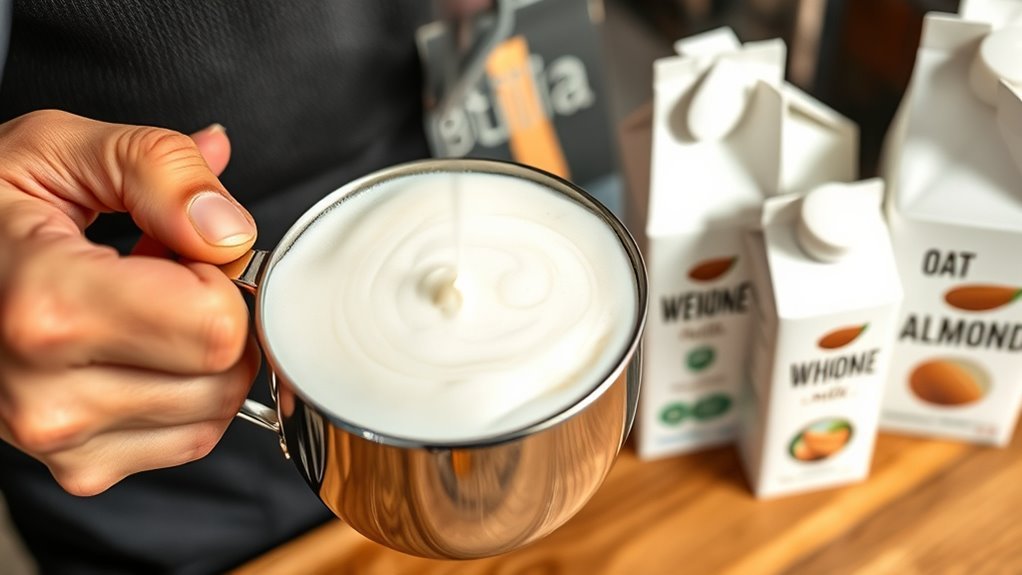
When you want to create beautiful latte art, choosing the right milk is essential. Whole milk, with its higher fat content, produces richer, creamier microfoam that’s perfect for detailed designs. You’ll find it easier to achieve smooth textures because whole milk steams consistently well at the ideal steaming temperature between 140–150°F.
Skim or low-fat milk, on the other hand, creates thinner, stiffer foam with larger bubbles. That makes intricate patterns tougher to pull off.
If you prefer plant-based options, know that each behaves differently. Oat milk usually gives you smooth, stable foam, but you might need to adjust the steaming temperature to avoid curdling or thin microfoam.
Always use fresh, cold milk straight from the fridge to get the best results. It really makes a difference!
Get Your Equipment and Milk Ready
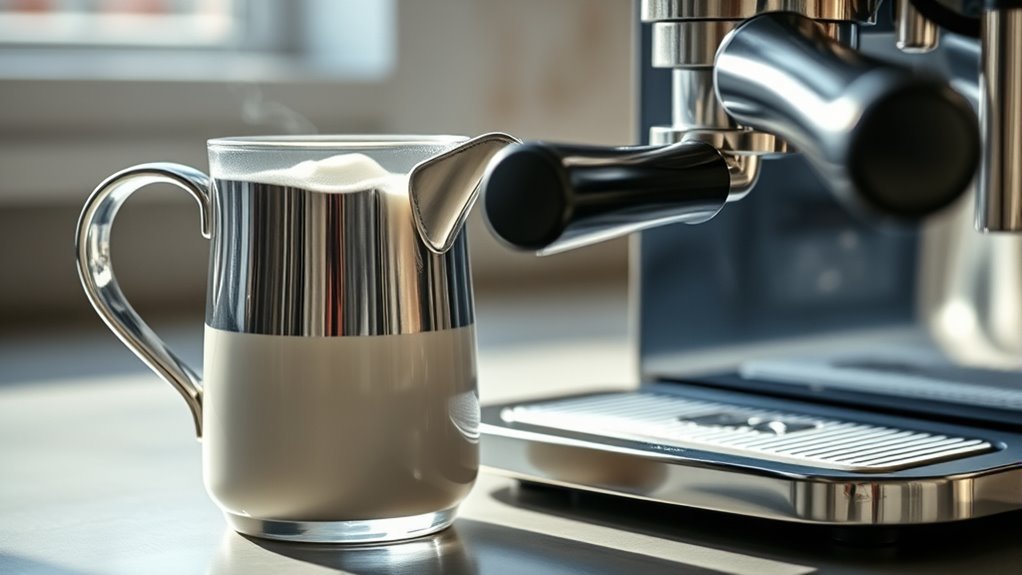
Before you start steaming, make sure your steam wand is purged to clear any residue for clean steam.
Grab fresh, cold milk straight from the fridge, and fill your pitcher about one-third full to leave room for frothing.
Having the right equipment and fresh milk ready sets you up for perfect microfoam every time.
Essential Steaming Equipment
Although steaming milk might seem straightforward, having the right equipment is essential for achieving smooth, velvety microfoam. You’ll want to start with a clean, stainless steel pitcher—it conducts heat evenly and helps create that perfect texture.
Before you steam, always purge the steam wand for 1-2 seconds to clear out any condensation. This ensures consistent steam pressure and better results.
Filling the pitcher with cold milk up to the spout leaves enough room for expansion as you introduce air.
Keep these essentials in mind:
- Use a stainless steel pitcher for ideal heat conduction.
- Purge the steam wand to maintain temperature control and steam quality.
- Position the steam wand just below the milk surface at a slight angle to create rich microfoam.
This setup guarantees a smooth steaming process every time. You’ll be making barista-quality milk in no time!
Choosing Fresh Cold Milk
Why does starting with fresh, cold milk matter so much for latte art? Using fresh milk straight from the refrigerator guarantees the best microfoam texture. Cold temperature milk gives you more control during steaming, allowing the proteins to stretch and create that smooth, velvety foam you need.
Opt for whole milk or higher fat content for richer, creamier microfoam that holds your design better. Before pouring, pre-warm your steaming pitcher to stabilize the temperature. Then fill it only up to the recommended level to leave room for milk expansion.
Don’t forget to purge your steam wand to remove condensation and get a clean, dry steam flow. These steps let you craft consistent, silky microfoam—essential for perfect latte art every time.
Position the Steam Wand for Perfect Aeration
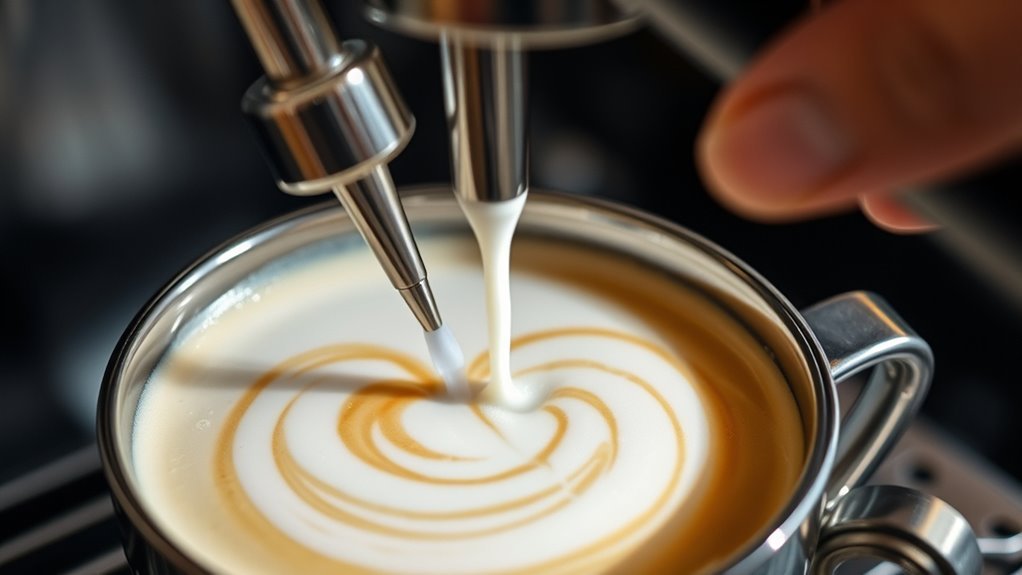
When you position the steam wand just below the milk’s surface at a slight angle, you introduce controlled air that’s essential for creating smooth microfoam. Keep the wand tip near the surface during initial aeration to form tiny, uniform bubbles that give microfoam its silky texture.
Positioning the steam wand just below the surface at an angle introduces controlled air for silky microfoam.
Maintaining a consistent angle ensures even aeration and prevents large bubbles from spoiling the milk’s texture. As you steam, gradually adjust the wand’s depth to balance aeration with proper heating, avoiding breaking the microfoam.
To perfect your technique, remember to:
- Hold the steam wand steady at a slight angle for uniform aeration
- Keep a gentle, steady steam flow to stabilize microfoam
- Adjust depth gradually to combine aeration and heating effectively
This precision will help you create the ideal microfoam for latte art.
Aerate Milk to Create Microfoam
After positioning the steam wand just below the milk’s surface at a slight angle, you’ll start aerating to create the microfoam. Keep the steam pressure low to gently introduce air bubbles, which form the tiny, velvety foam you want.
Focus on maintaining the wand just beneath the surface for about 3-5 seconds to avoid large bubbles and achieve smooth microfoam. Use a thermometer to monitor the milk temperature, aiming for 140-150°F to prevent over-aeration and preserve foam stability.
This controlled aeration ensures your milk develops the perfect texture for latte art. Remember, the steam wand’s position and pressure are key to creating consistent microfoam with fine air bubbles that blend seamlessly into your espresso.
Submerge Wand to Heat and Texture Milk
Once you’ve aerated the milk, fully submerge the steam wand just below the surface to evenly heat and texture the milk. This step is vital for developing smooth microfoam and an ideal milk temperature.
Position the wand at a slight angle to create a gentle whirlpool. This helps blend air bubbles evenly throughout the milk.
Angling the wand creates a gentle whirlpool, evenly blending air bubbles for smooth, consistent milk foam.
Keep the wand submerged at a consistent depth to avoid large bubbles disrupting the foam’s delicate structure. Adjust the depth as the milk heats to maintain steady microfoam production.
Remember, controlling the temperature while submerged prevents overheating and burning. It’s all about finding that perfect balance.
- Maintain a steady whirlpool for uniform texture
- Submerge wand just below the surface for fine microfoam
- Adjust wand depth to sustain consistent temperature and foam quality
Keep an Eye on Milk Temperature for Best Foam
Maintaining the right temperature while steaming milk is key to achieving the perfect foam for your latte art. Keep the milk temperature between 140°F and 150°F to create stable microfoam with ideal flavor.
Use a thermometer during the steaming process to monitor the temperature closely, and turn off the steam once you hit around 150°F. If you overheat the milk beyond 160°F, proteins denature, causing burnt flavors and poor foam quality.
Conversely, underheating below 140°F results in thin, unstable foam that won’t pour well. By consistently watching your milk temperature throughout the steaming process, you guarantee your microfoam has the right texture and stability needed to craft beautiful latte art every time.
Tap and Swirl to Remove Large Bubbles
If you want your latte art to look smooth and professional, you need to tap and swirl your milk pitcher to remove large bubbles. Gently tapping the pitcher 5-10 times on a flat surface helps break down large bubbles, preventing them from disrupting your microfoam.
After tapping, give the pitcher a good swirl to evenly distribute the microbubbles and create a velvety texture. This combination is essential for refining the milk’s consistency and ensuring your foam is glossy and uniform.
Tap firmly but gently to release large bubbles without deflating the microfoam. Then, swirl the milk pitcher to integrate microfoam evenly and maintain texture.
Keep repeating the tap and swirl consistently to produce a smooth surface that’s perfect for latte art. You’ll see the difference it makes!
Create Silky Microfoam Texture for Pouring
Although steaming milk might seem straightforward, achieving silky microfoam requires precise technique and control. Position the steam wand just below the milk’s surface at a slight angle to introduce controlled air, creating tiny, uniform bubbles.
Keep the milk temperature between 140°F and 150°F to stabilize proteins and maintain microfoam consistency. Use steady, gentle steam pressure to avoid large bubbles, focusing on a smooth, velvety texture rather than frothy foam.
As you steam, swirl the milk pitcher to blend air and liquid, producing a glossy microfoam surface perfect for pouring. Don’t forget to purge the steam wand before and after steaming to guarantee a clean, consistent flow.
This step is essential for fine, stable microfoam that enhances your latte art. So take your time, and enjoy the process!
Pour Immediately to Keep Foam Fresh
Since the delicate structure of microfoam starts to break down quickly, you should pour the milk immediately after steaming. Waiting too long allows air bubbles to merge, creating larger bubbles that ruin the smooth foam texture.
Freshly steamed milk holds the perfect temperature and microfoam consistency, which is essential for sharp, detailed latte art. If you wait too long to pour, the foam collapses and you end up with a flatter, less stable canvas for your design.
To keep your foam fresh, remember to pour right after you steam to maintain microfoam integrity. Avoid letting the milk sit, because that destabilizes the foam’s delicate structure.
Work quickly to preserve both temperature and texture for better latte art results. Pouring immediately ensures your foam stays fresh and ready for precise, beautiful designs.
Practice Basic Pouring Techniques for Latte Art
Start by controlling your pour speed to keep the milk and foam blending smoothly. Hold the pitcher high at first, then lower it as the foam rises for better pattern control.
These simple pitcher positioning techniques will set the foundation for clean latte art. Give it a try, and you’ll see how much easier it gets!
Pour Speed Control
A steady, controlled pour is key to mastering latte art. You want to start pouring slowly, allowing the microfoam to flow smoothly onto the espresso surface. This initial slow pour helps you control where the foam lands and sets a solid base for your design.
As the cup fills halfway, gradually increase your pour speed to shape the pattern and create contrast. Maintaining a consistent, steady pour throughout ensures your microfoam distributes evenly, which is essential for crisp, clear latte art.
- Begin with a slow pour to place microfoam precisely
- Increase pour speed mid-pour to develop design contrast
- Use steady pour and small pitcher movements for sharp shapes
Adjusting your pour speed in real-time will really help you refine your latte art skills. Give it a try and watch your designs improve!
Pitcher Positioning Techniques
When you position the pitcher at a 45-degree angle to the espresso cup, you gain better control and stability for your pour. Start with the spout close to the milk surface to control flow and create a solid base.
Adjust the pitcher height—begin high to mix espresso and milk, then lower it for precise design work. Maintain a consistent pour speed, increasing flow gradually as your pattern forms.
Tilt and level the pitcher to enhance symmetry and accuracy in your latte art. Mastering these pitcher positioning and pouring techniques lets you control flow effectively and improve your latte designs.
| Pitcher Positioning | Pouring Techniques | Control Flow |
|---|---|---|
| 45-degree angle | Start close to milk | Begin high, then lower |
| Tilt and level | Steady pour speed | Gradually increase flow |
| Adjust height | Consistent pours | Symmetrical designs |
| Close spout proximity | Mix milk and espresso | Precise microfoam control |
Frequently Asked Questions
How to Get Perfect Steamed Milk for Latte Art?
You get perfect steamed milk by positioning the wand just below the surface at a slight angle, steaming between 140–150°F, keeping the pitcher at 45°, and swirling afterward to create smooth, velvety microfoam for latte art.
What Are the 5 Steps in Their Proper Order for Steaming Milk in the Milk Steaming Routine?
You’ll conquer the steaming world by purging the wand, positioning it just below the surface, submerging it deeper to heat, monitoring temperature until perfect, then swirling the milk for a glossy, velvety texture ready for latte art.
How to Manually Steam Milk for Latte?
You place the steam wand just below the milk’s surface, start with low pressure, then increase it while heating to 150-155°F. Submerge the wand deeper, swirl the milk, and tap the pitcher to perfect the texture.
What Are the Steps Involved in Steaming Milk?
Steaming milk dances between science and art: you fill the pitcher cold, purge the steam wand, angle it just right, create a whirlpool, watch for 150-155°F, then swirl to smooth microfoam before pouring.
Conclusion
Steaming milk for latte art is like painting on a delicate canvas—each step shapes your masterpiece. By choosing the right milk, mastering aeration, and perfecting your pour, you’ll create that silky microfoam that brings your latte to life.
Keep practicing, and don’t rush; the best art takes patience and care. With these 10 essential steps, you’re well on your way to crafting coffee that’s as beautiful as it is delicious.
Remember, the key to great latte art lies in the quality of your steamed milk. Focus on creating smooth, velvety microfoam by controlling the temperature and texture. Once you get the hang of steaming milk properly, your latte art will improve dramatically, making each cup visually stunning and enjoyable to drink. So take your time, enjoy the process, and watch your coffee creations transform with every pour.