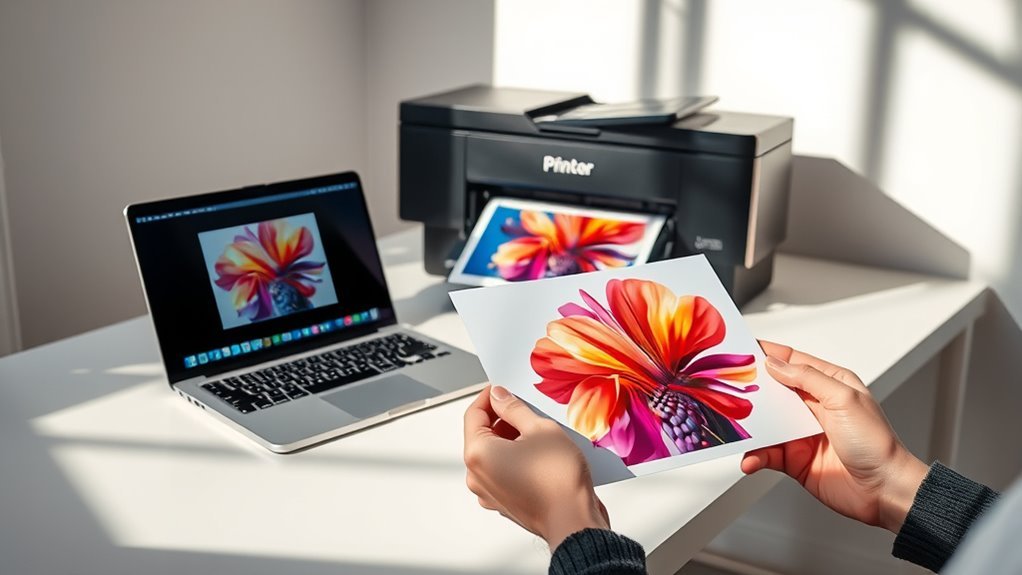
How to Make Prints of Your Art in 3 Simple Steps
To make prints of your art in three simple steps, start by capturing a high-quality digital image. Use a camera or scanner set to 300 DPI, and make sure the lighting is even to avoid any glare or shadows. This helps preserve the details and colors of your original artwork.
Next, edit your image by adjusting colors and converting it to CMYK. This step is key for accurate printing, so your prints look just like your art. Don’t worry if you’re new to this—it’s easier than you might think.
Finally, pick archival-quality paper and protective packaging. These choices guarantee your vibrant prints arrive safely and stay beautiful over time.
Ready to create professional prints that showcase your art beautifully? There’s more helpful advice waiting for you.
Key Takeaways
- Capture a high-resolution, glare-free digital image of your artwork using a scanner or camera at 300 DPI or higher.
- Edit the image’s colors and brightness for accuracy, then save it as a high-quality PNG or TIFF file.
- Choose archival-quality paper and materials that enhance color vibrancy and ensure print longevity.
- Print your artwork using a professional service or high-quality printer, confirming resolution and color profiles.
- Package prints securely with rigid mailers and protective sleeves, including handling labels to prevent damage.
Capture a High-Quality Digital Image for Art Prints
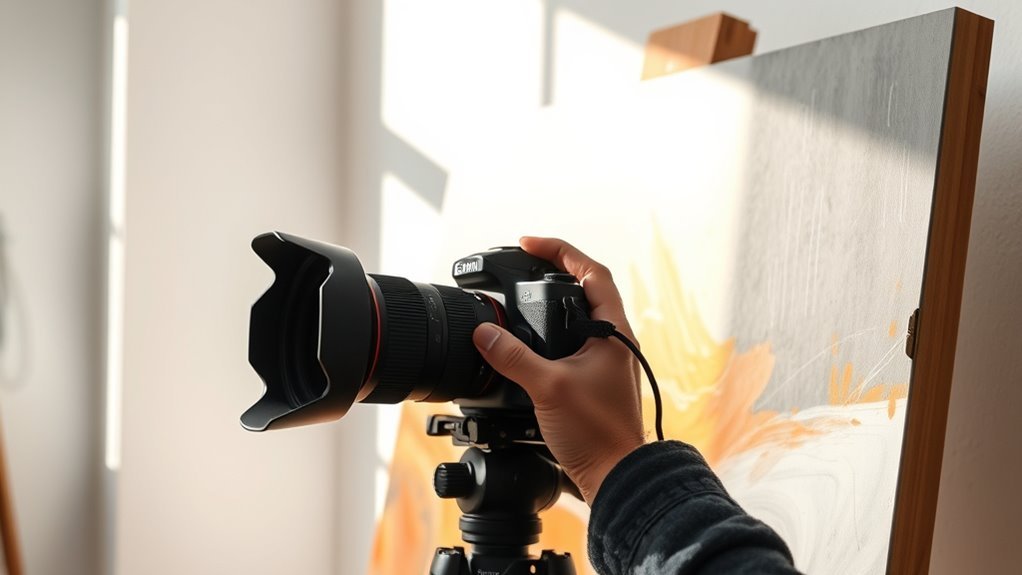
Before you can make prints of your artwork, you need to capture a high-quality digital image. Start by using a high-resolution scanner or a professional camera set to at least 300 DPI to guarantee every detail is clear.
Capture your artwork digitally at 300 DPI for sharp, detailed prints every time.
Set up your lighting to be even and soft. Try to avoid glare and shadows by using natural light or diffused artificial sources.
Stabilize your camera with a tripod and shoot directly perpendicular to your artwork to prevent distortion.
Once you have your digital image, open it in photo editing software for cropping and basic adjustments. Perform necessary color correction to match your original artwork’s hues accurately.
Adjust brightness and contrast, but don’t overdo it. Choose the right color profile—CMYK is best for printing purposes—to preserve color fidelity.
Finally, save your work as a high-quality photo in formats like PNG or TIFF. This final digital file will serve as the foundation for producing crisp, vibrant art prints.
Edit Colors and Prepare Files for Print Accuracy

With your digital image captured and color-corrected, the next step is to fine-tune colors and prepare your files to guarantee print accuracy. Using editing software like Photoshop, adjust Levels, Hue/Saturation, and Selective Color to achieve accurate color reproduction.
Then, follow these key steps:
- Match your image’s color profiles to the specific paper by downloading profiles from the paper manufacturer’s website. This makes sure the colors print exactly as you want them to.
- Convert to CMYK color mode to preview how colors will appear in print. After that, switch back to sRGB for printing compatibility and to keep your photos looking sharp and vibrant.
- Double-check your resolution—make sure it’s at least 300 DPI—and confirm your image dimensions before saving your finalized files. Save your work as a PNG to avoid compression loss and maintain all the fine details.
Choose Printing Materials and Package Prints for Delivery
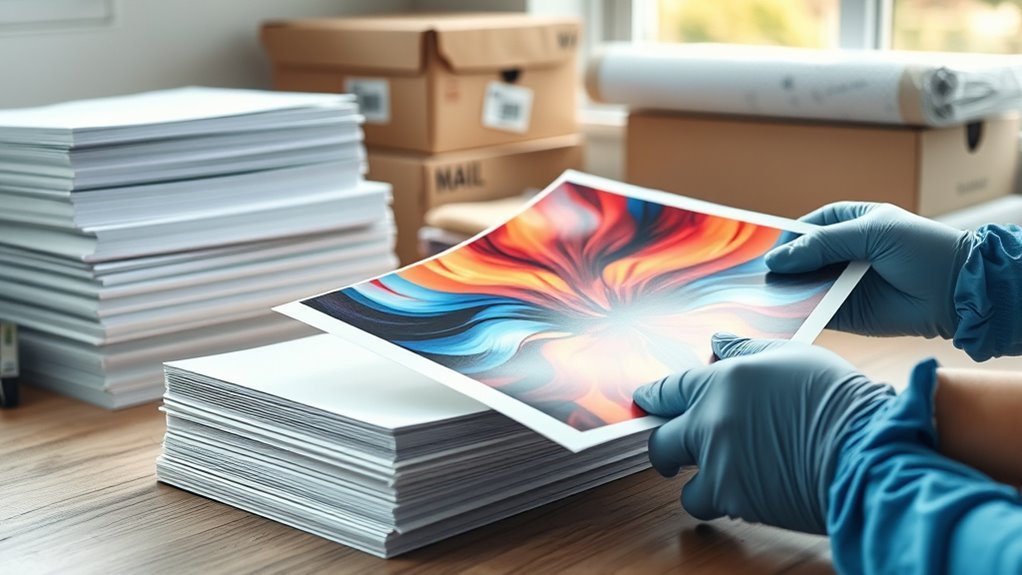
Although selecting the right printing materials might seem straightforward, choosing high-quality, archival papers like Moab or luster finishes guarantees your prints last longer and display vibrant colors.
To guarantee your prints arrive in perfect condition, use durable backing boards and clear, eco-friendly plastic sleeves for protection. Adding “Do Not Bend” labels helps prevent damage during shipping.
For packaging, select rigid mailers—flat or tube styles depending on your print size—to avoid creases or bending in transit. Incorporate branding elements such as stickers, business cards, or branded tissue paper to elevate your presentation and reinforce your artist identity.
Thoughtful packaging not only safeguards your work but also creates a memorable unboxing experience. By combining archival papers with protective, eco-friendly packaging and sturdy mailers, you ensure your high-quality prints reach customers safely and professionally, making delivery smooth and impressive every time.
Frequently Asked Questions
How to Start Making Prints of Your Art?
Start by digitizing your artwork with a high-resolution scanner or camera. Then, edit your files for color accuracy and resolution.
Next, choose quality printing materials and methods. This will help make sure your prints look professional and last long.
What Are the Three Basic Steps of Printmaking?
The three basic steps are creating your original artwork, transferring it onto a printing surface like a woodblock or screen, then applying ink and pressing it onto paper to produce your final prints.
Repeat for editions.
How to Make Art for Beginners Step by Step?
Imagine planting a seed: start by sketching simple shapes, then nurture with colors and shading.
You’ll watch your art grow as you practice daily, experiment boldly, and learn from each stroke and mistake you make.
How Can I Create My Own Print?
You can create your own print by scanning your artwork at high resolution. Then, edit it digitally to make sure the colors are accurate.
After that, use quality printing materials or go to a professional printer. This way, you’ll get sharp, vibrant prints that really showcase your art beautifully.
Conclusion
Now that you’ve captured your masterpiece like a pro, tweaked it for perfect color, and picked the ideal materials, you’re ready to share your art with the world.
Think of this process as your own “Wizard of Oz” journey—each step brings you closer to revealing the magic behind the curtain.
With these simple steps, you’ll turn your creations into prints that truly shine. Your art prints will be ready to inspire and delight wherever they go.
By following these easy steps, making prints of your art becomes a fun and rewarding experience. Whether you’re a beginner or a seasoned artist, these tips help ensure your prints capture the true essence of your work. So get ready to create high-quality art prints that showcase your creativity and passion, and watch your artwork inspire others far and wide!