10 Essential Tips to Get Better at Digital Art
To get better at digital art, start by using references to boost your accuracy and build confidence. Setting up your canvas and workspace right can make your workflow way smoother. Don’t forget to rely on layers and flip your canvas often to catch mistakes early on.
Mastering contrast and color theory is key to adding depth and mood to your pieces. When working on complex subjects, break them down into manageable steps to avoid feeling overwhelmed.
Also, steer clear of common beginner mistakes and keep your details balanced for better clarity.
Stay patient, and practice consistently—improvement takes time. Stick with it, and you’ll naturally uncover more key techniques and tips along the way.
Digital art is a journey, and with these essential habits, you’ll keep leveling up every step of the way.
Key Takeaways
- Use multiple references to improve accuracy and deepen understanding of anatomy, lighting, and textures without tracing. It really helps you see things from different angles and adds realism to your work.
- Organize your digital workspace with proper canvas size, layers, and calibrated tools for efficient and precise workflow. Trust me, a tidy setup saves a lot of time and frustration.
- Apply composition techniques like the Rule of Thirds and simplify backgrounds to maintain visual clarity and focus. These tricks keep your artwork balanced and make sure viewers know where to look.
- Master contrast and color theory to create depth, mood, and emotional impact in your artwork. Playing with colors and shadows can totally change how your piece feels.
- Practice consistently with clear goals, patience, and regular review to build skills and foster artistic growth. Remember, improvement takes time, so stick with it and enjoy the process!
Use References to Improve Digital Art Accuracy and Confidence
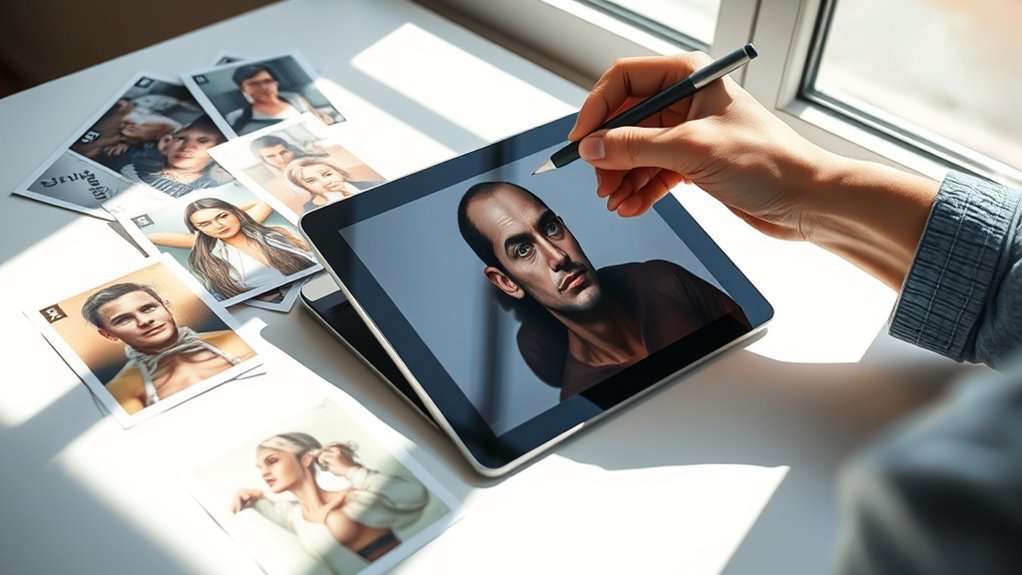
Although it might be tempting to rely solely on your imagination, using multiple references will greatly improve your digital art accuracy and confidence. References act as essential tools, helping you observe anatomy, lighting, and texture details more precisely.
Using multiple references sharpens your observation of anatomy, lighting, and texture, boosting accuracy and confidence in digital art.
By regularly consulting them, you build foundational knowledge that sharpens your ability to depict complex shapes and subtle nuances. Instead of tracing or copying, focus on observation to develop your skills authentically.
This approach reduces guesswork, allowing you to create more realistic artwork with assurance. Over time, you’ll notice your accuracy improving naturally, giving you the confidence to tackle increasingly challenging subjects.
Embracing references not only accelerates your learning curve but also strengthens your understanding of visual elements. So, make it a habit to gather and study diverse references—they’ll become your most reliable allies in producing polished and convincing digital art.
Get Your Digital Art Canvas and Workspace Ready
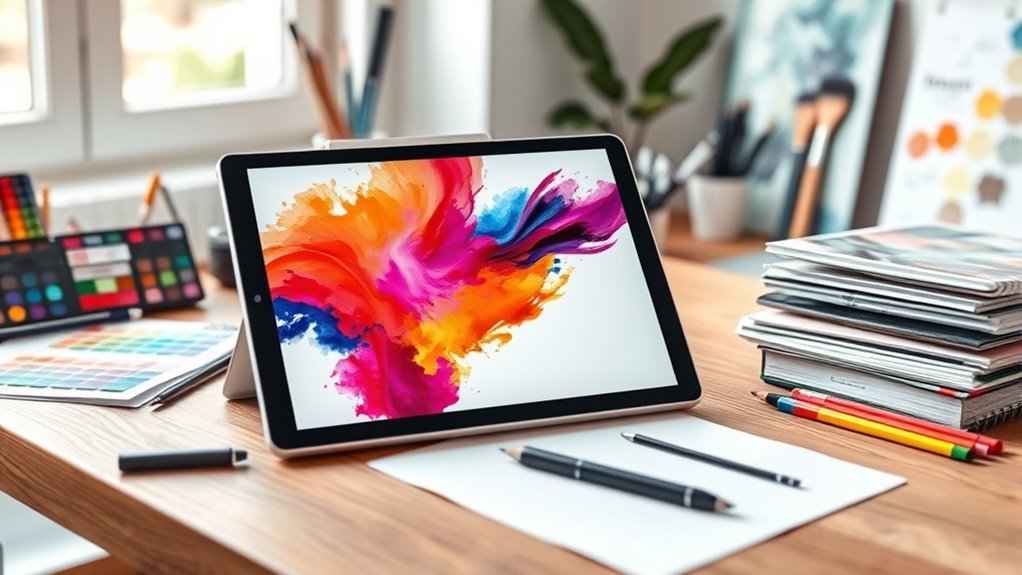
Before you plunge into your next digital art project, make sure your canvas and workspace are set up to support your creative flow. Start by selecting the right canvas size and resolution (at least 300dpi) to keep your artwork sharp whether it’s for social media or prints.
Organize your workspace setup by arranging brushes, color palettes, and shortcuts for quick access. Naming layers clearly and saving templates will streamline your process. Don’t forget to calibrate your hardware, such as your drawing tablet, to enhance precision and control.
| Task | Tip | Benefit |
|---|---|---|
| Canvas Size | Choose based on project goal | Ideal clarity and detail |
| Workspace Setup | Organize tools and templates | Faster, smoother workflow |
| Layers | Name layers consistently | Easier editing and navigation |
| Hardware Calibration | Calibrate tablet sensitivity | Precise brush control |
Setting up properly lets your creativity flow freely without technical interruptions. It really makes a difference!
Use Layers and Canvas Flipping to Refine Your Artwork
Using layers lets you edit different parts of your artwork separately, so you can make changes without ruining other areas. It really helps keep things organized and flexible.
Flipping your canvas is a great trick to spot mistakes in proportions and composition that you might miss otherwise. Give it a try—it can reveal issues you wouldn’t notice right away.
Make it a habit to use these techniques to catch errors early and polish your work efficiently. Trust me, it saves a lot of time and frustration in the long run!
Benefits of Using Layers
How can you make adjustments to your digital artwork without risking other parts of your piece? The answer lies in using layers. Layers let you separate different elements, enabling precise adjustments without affecting the whole image.
This approach supports non-destructive editing, so you can experiment freely with colors, textures, or effects and easily undo changes.
Here’s why mastering layers improves your workflow:
- You isolate components, simplifying complex adjustments.
- You maintain flexibility, allowing easy modifications anytime.
- You enhance layer management, keeping your project organized.
- You speed up corrections without starting over.
Canvas Flipping Techniques
Though it might seem simple, flipping your canvas can dramatically improve your digital artwork by revealing proportion and symmetry issues you might otherwise miss. Flipping your canvas horizontally or vertically gives you a fresh perspective, helping you spot anatomy, perspective, and composition mistakes quickly.
By regularly incorporating canvas flipping into your workflow, you keep errors from going unnoticed. Combining this technique with layers allows you to make non-destructive adjustments and refine details without losing previous work.
Most digital art software offers convenient shortcut keys or menu options for flipping, making it easy to integrate into your process. Using layers alongside canvas flipping enhances control and accuracy, letting you polish your artwork efficiently and effectively every time.
Master Contrast to Add Depth and Focus
When you master contrast, you bring depth and focus to your digital art by skillfully balancing light and dark values. Proper contrast uses a full range of light and dark to create depth and emphasize focal points, making your piece visually engaging.
Here’s how to apply contrast effectively:
- Use the lightest highlights and darkest shadows strategically to guide the viewer’s eye toward your focal points.
- Balance contrast carefully to avoid flatness or harshness, maintaining harmony and readability.
- During editing, adjust contrast to refine depth and give your artwork a polished, professional look.
- Recognize that contrast influences mood—high contrast can add warmth, while low contrast creates softness.
Apply Color Theory in Digital Art for Mood and Harmony
You can create mood and harmony in your digital art by carefully choosing color combinations that work well together. Using complementary or analogous colors helps your piece feel balanced and visually appealing.
It’s pretty cool how different colors can evoke emotions. Paying attention to this can really strengthen your artwork’s impact.
Color Harmony Selection
Mastering color harmony lets you create digital art that feels balanced and emotionally resonant. To select the right color harmony, apply color theory principles like complementary or analogous schemes.
This guides your color palette choices and enhances visual contrast, making your work more engaging. Here’s how to refine your approach:
- Choose a color harmony that supports your artwork’s message and mood.
- Experiment with values, saturation, and tints within this harmony to add depth.
- Use warm and cool colors strategically to direct viewers’ focus.
- Build a consistent color palette that amplifies the emotional impact of your piece.
Mood Through Colors
Although color harmony sets the foundation, applying color theory strategically can transform your digital art’s mood and emotional impact. By using color psychology, you can communicate emotions effectively—red evokes passion, while blue brings tranquility.
Choose complementary colors like blue and orange to create striking contrast, adding energy or calmness to your piece. Alternatively, analogous colors such as red, orange, and yellow establish harmony and warmth, enhancing comfort or excitement.
Adjust saturation levels to control emotional intensity: desaturated tones feel somber, while vibrant hues burst with liveliness. Don’t forget to balance light and dark values within your palette; this not only emphasizes focal points but also deepens the overall emotional impact.
Mastering these elements will give your artwork mood and harmony that truly resonate.
Plan Your Composition to Guide the Viewer’s Eye
How can you make sure your digital artwork captures and holds the viewer’s attention? Planning your composition is key. It helps in guiding the viewer’s eye naturally toward the focal point, creating a strong visual flow.
Start by creating thumbnail sketches to experiment with layout options and identify the most effective arrangement.
Here are four essential tips for guiding the eye through your composition:
- Use the Rule of Thirds to place your focal point off-center, making the composition balanced and engaging.
- Incorporate leading lines that direct attention along specific paths toward important elements.
- Simplify backgrounds and reduce clutter to prevent distractions and keep focus on your main subject.
- Sketch multiple thumbnail compositions to find the one that best guides the viewer’s eye through the artwork.
Master Complex Subjects Through Deliberate Practice
Tackling complex subjects becomes much easier when you break them down into smaller, manageable parts and practice each deliberately. By focusing on specific areas like anatomy or color theory, you accelerate your skill improvement through deliberate practice.
Use focused exercises and tutorials to target weaknesses and deepen your understanding of intricate concepts. This approach lets you master complex subjects step by step, rather than feeling overwhelmed by the whole.
Reflection plays a key role in this process. Regularly assess your progress and adjust your practice routine to concentrate on areas that need more attention.
Set clear goals for each session, committing to focused, disciplined practice. This strategy not only improves your technical skills but also builds confidence.
Don’t Let These Beginner Mistakes Hold You Back
Building your skills through deliberate practice will get you far, but avoiding common beginner mistakes can accelerate your progress even more.
To improve efficiently, steer clear of these pitfalls:
- Skip neglecting references. Use them to learn accurate anatomy, perspective, and detail—don’t guess or rely solely on memory.
- Avoid ignoring basic drawing fundamentals like line work, shapes, and shading. Mastering these basics builds a strong foundation.
- Don’t work on low-resolution or tiny canvases. High-resolution files allow for more detail and better print quality, enhancing your final piece.
- Always save backups regularly. Losing progress can be discouraging, so finish artworks fully and back them up to avoid setbacks.
Keep Your Artwork Clear by Balancing Detail
Although it’s tempting to add every detail you can, keeping your artwork clear means balancing complexity with simplicity. Overloading your piece with too many details creates visual clutter that distracts from your focal points.
Focus on larger shapes and simplify forms to guide the viewer’s eye smoothly through your composition. Use varying levels of detail strategically—add intricate elements only at focal points to emphasize them.
Zoom out frequently to check that details don’t overwhelm the overall artwork. Balancing detailed areas with simpler sections creates harmony and makes your art easier to interpret.
Here’s a simple table to help you remember:
| What to Do | Why It Helps |
|---|---|
| Simplify background | Reduces visual clutter |
| Detail focal points | Draws viewer’s attention |
| Use larger shapes | Maintains clarity |
| Zoom out regularly | Ensures balanced composition |
Cultivate Patience and Consistent Practice for Artistic Growth
Three key habits will dramatically improve your digital art: patience, consistent practice, and setting small goals. These habits create a foundation for steady progress and lasting growth.
Patience, consistent practice, and small goals build a strong foundation for steady progress in digital art.
When you embrace patience, you avoid frustration and stay focused on gradual improvement. Consistency in practice builds muscle memory and technical skills, which accelerates your artistic development.
Here’s how to cultivate these habits effectively:
- Set small, achievable goals for each practice session to keep your motivation up and track your progress easily.
- Practice deliberately and regularly. This helps you develop consistency and mastery over time.
- Review your past work often to see how far you’ve come. It’s a great way to reinforce your patience and commitment.
- Accept that true growth takes time. This mindset keeps you persistent and helps reduce the urge to quit.
Frequently Asked Questions
What Is the 70/30 Rule in Art?
The 70/30 rule means you spend 70% of your time mastering foundational skills like anatomy and color theory, while dedicating 30% to experimenting with new techniques.
This balance helps you improve steadily and stay creative. It’s a simple way to keep growing as an artist without feeling stuck.
Are ADHD Good at Drawing?
Yes, you can be great at drawing if you have ADHD. Your creativity and hyperfocus help you produce unique, detailed art.
But staying consistent might be tough sometimes. Using routines and focused sessions can really boost your skills effectively.
It’s all about finding what works best for you and keeping at it!
What Skills Are Needed for Digital Art?
To master digital art, you’ve got to juggle anatomy, perspective, and color theory like a pro. Don’t forget digital tools, layer management, and brush customization—they’re your secret weapons to bring your creations vividly to life.
Seriously, getting comfortable with these skills makes a huge difference. Once you do, your artwork will start to pop in ways you never imagined!
What Are the 7 Elements of Digital Art?
The seven elements of digital art are line, shape, value, color, texture, space, and composition. You’ll use these to define structure, create depth, and set mood.
They also help add realism and arrange your artwork effectively. Pretty cool, right? These basics really shape how your art comes to life.
Conclusion
Did you know that 85% of digital artists say using references boosts their confidence and accuracy? By setting up your workspace, mastering layers, and applying color theory, you’ll see real progress.
Avoid common mistakes, practice consistently, and balance your details to keep your art clear and engaging. Remember, patience and deliberate practice are your best tools.
Stick with these tips, and you’ll watch your digital art skills soar faster than you ever imagined! Focusing on these essential digital art techniques will help you improve step by step. Keep practicing, stay patient, and use references to guide your creativity. Before you know it, your confidence and accuracy will grow, making your artwork truly shine.