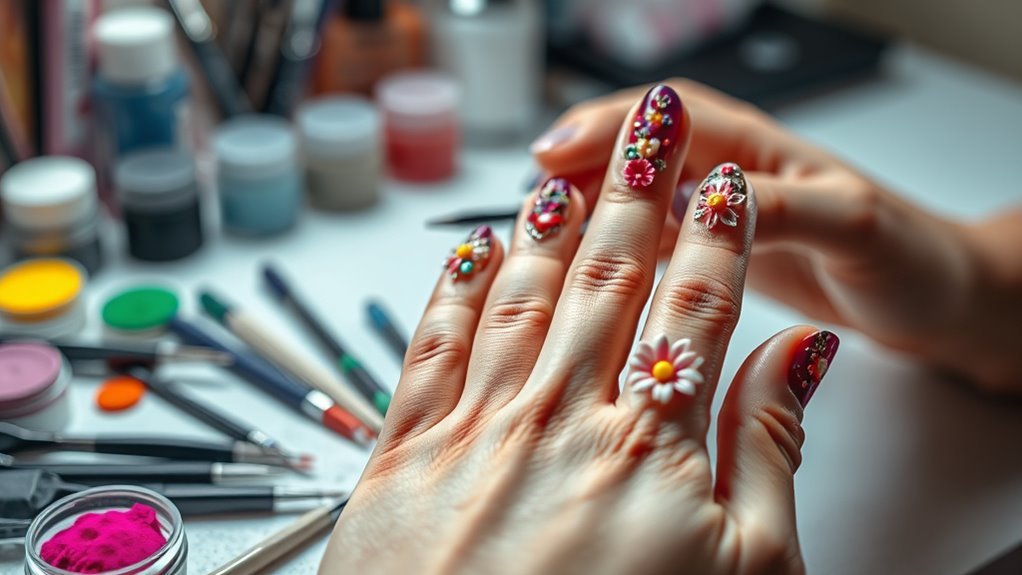
How to Do 3D Nail Art in 7 Easy Steps
To do 3D nail art in 7 easy steps, start by prepping your nails—clean, shape, and apply a base coat, curing it well. This prep is super important because it creates a smooth canvas for your design. Then, apply your base colors and cure again to set the look.
Next, sculpt 3D shapes using builder gel, making sure to cure each layer so your designs hold up. Add texture with 3D powder and cure once more for that extra dimension.
Afterward, paint details with liner gel to bring your art to life.
Finally, securely attach gems using gel or glue for that stunning sparkle. Finish everything by sealing with a top coat to protect your masterpiece. Keep practicing, and you’ll master every detail for flawless 3D nails in no time!
Key Takeaways
- Clean, shape, and prime your nails. Then, apply and cure a base coat gel to create a smooth foundation.
- Next, use builder gel to sculpt 3D shapes. Make sure to cure each layer under an LED or UV lamp.
- After that, apply 3D powder or texture layers. Cure between each application to get the effect you want.
- Now, attach gems or embellishments using gel or jewelry glue. Don’t forget to cure to keep them securely in place.
- Finally, seal all your designs with a no-wipe top coat. Cure thoroughly to ensure durability and a shiny finish.
Prepare Your Nails for 3D Nail Art
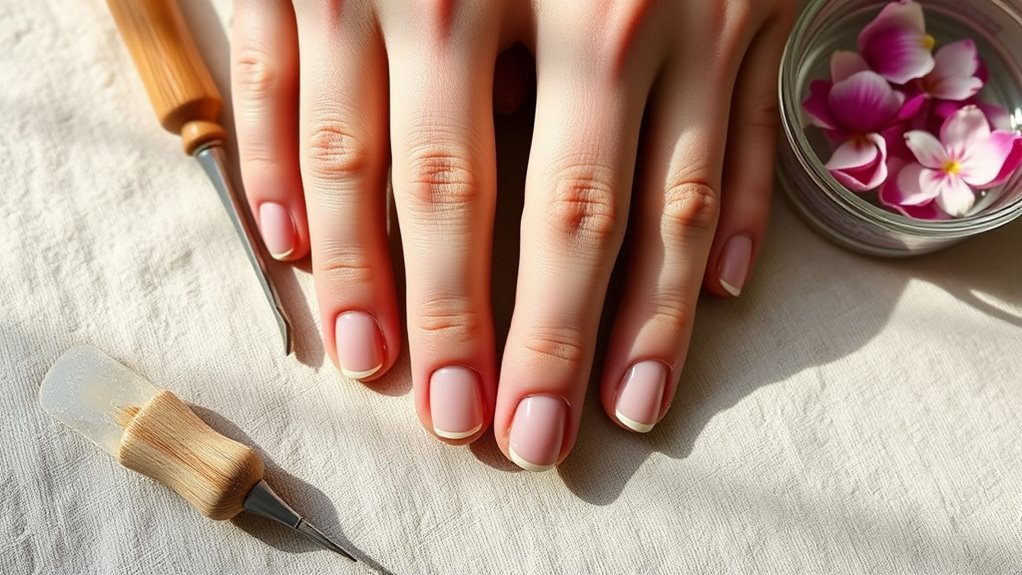
How do you guarantee your 3D nail art lasts longer and looks flawless? Start by preparing your nails properly. First, clean and sanitize your nails thoroughly to remove oils and debris that can prevent gel from adhering well.
Next, shape your nails with a file and gently push back or trim your cuticles to create an even surface. Apply a dehydrator or primer to eliminate any excess moisture and oils—this step is essential to prevent lifting and boost durability.
Then, apply a base coat gel carefully, ensuring full coverage, and cure it under an LED or UV lamp. This base coat forms a strong foundation for your 3D nail art, helping the design stick better and last longer.
Make sure your nails are completely dry and free from residue before moving on, so your 3D elements stay intact and look flawless for days to come. Easy, right? Just follow these steps, and your nails will thank you!
Apply Base Colors for 3D Nail Art and Cure
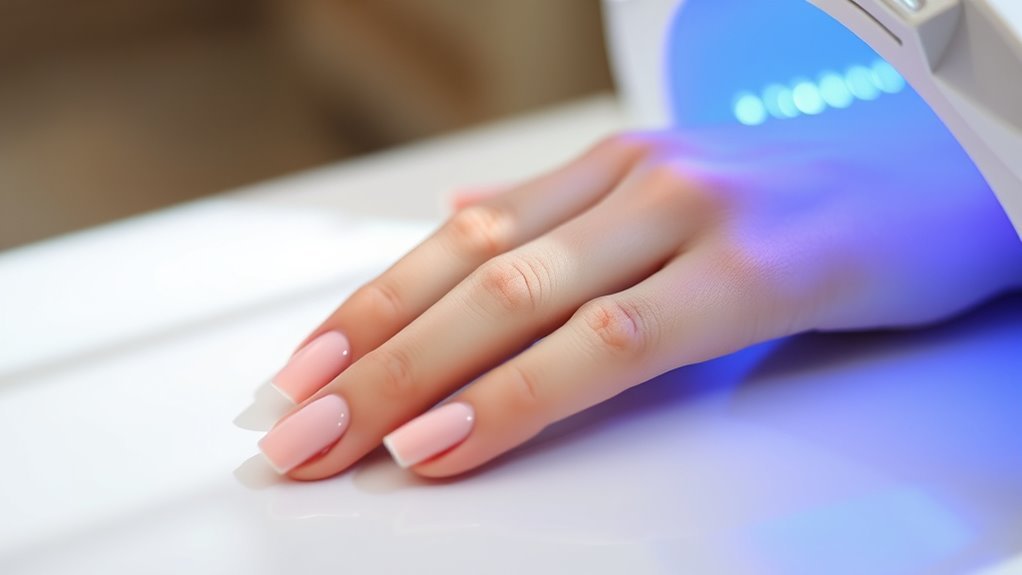
Start by picking your base colors carefully to complement your 3D designs. Apply thin, even coats of gel polish and cure each layer fully under your LED or UV lamp.
Proper curing guarantees your nails stay smooth and long-lasting before you add any 3D details. It really makes a difference in how your art will hold up.
Choosing Base Colors
Before applying your 3D nail art, you’ll want to lay down a smooth foundation by carefully choosing and applying your base colors. Start with a thin layer of Base Coat Gel to create an even surface and protect your natural nails.
Then, pick gel polish colors that complement your 3D design to enhance the final look. Apply your first thin, even coat of base colors and cure it under LED or UV light as per instructions.
For richer, more vibrant base colors, add a second coat and cure again for full opacity. Make sure each layer is fully cured before moving on to sculpting or detailing to avoid smudges or dents.
Taking time with base colors really sets your 3D nail art up for success. It’s worth the extra care!
Applying Even Coats
Why does applying even coats matter so much for your 3D nail art? Because a smooth, well-covered base ensures your nail polish looks flawless and provides a perfect foundation for your 3D designs.
Start by applying a thin, consistent layer of base color gel polish to each nail, avoiding streaks or bubbles. Make sure the coverage is complete but not thick. Use a clean brush or lint-free wipe to clear any excess gel around your cuticles for a neat finish.
If you want a deeper color, go ahead and apply additional coats. Just remember to cure each one thoroughly under a UV or LED lamp as per the gel polish instructions.
A smooth, even base not only enhances appearance but also helps your 3D art adhere better and last longer. So, take your time with this step—it really pays off!
Proper Curing Techniques
Although applying your base color evenly is essential, curing it properly under an LED or UV lamp guarantees your 3D nail art stays flawless and long-lasting.
Proper curing techniques create a smooth, durable foundation that prevents smudging or shifting when you add 3D elements. Follow these steps to master proper curing techniques:
- Apply a thin, even layer of gel polish and cure according to the recommended time.
- Guarantee each layer is fully cured before adding the next, especially when using multiple colors.
- Use a tacky layer of gel or a no-wipe top coat to enhance adhesion for 3D designs.
- Cure each base layer completely to avoid unwanted blending or smudging.
Sculpt 3D Shapes Using Builder or Extender Gel
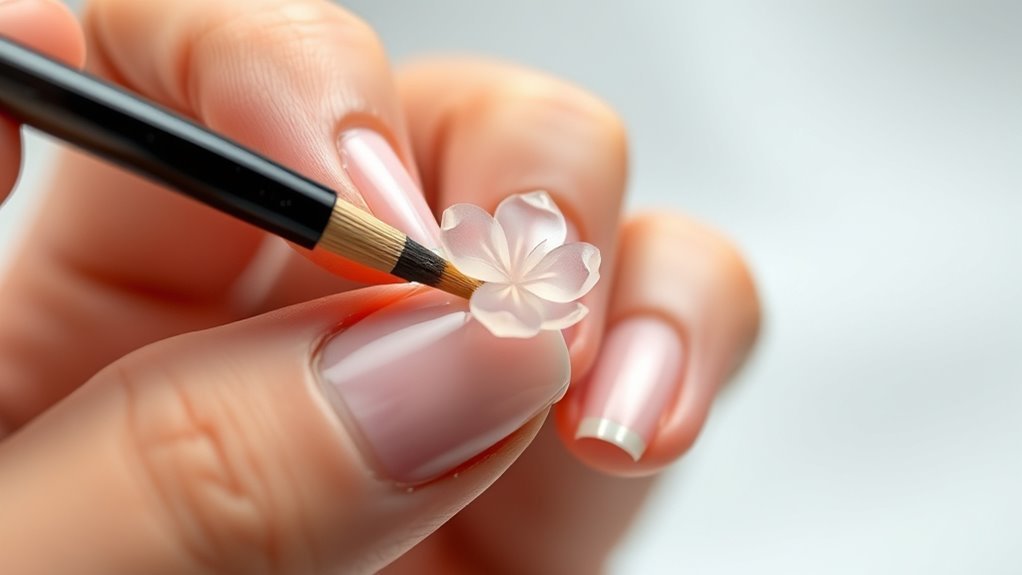
Now it’s time to sculpt your 3D shapes using builder or extender gel. Use a fine-tipped brush to carefully mold each design, curing under a UV or LED lamp to set it.
Remember to build layers gradually and refine details for a polished look. Take your time with each step—it really makes a difference!
Gel Sculpting Basics
When sculpting 3D nail art, you’ll want to use a clear builder gel or magic extender gel with a workable consistency—neither too thick nor too stiff. This helps you create detailed shapes directly on the nail surface.
This method lets you build beautiful, lasting designs with gel polish.
Follow these gel sculpting basics:
- Use a fine brush or dotting tool to apply small amounts of gel. Layer gradually to form 3D shapes like flowers or bows.
- Shape and smooth each layer carefully before curing.
- Cure each sculpted layer under an LED or UV lamp to set your design firmly.
- Finish by sealing your 3D art with a no-wipe top coat for shine and durability.
Mastering these steps will really elevate your gel polish nail art game.
Curing And Detailing
As you sculpt your 3D shapes with builder or extender gel, curing each layer under a UV or LED lamp is essential to maintain your design’s integrity. Use a small, flat brush or dotting tool dipped in gel to create precise shapes.
Make sure the gel is thick enough to hold form but still smooth enough for detailing. Cure each sculpted shape completely for the recommended time. This helps prevent deformation or smudging when you add layers or details.
After curing, gently wipe the surface with cleanser or alcohol to remove any tackiness. This step gets the nail ready for further detailing or top coating. It ensures your 3D nail art stays intact and looks polished.
Proper curing is really key to achieving a flawless finish. So, don’t rush it! Take your time, and your nails will thank you.
Add Texture With 3D Powder and Cure Your Design
Although applying 3D Powder might seem tricky at first, you can easily create textured nail designs by shaking the powder evenly over your wet gel base. This step adds dimension and depth to your designs on your nails without the need to use complicated tools or nail glue.
Applying 3D Powder adds effortless texture and depth to nails without complex tools or glue.
Here’s how to get it right:
- Shake the 3D Powder evenly to ensure full coverage and avoid clumps.
- Gently tap off any excess powder to keep the texture smooth and raised.
- Cure your design under a UV or LED lamp to set the powder firmly in place.
- Wipe off the tacky residue with a lint-free wipe and cleanser to reveal the final textured finish.
Once cured, you can apply a glossy Top Coat to protect your design and give it shine. Remember, layering 3D Powder and curing each layer separately boosts the texture for more striking effects.
Paint Details on 3D Nail Art With Liner Gel
To enhance your 3D nail art with fine details, you’ll want to use a liner gel and a fine-tipped brush for precise strokes. Dip your liner gel brush into your chosen gel color, making sure the consistency is smooth—not too thick or stiff—for sharp, clean lines.
Use steady, controlled strokes to paint intricate details like leaves, veins on flowers, or delicate accents on the raised 3D elements. Between colors, clean your brush thoroughly to keep lines crisp and avoid color mixing.
Once you finish painting your details, cure the gel immediately under a UV or LED lamp to prevent smudging or smearing. Adding these refined touches with liner gel really elevates your nail art by emphasizing texture and design depth. It makes your 3D nails stand out with professional-looking precision.
Attach Gems and Embellishments Securely to 3D Nails
When you’re ready to add gems and embellishments, use a gel top coat or jewelry gel to secure them firmly before curing under a lamp. This guarantees they stay put and don’t shift during wear.
For precise placement, use a small tool or tweezers to position each piece exactly where you want it. To boost adhesion, consider applying a tiny bit of rhinestone or jewelry glue underneath the embellishments instead of just relying on the gel.
After placing everything, cure your nails under an LED or UV lamp to set the glue and gel perfectly.
Here’s how to attach gems and embellishments securely:
- Apply gel top coat or jewelry gel to the nail area.
- Use tweezers or a small tool to place each gem or charm precisely.
- Add rhinestone or jewelry glue underneath for extra hold.
- Cure under an LED or UV lamp to set everything firmly.
This method keeps your 3D nail art intact and stunning for longer.
Seal Your 3D Nail Art With the Best Top Coat
Securing your gems and embellishments is just the start of preserving your 3D nail art’s beauty. To lock in your design, apply a high-quality, no-wipe top coat specifically made for gel nails. This seals your 3D elements, preventing lifting or cracking, and enhances durability.
Choose a glossy top coat for a shiny finish or a matte one for a textured, sophisticated look. Remember to cure the top coat fully under LED or UV light to avoid smudging and keep your design intact. For extra security, add a second layer over gems and embellishments to prolong their lifespan.
| Top Coat Type | Finish | Benefit |
|---|---|---|
| Glossy | Shiny | Enhances brightness |
| Matte | Textured | Adds sophistication |
| No-Wipe Gel | Durable & Strong | Prevents lifting/cracking |
Frequently Asked Questions
How to Make 3D Nail Designs Step by Step?
You start by applying a base coat, then sculpt 3D shapes with builder gel, curing each layer.
Add 3D powder for texture, paint details with gel polish, and finish with a top coat for durability and shine.
It’s a step-by-step process that really brings your nail art to life! Just take your time with each layer.
How to Do 3D Line Art on Nails?
You’ll use a fine-tip gel liner brush to draw thin lines with gel polish, curing each layer under an LED or UV lamp.
Layer multiple lines for depth, curing each time, then seal with a clear top coat.
It’s a simple way to create cool 3D effects on your nails. Just take it step by step, and you’ll get great results!
What Can I Use to Do 3D Nail Art?
You can use clear builder gel or magic extender gel to sculpt 3D shapes. Sprinkle 3D powder over wet gel for texture.
Also, apply gems or decals with gel top coat for extra dimension and durability on your nails. It really helps your nail art last longer and stand out!
How Do Nail Techs Do 3D Nails?
You sculpt delicate flowers and bows with builder gel, curing each layer under a glowing lamp. Then, you add fine details with liner brushes.
Next, you dust 3D powder for texture and seal everything with a glossy top coat. It really makes the design pop!
Conclusion
Think of your 3D nails as a tiny garden—each step you take plants a seed of creativity. Preparing your nails is like tilling the soil, applying base colors is watering, and sculpting shapes is shaping the blooms.
Adding texture and painting details are the sunlight and care that make your garden flourish. Finally, sealing with a top coat locks in your masterpiece, ensuring your garden stays vibrant.
Keep nurturing your art, and watch your nails truly come to life! With 3D nail art, every detail counts—from the base coat to the final top coat. By following these simple steps, you can create stunning, textured designs that stand out. So, dive into the world of 3D nail art, experiment with shapes and colors, and let your creativity bloom. Your nails will thank you with a unique, eye-catching look that’s truly one of a kind!