How to Make Pixel Art in Procreate in 3 Easy Steps
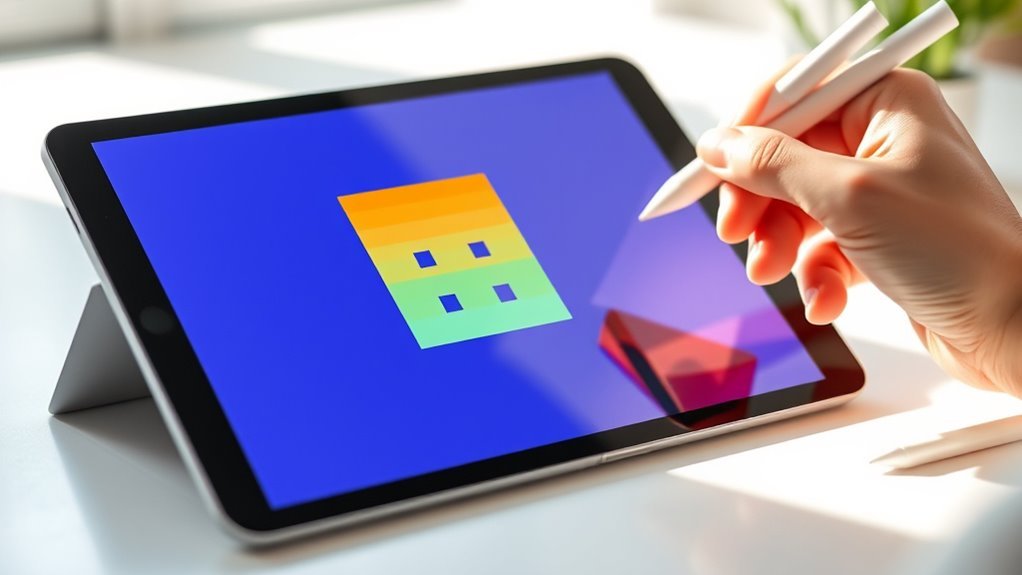
To make pixel art in Procreate, start by setting a 100×100 canvas and enabling the Pixel Art Grid for clear boundaries. This helps you see each pixel clearly and keeps your artwork sharp. Using a small canvas size is key to that classic pixel art look.
Next, use pixel art brushes and separate layers for each element like body and face. This way, you can easily edit different parts without messing up the whole piece.
Adding shading and outlines gives your art depth and sharpness, making it pop.
Finally, duplicate your work before resizing with “nearest neighbor” interpolation to keep pixels crisp. Then, export your masterpiece as a PNG file to preserve quality.
Keep going to explore tricks for precise coloring and advanced layer techniques—you’ll be a pixel art pro in no time!
Key Takeaways
- Set a 100×100 pixel canvas and enable the Pixel Art Grid for precise pixel placement. This helps keep every pixel in check and your design sharp.
- Use a pixel art brush and separate layers for each element like body, face, and details. It makes editing way easier and keeps things organized.
- Outline shapes with darker lines and add shading and highlights on separate layers for depth. This step really brings your pixel art to life.
- Duplicate your project before resizing, disable resampling, and use nearest neighbor interpolation for sharp pixels. These settings keep your pixels crisp and clean.
- Export your artwork as a PNG with all guides off to retain crisp edges and pixel integrity. That way, your art looks perfect wherever you share it!
Get Your Procreate Canvas and Layers Ready for Pixel Art
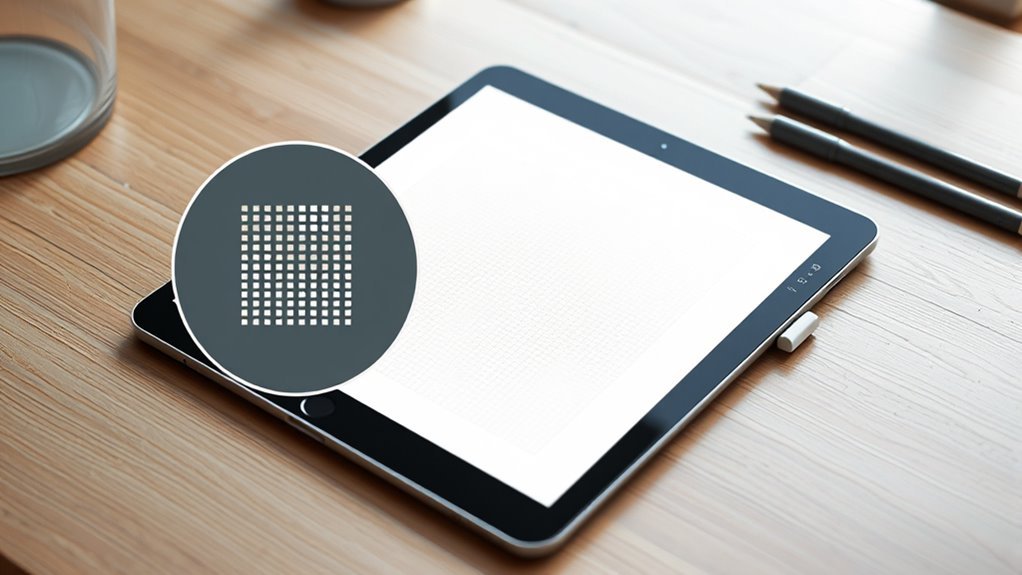
Before you start drawing, set up a 100×100 pixel canvas in Procreate to work with a true pixel grid. This guarantees each pixel is crisp and clear, making your pixel art look authentic.
Start with a 100×100 pixel canvas in Procreate to ensure each pixel is sharp and your art stays authentic.
Next, enable the drawing guide by going to Canvas settings and selecting the Pixel Art Grid. Feel free to customize the grid’s size, opacity, and color to match your preference, so you can see your pixels easily without distraction.
Drop the background color using the second color in your palette to create a clear base before you sketch. To keep your work organized, create multiple new layers for different elements—like the fox’s body, face, and background details.
Feel free to use clipping masks on these layers; they help isolate specific areas, so your edits and colors stay precise. Setting up your canvas and layers like this lays a solid foundation for your pixel art in Procreate.
Draw and Color Your Pixel Artwork With Detail Techniques
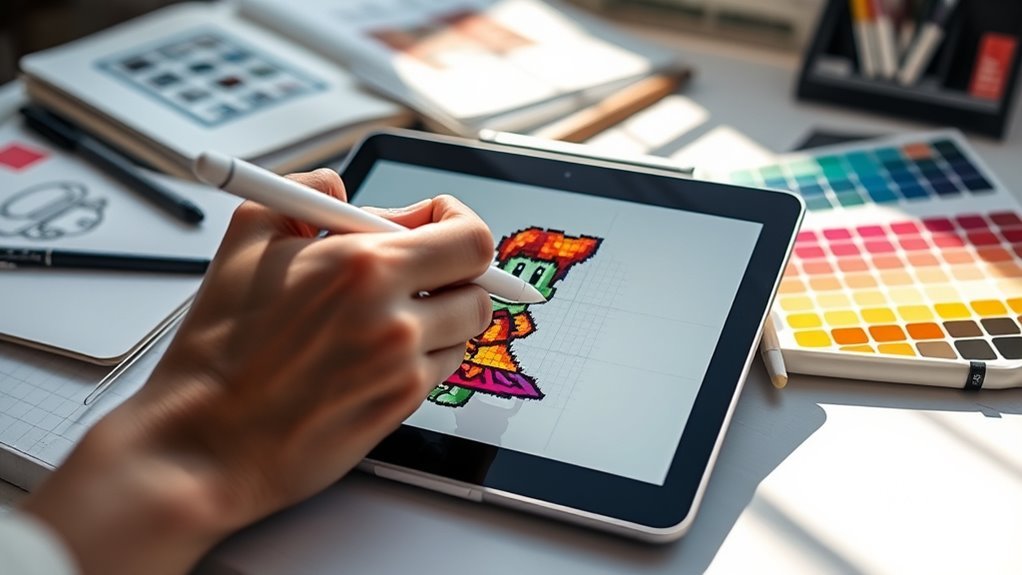
Once your canvas and layers are set, you can start drawing and coloring your pixel art with precision. Use a pixel art brush, like the one from the Treasure Chest pack, to place each pixel accurately.
Drag colors from your palette to fill in details without mistakes. To keep your workflow flexible, draw each facial feature, fur patch, and body part on separate layers. This way, you can tweak colors and shapes easily.
Follow these key steps:
- Outline your shapes with thicker or darker lines first to keep edges sharp and avoid color spill.
- Fill inside with base colors, then add shading and highlights on different layers to create depth.
- Enhance details like eye highlights and mouth lines using simple shapes to boost expression and clarity.
Resize and Export Your Pixel Art Without Losing Quality
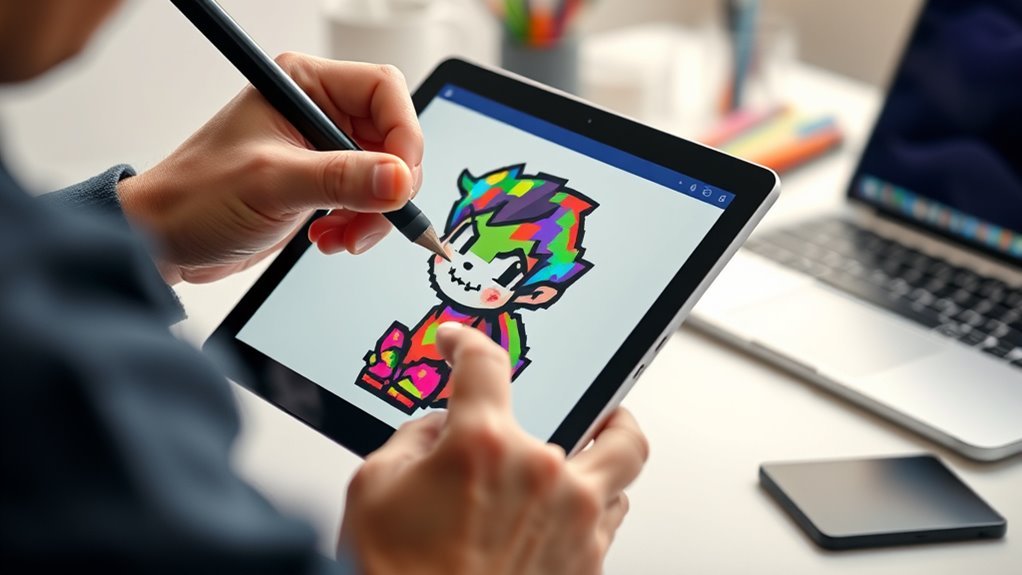
When you’re ready to resize your pixel art, make sure to duplicate your project first to keep your original intact. This backup protects your detailed work if you need to revert.
Next, turn off any drawing guides so they won’t appear in your final exported image. Before resizing, merge your layers and disable resampling to preserve sharp pixel edges.
Turn off drawing guides, merge layers, and disable resampling to keep your pixel edges sharp when resizing.
Use Canvas > Crop and Resize to set your desired dimensions, like 1000×1000 pixels, maintaining the aspect ratio to avoid distortion. Paramount, set the interpolation method to “nearest neighbor” in Procreate—this prevents any blurring or smoothing that usually happens with other resizing methods.
Once resized, export your artwork in a format like PNG to keep the crispness intact. Following these steps guarantees your pixel art scales perfectly without losing quality, ready to showcase or use wherever you want.
Frequently Asked Questions
Is There a Way to Make Pixel Art in Procreate?
Yes, you can make pixel art in Procreate by enabling the Pixel Art Grid, using a small canvas, and choosing the Pixel Art brush.
Customize layers, use clipping masks, and resize carefully to keep your pixels sharp and clean. It’s pretty straightforward once you get the hang of it!
How to Make Pixel Art Step by Step?
Imagine placing tiny colored tiles precisely—start with a small canvas and enable the pixel grid. This helps you see each pixel clearly as you work.
Next, sketch your outlines using a dark color. Once the outlines are set, fill in the hues to bring your design to life.
Use pixel brushes to add details and texture. When you’re done, resize your artwork carefully to keep every pixel crisp and clear.
How to Make a 3 Point Perspective in Procreate?
To make a 3-point perspective in Procreate, place three vanishing points—two on the horizon and one above or below. Draw guidelines converging to each point, then sketch your objects using these lines for accurate depth and angles.
It might seem tricky at first, but once you get the hang of placing those vanishing points, it becomes much easier. Just take your time with the guidelines—they’re your best friends for keeping everything in perspective.
How to Make Pixel Perfect in Procreate?
You want pixel-perfect art? Just enable a 1:1 pixel grid, turn off anti-aliasing, and pick a pixel-specific brush.
Keep your canvas small and use nearest neighbor resizing—this keeps every pixel sharp and crisp just for you.
Conclusion
Now that you’ve mastered the basics of pixel art in Procreate, you’re ready to bring your creations to life—just like a retro game artist crafting an 8-bit masterpiece. Remember, every pixel counts, so take your time and enjoy the process.
With your canvas set, colors chosen, and export perfected, you’re well on your way to making pixel art that’s as timeless as the classics. Keep creating, and let your imagination pixelate the world!
Making pixel art in Procreate is all about patience and creativity. The more you practice, the better your designs will become. So keep experimenting with colors, shapes, and styles to develop your unique pixel art style.
In the end, pixel art is a fun and rewarding way to express your creativity digitally. Embrace the pixel-perfect challenge, and watch your retro-inspired artwork come to life in Procreate!