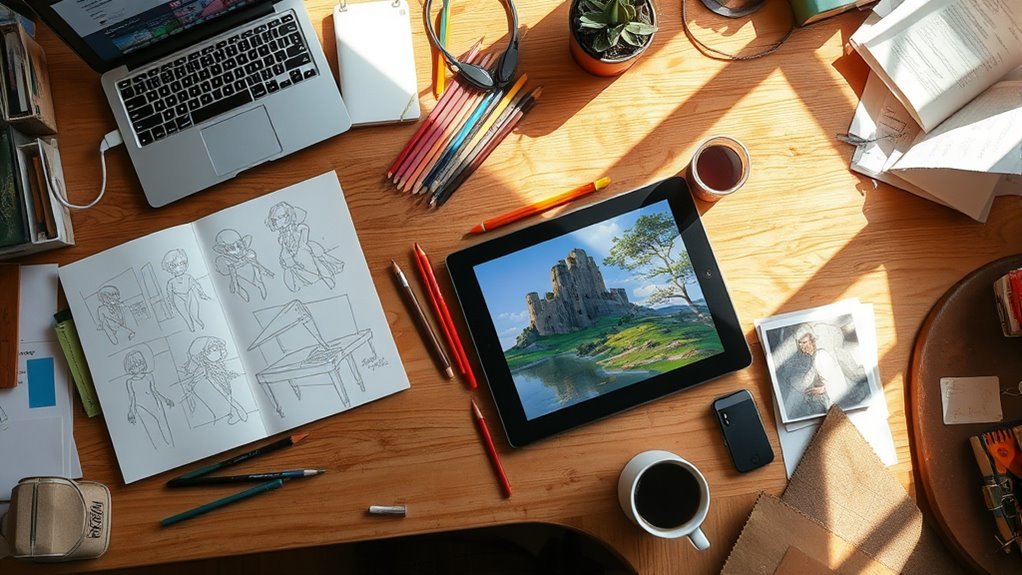
How to Make Concept Art in 5 Essential Steps
To make concept art in five essential steps, start by defining your project’s vision with a clear theme and style. This sets the foundation for your creative journey and helps keep your ideas focused. Having a strong concept early on makes the whole process smoother and more enjoyable.
Next, gather visual references to inspire your design. These references spark creativity and provide important details you might want to include. It’s like building a toolbox of ideas before you even start sketching.
Then, explore composition and shapes with quick thumbnail sketches to find strong layouts. These small sketches help you experiment without pressure and discover the best way to arrange your elements.
After that, add color, lighting, and texture to build atmosphere and depth. This step really brings your concept to life and makes it feel more immersive.
Finally, refine details to sharpen and polish your artwork. This last step is where your piece transforms from rough to refined. Keep going to reveal techniques that elevate your creative process even further.
Key Takeaways
- Define your project vision by establishing themes, style, and key traits. This will help guide your concept art direction clearly.
- Gather diverse visual references from real-world sources. These will inspire and inform your designs in meaningful ways.
- Create quick thumbnail sketches to explore composition, shapes, and perspectives. This gives you varied concept options to consider.
- Apply color, lighting, and textures thoughtfully. Doing this enhances mood, depth, and material qualities effectively.
- Refine details, sharpen lines, and perform post-processing. These final touches help elevate the artwork’s overall impact.
Define Your Project Vision for Concept Art

How do you guarantee your concept art truly reflects your project’s essence? Start by defining a clear project vision that outlines your core theme, mood, and style. This foundation steers your visual development, ensuring every design decision aligns with your intended atmosphere.
Decide if you’re focusing on characters, environments, or objects to sharpen your creative process. Use reference materials thoughtfully—they inform your vision without dictating it.
Gather images, real-world examples, or existing art that resonate with your concept’s tone. Then, distill these insights into a visual or written mood board. This tool synthesizes your ideas, helping you maintain a cohesive direction throughout development.
Don’t forget to specify key traits, functions, or narrative roles for each element you design. This clarity guarantees consistency and purpose in your concept art, making sure it supports your overall project vision effectively.
Gather Visual References to Inspire Your Design

Once you’ve defined your project vision, the next step is to gather visual references that bring your ideas to life. Start by collecting a variety of images from real-world sources like photographs, paintings, and concept art related to your design theme.
After defining your vision, collect diverse visual references to vividly bring your design ideas to life.
Focus on specific details such as architecture, textures, lighting, and color schemes to inform your choices and add depth. Use digital mood boards or organized folders to arrange these visual references, making it easier to access and compare different elements.
Don’t hesitate to draw design inspiration from historical periods, diverse cultures, or nature to create authentic and rich concepts. Keep your collection dynamic—continually update and expand your references as your project evolves.
This growing pool of inspiration will help you stay creative and focused, ensuring your concept art remains fresh and visually compelling throughout the design process.
Explore Composition and Shapes With Thumbnail Sketches
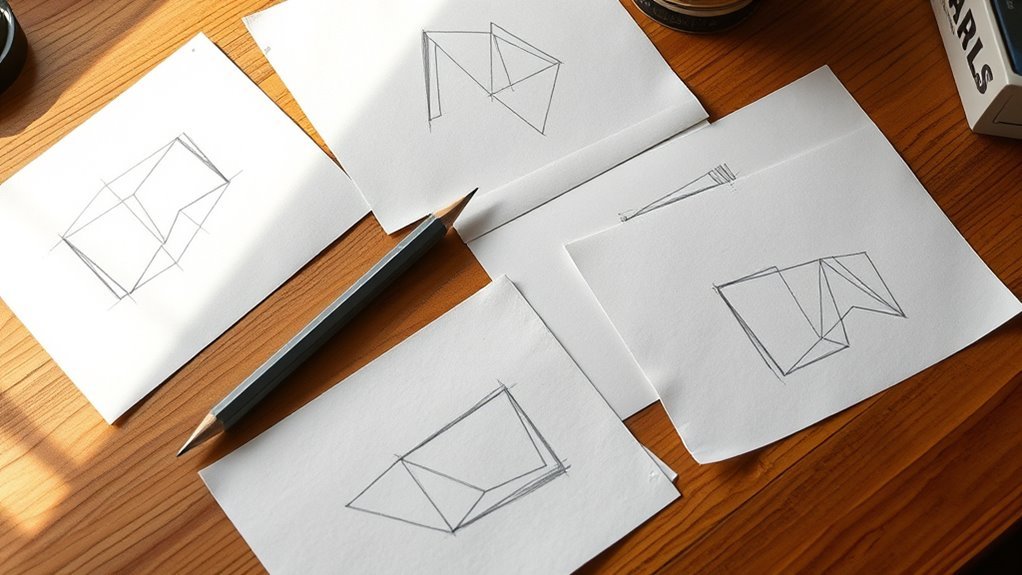
Although it might seem tempting to jump straight into detailed drawings, start by creating small, quick thumbnail sketches to explore different compositions and shapes rapidly. These sketches help you experiment with composition and guarantee your design reads clearly by focusing on strong silhouettes.
Keep your lines minimal and forms simple to test perspectives, focal points, and visual flow without getting bogged down in details. Generate 5 to 10 variations, so you can compare and pick the most compelling ideas. Use these thumbnail sketches as a foundation to refine your best concepts before moving on to more detailed art.
Here’s how to get started:
- Sketch small, simple shapes focusing on bold silhouettes to check clarity.
- Experiment with composition by rearranging elements and varying focal points.
- Create multiple thumbnails quickly to explore different visual flows and perspectives.
This method saves time and strengthens your concept’s overall impact. Give it a try—you’ll be surprised how much it helps!
Add Color, Lighting, and Texture to Your Concept Art
When you add color, lighting, and texture to your concept art, you bring your ideas to life by setting mood, emphasizing key areas, and enhancing realism. Use color thoughtfully—warm tones can inject energy, while cool tones evoke calmness.
Lighting techniques like rim, ambient, or directional light help create depth and direct the viewer’s focus, making your scene more dynamic and believable. Texture plays a crucial role in conveying material qualities; rough surfaces, smooth finishes, or reflective elements make objects tactile and immersive.
Layer effects such as overlays, glows, or haze can unify your composition and deepen atmospheric presence. Remember to apply these elements iteratively, adjusting color, lighting, and texture to guarantee clarity and emotional impact.
Refine Details and Put the Finishing Touches on Your Artwork
As you approach the final stages of your concept art, focus on refining details and applying finishing touches that elevate the overall impact. This phase is where your artwork truly comes to life through careful refinement and subtle enhancements.
Concentrate on sharpening lines, improving clarity, and balancing all visual elements to create harmony. It’s all about those little things that pull everything together.
To guide your process, consider these key steps:
- Add subtle highlights, textures, and atmospheric effects like haze or glow to unify the scene and deepen mood.
- Perform post-processing adjustments such as color grading and layer blending to polish the artwork’s appearance.
- Review your piece at full resolution, tweaking small details to ensure every element contributes to a cohesive whole.
Taking your time here really makes a difference. Small tweaks can transform a good piece into something outstanding.
Frequently Asked Questions
How to Make Concept Art for Beginners?
You start by defining your theme and gathering references. Sketch quick thumbnails to explore ideas, focusing on clear shapes.
Then, refine digitally, add color and lighting, and keep improving through feedback and iteration. Stay patient and practice.
It might seem tricky at first, but with time, you’ll get the hang of it. Just keep at it and have fun!
What Are the 5 Steps of Art?
Like a Renaissance master, you start with ideation, then sketching, refining, coloring, and final detailing.
You’ll build your concept art step-by-step, sharpening your vision and technique to create a polished, impressive piece every time.
What Is the 70/30 Rule in Art?
The 70/30 rule means you focus 70% on fundamentals like composition and anatomy, then spend 30% adding style and details. This helps you create balanced, clear, and polished artwork by prioritizing core skills first.
It’s all about getting the basics right before you dive into the fun stuff. Nail those core skills, and the rest will naturally fall into place.
What Are the 5 Methods of Creating Artwork?
Imagine five paths to creativity: you can draw traditionally, paint digitally, craft collages, mix media, or sculpt in 3D.
Each method lets you shape your vision uniquely, so plunge into it and explore what suits you best!
Conclusion
By following these five essential steps, you’ll transform your ideas into vivid concept art that speaks volumes. Think of your project vision as the seed, and each step—gathering references, sketching, adding color, and refining details—as the water and sunlight nurturing it to bloom.
Keep nurturing your creativity with patience and passion. Soon, you’ll watch your concept art flourish into a masterpiece that truly captures your unique vision.
Remember, creating concept art is all about bringing your imagination to life through careful planning and execution. With these essential steps, your artwork will grow stronger and more expressive. So, stay inspired and keep practicing—your concept art journey is just beginning!