What Does Rendering Mean in Art: A Step-by-Step Guide
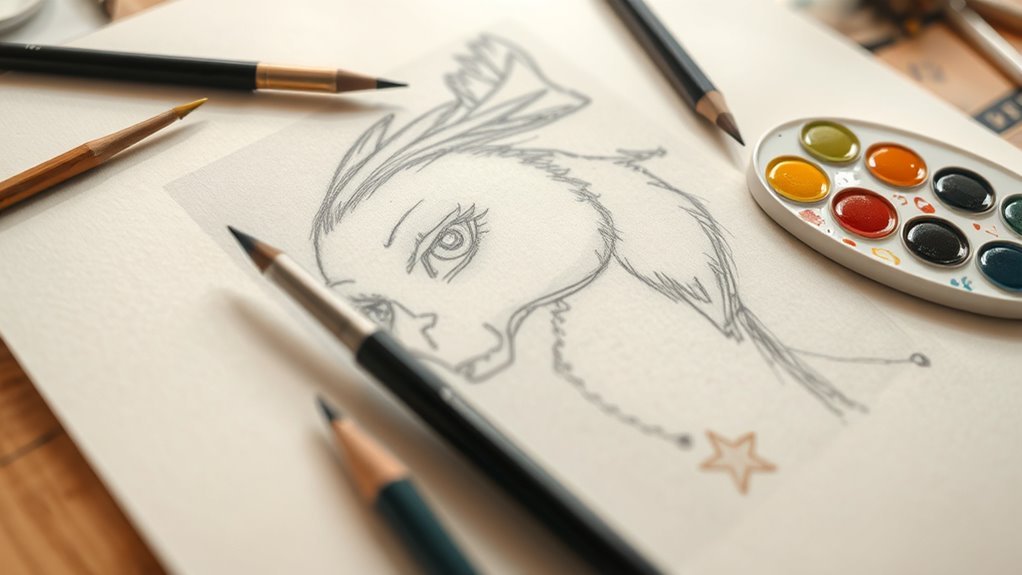
Rendering in art means transforming your basic sketches into polished, detailed pieces by adding shading, highlights, and textures. It’s all about bringing your drawings to life with depth and dimension. Think of rendering as the magic that turns simple lines into something realistic and eye-catching.
You start with a clear sketch and then apply base colors. After that, you build depth using layers of shadows and highlights that reflect your light source. This step-by-step process enhances realism, defines form, and guides the viewer’s focus.
It really makes your work look professional.
Keep exploring each stage to master rendering and bring your artwork fully to life. With practice, you’ll see how shading and texture can transform your art in amazing ways.
Key Takeaways
- Rendering transforms basic sketches into polished artwork by adding details, shading, and highlights to define form and depth. It really brings your drawing to life.
- It enhances three-dimensionality and texture, preventing the artwork from appearing flat or unfinished. You want your piece to jump off the page, right?
- Start rendering with a clear sketch, apply base colors, then build shading and depth through layering techniques. Taking it step-by-step makes the process easier.
- Adjust shadows and highlights according to light sources, blending smoothly for realistic effects. Think about where the light hits and where it falls away.
- Finalize by refining details, adding textures, subtle glows, and emphasizing focal points for a cohesive, professional look. Those little touches make all the difference.
What Rendering in Art Is and Why It’s Important
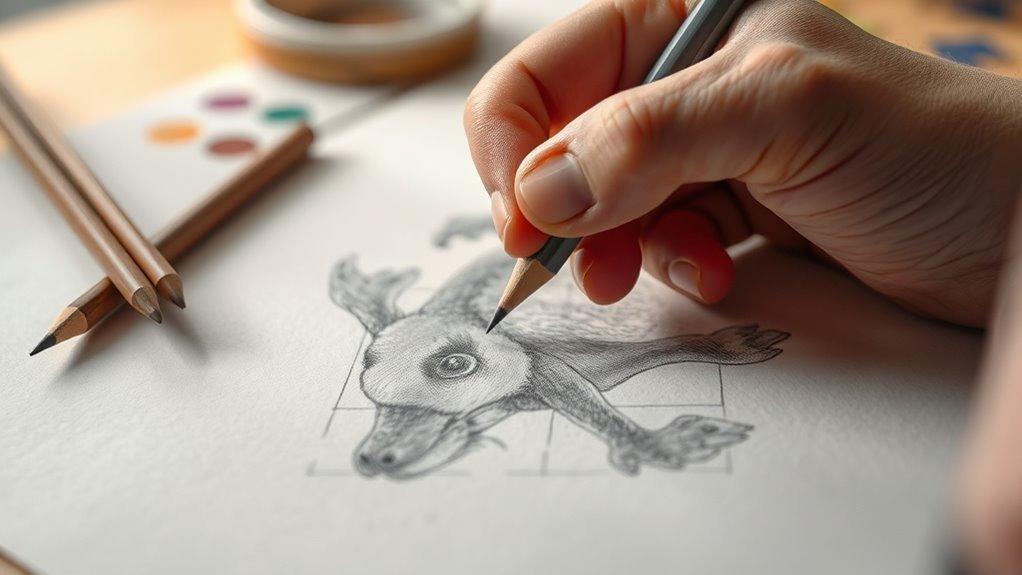
Although you might start with a simple sketch, rendering in art transforms it into a polished, finished piece by adding details, shading, and highlights. Rendering helps you define the form and depth of your subject, making the artwork feel more lifelike or stylistically complete.
By skillfully applying shading and highlights, you guide the viewer’s eye to focal points like the face or main object, enhancing the overall composition. You also use rendering to enrich textures and manipulate lighting, which sets the mood and atmosphere of your piece.
These visual effects elevate your work from a basic drawing to a professional-quality artwork that clearly communicates your artistic vision. Without rendering, your art risks appearing flat or unfinished.
Step-by-Step Rendering Techniques to Finish Your Artwork
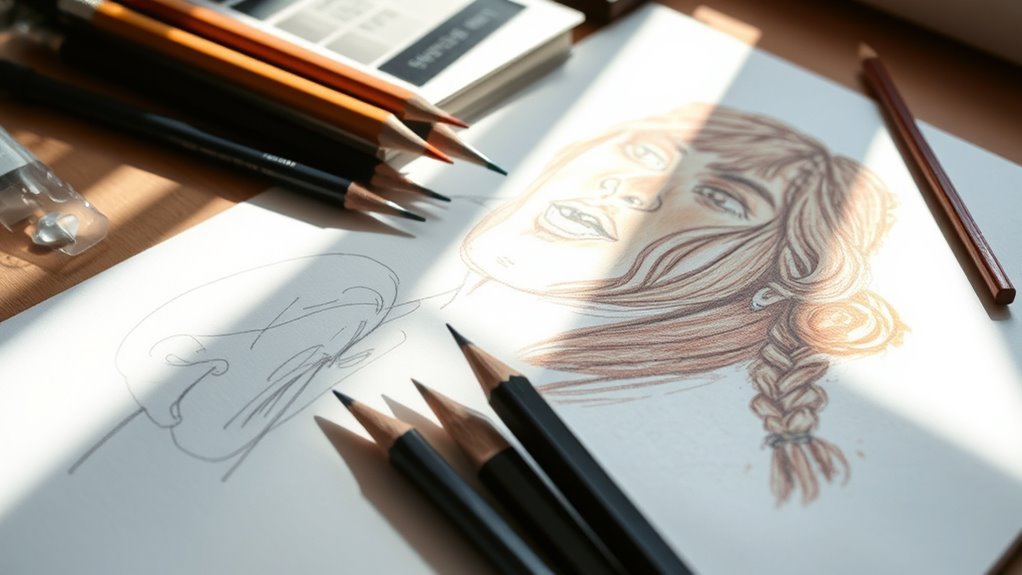
Once you have a clear sketch or thumbnail, you can start applying base colors to lay down the foundation of your artwork. Begin by blocking in the main shapes, then use layering to build up shading gradually. Pay close attention to your lighting sources to create realistic depth.
In digital illustration, this layering process helps you adjust shadows’ intensity without losing detail. Next, refine your shading by blending and adding highlights where light naturally hits. Don’t forget to erase any unnecessary sketching lines to keep your piece clean and focused.
After that, move on to detailing—introduce textures, small effects, and intricate elements that bring complexity and life to your work. Finally, add the finishing touches like sharpened highlights or subtle glows to unify the composition.
Frequently Asked Questions
How to Render Art Step by Step?
You start by sketching your composition, then block in flat colors.
Next, build shadows and highlights to add depth. This really helps bring your artwork to life.
Clean stray lines, redefine key areas, and finish with final details and effects to polish your artwork. It’s all about those little touches at the end!
What Does Rendering Mean in Art?
Rendering in art means you add details, shading, and textures to your work, turning rough sketches into polished, realistic pieces.
It helps you emphasize forms, create depth, and bring your artwork to life with clarity and style.
How to Render Step by Step?
You start with a rough sketch, then block in flat colors. Next, you add shadows and highlights.
After that, erase stray lines and sharpen details. It really helps to clean things up before moving on.
Finally, you layer textures and effects, tweaking everything until your artwork truly shines. It’s all about those finishing touches!
What Are the 5 Rendering Techniques?
You’ll use five key rendering techniques: traditional shading and glazing, digital layer blending and lighting, path or ray tracing for realism, rasterization for speed, and radiosity for soft, natural light effects in your artwork.
Each technique brings something unique to the table. Traditional shading and glazing give your work that classic touch, while digital layer blending and lighting help you experiment with colors and depth.
Path or ray tracing is perfect when you want to add a realistic feel, capturing light and shadows just right. On the other hand, rasterization speeds things up, making it great for real-time applications.
And don’t forget radiosity—it’s fantastic for creating soft, natural light effects that add warmth and life to your scenes. Together, these techniques let you craft stunning visuals in different styles and settings.
Conclusion
Now that you know what rendering in art means and how to apply it, you’re ready to bring your creations to life with depth and realism. Did you know that 85% of artists say mastering rendering considerably improves their ability to convey emotion and detail?
By practicing these step-by-step techniques, you’ll make your artwork more engaging and polished. Keep experimenting, and watch your skills—and your art—truly transform!
Rendering is a powerful tool in art that helps add texture, light, and shadow, making your pieces feel alive. The more you practice rendering, the better you’ll become at creating realistic and expressive art that captures attention and tells a story. So dive in, have fun with the process, and enjoy seeing your art grow with every stroke!