How to Make Cover Art in 3 Simple Steps
To make cover art in three simple steps, start by setting up a 3,000 x 3,000 pixel canvas with a transparent background. This keeps your design flexible and sharp, perfect for all kinds of digital platforms. Using the right canvas size and background is key to professional-looking cover art.
Next, gather high-resolution images and text. Arrange them with balance and layering to create depth and interest. Don’t be afraid to play around with placement until it feels just right.
Finally, enhance your design with thoughtful effects and polish every detail. This step makes your cover art stand out and look eye-catching. Keep going to discover tips that’ll help you perfect your cover art with ease and style.
Key Takeaways
- Start with a 3,000 x 3,000 pixel canvas at 300 DPI with a transparent background for flexibility and high quality. This size works great for most platforms and keeps things sharp.
- Gather high-resolution images and graphics, making sure they’re at least 1,000 x 1,000 pixels. That way, everything stays clear and crisp.
- Arrange your visual elements using the Rule of Thirds. Layer them with adjusted transparency to add some depth and balance to your design.
- Apply subtle effects and filters to give your cover art personality. Just be careful not to overpower the main imagery.
- Finally, add text or graphic elements. Aim for a cohesive, professional look that’s visually appealing and easy to read.
Set Up Your Cover Art Canvas
Where should you begin when creating cover art? Start by setting up your digital canvas with the right dimensions and resolution. Choose a square canvas—ideally 3,000 by 3,000 pixels—to make sure your cover art looks sharp on various platforms.
If you plan to print your design, set the resolution to at least 300 DPI to maintain clarity and detail. Using a transparent background is a smart move because it gives you flexibility when layering and editing your visual elements later.
This way, you won’t be limited by any pre-set colors or patterns. Before you delve into designing, save your initial setup with a descriptive filename so you can easily find and modify your work as needed.
Getting your canvas, resolution, background, and dimensions right from the start sets a solid foundation for creating professional-looking cover art. It’s all about making things easier for yourself down the line.
Gather and Arrange Your Visual Elements

How do you bring your cover art to life? Start by gathering high-resolution visual elements—images, text, and graphics—that fit your music or book theme. Make sure these elements meet the minimum size of 1,000 x 1,000 pixels for clarity.
Next, arrange your visual elements on the blank canvas thoughtfully. Experiment with placement to create balance, using design principles like the Rule of Thirds to guide you.
Thoughtfully place your visual elements, experimenting with balance and using the Rule of Thirds for dynamic design.
Layering plays a key role here: overlap images or add text, adjusting transparency and stacking order to build depth and cohesion. Don’t forget alignment and spacing to keep everything visually appealing and easy to read.
Keep reviewing your arrangement frequently, tweaking placement and layering until your design feels clear and focused. By carefully gathering and arranging your visual elements with balance and layering in mind, you’ll create a strong foundation for your cover art that captures attention and conveys your theme effectively.
Add Effects and Finalize Your Cover Art
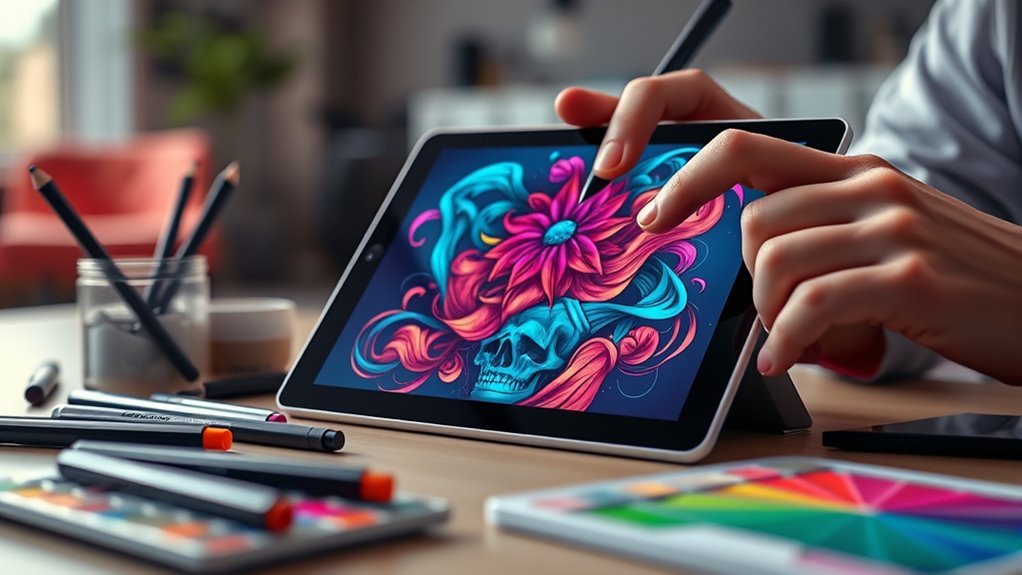
Once your visual elements are arranged just right, you can start adding effects to bring more personality and depth to your cover art. Use filters, distortions, or overlays to enhance the mood and make your design pop.
Don’t hesitate to experiment with AI tools within your software; they can create unique textures or highlight key areas. Try different effects multiple times, saving each version. This lets you compare and finalize the best look.
Add graphic elements like stickers or text effects to emphasize themes or add humor. Just make sure your effects complement the overall style without overwhelming the main imagery. This balance ensures a cohesive and polished final product.
| Effect Type | Purpose | Tips for Use |
|---|---|---|
| Filters | Enhance mood | Use subtly to avoid distraction |
| Distortions | Add dynamic texture | Apply sparingly for impact |
| Overlays | Create depth | Blend modes can soften effects |
| AI Enhancements | Generate unique elements | Focus on key areas |
| Stickers/Text | Emphasize themes or humor | Match style with overall design |
Frequently Asked Questions
How to Create a Cover Art?
You create cover art by choosing key images and text, then using design tools like Canva to arrange them on a 3000×3000 pixel canvas.
Keep it simple, match your style, and add effects for a unique look.
It’s all about making something that stands out but doesn’t get too busy. Just have fun with it and let your creativity shine!
How to Make Art for Beginners Step by Step?
Did you know 60% of beginners feel more confident after just one project? Start by choosing simple shapes, sketching lightly, then adding colors.
Practice daily, experiment freely, and don’t fear mistakes—they’re your best teachers. Keep creating!
How Do I Make My Own Cover?
You start by choosing images and text that fit your theme, then use tools like Canva to design on a 3000 x 3000 pixel canvas.
Keep it simple, experiment with effects, and save in high resolution.
It’s all about trying different things until it feels right. Don’t be afraid to play around!
How to Make a Simple Art Style?
You create a simple art style by using basic shapes, limiting details, and focusing on bold colors. Keep your composition clean, use minimal elements, and stick to a consistent style like flat design or line art for clarity and impact.
It’s all about making things easy to understand at a glance. So, don’t overcomplicate things—just keep it straightforward and fun!
Conclusion
Now that you’ve set up your canvas, gathered your visuals, and added those final effects, your cover art is ready to shine. Think of it like tuning a vintage radio—each step fine-tunes your design until it hits the perfect note.
Don’t be afraid to experiment and make it your own. With these simple steps, you’ve got everything you need to create cover art that stands out and captures attention every time.
Remember, great cover art is all about combining creativity with the right tools. By following these three simple steps, you can easily make cover art that not only looks professional but also reflects your unique style. So go ahead, dive in, and start designing cover art that truly pops and grabs the spotlight every time someone sees it!