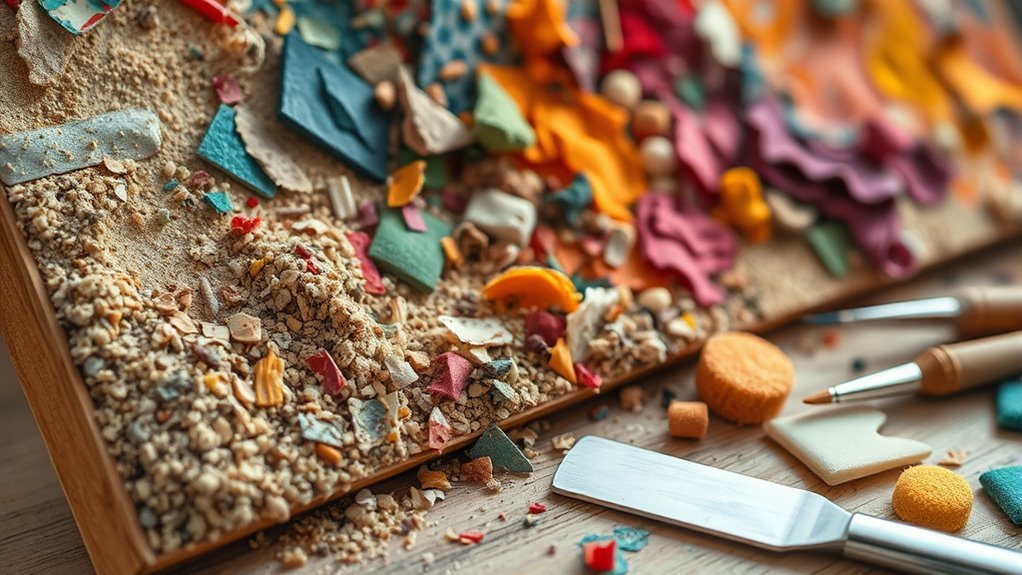
How to Make Textured Art in 7 Easy Steps
Start by prepping a stretched canvas with a smooth, sealed basecoat of white acrylic paint or primer. This creates a perfect surface for your textured art to really stand out. Using a well-prepared base helps your layers stick better and last longer.
Next, mix joint compound to a creamy consistency and spread it evenly using a palette knife or trowel. You can add texture with tools like forks or even your fingers to create unique patterns and depth. It’s all about experimenting and finding what feels right for your piece.
Make sure to let each layer dry fully before adding more colors in gradual layers. This builds rich depth and dimension in your artwork.
Finally, seal your masterpiece with a clear varnish to protect it and give you the sheen you want. Keep going, and you’ll discover how to master each step perfectly.
Key Takeaways
- Prepare a primed canvas by applying an even coat of white acrylic paint or gesso. Let it dry completely before moving on.
- Mix joint compound with water until you get a creamy consistency. Then, spread it using a trowel or palette knife to add texture.
- Use tools like forks, combs, or even your fingers to create patterns and organic shapes in the wet texture. Have fun experimenting with different tools!
- Make sure each textured layer dries fully before you add any paint layers. This helps build depth. You can play around with color layering and drying times to get cool effects.
- Finally, seal your finished textured art with multiple thin coats of clear varnish or acrylic sealant. This will protect your work and really make the colors pop.
Essential Materials for Textured Canvas Art
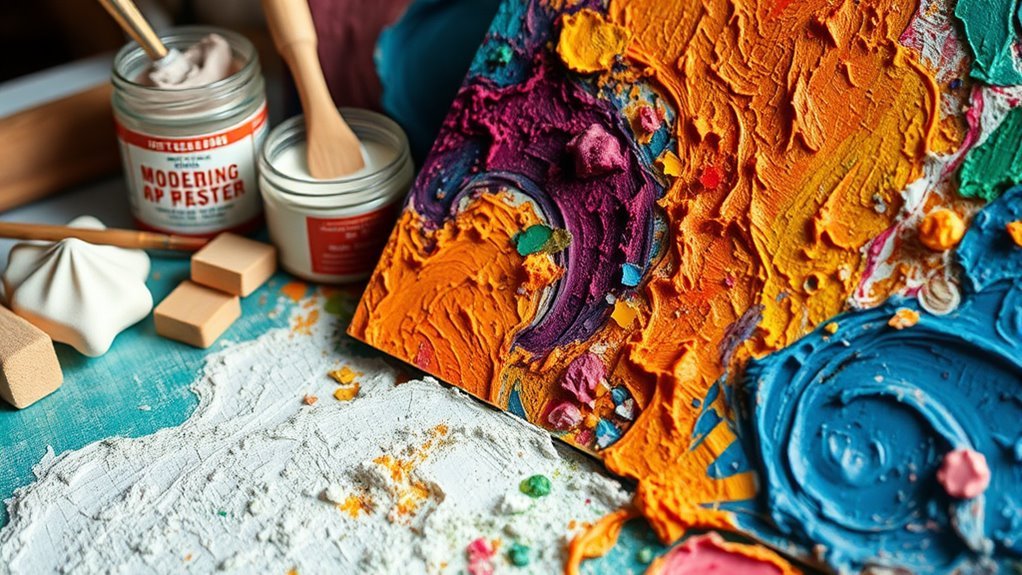
Before you begin creating textured canvas art, you’ll need to gather a few essential materials. Start with a stretched canvas—whether it’s new, thrifted, or DIY.
To prepare your canvas for texture, use white acrylic paint as a basecoat; it creates a clean, consistent surface. For building your textured surface, joint compound is your primary medium. It’s thick and easy to manipulate, perfect for adding dimension.
Start with white acrylic paint as a basecoat, then build texture using thick, easy-to-shape joint compound.
Next, collect tools to shape the texture: a notched trowel and a palette knife are especially useful. The notched trowel helps spread the joint compound evenly while adding ridges, and the palette knife allows for more detailed sculpting or layering.
You can also experiment with forks or even your fingers for unique effects. Having these materials ready guarantees you can focus on bringing your textured art to life without interruptions.
How to Prime Your Canvas for Texture
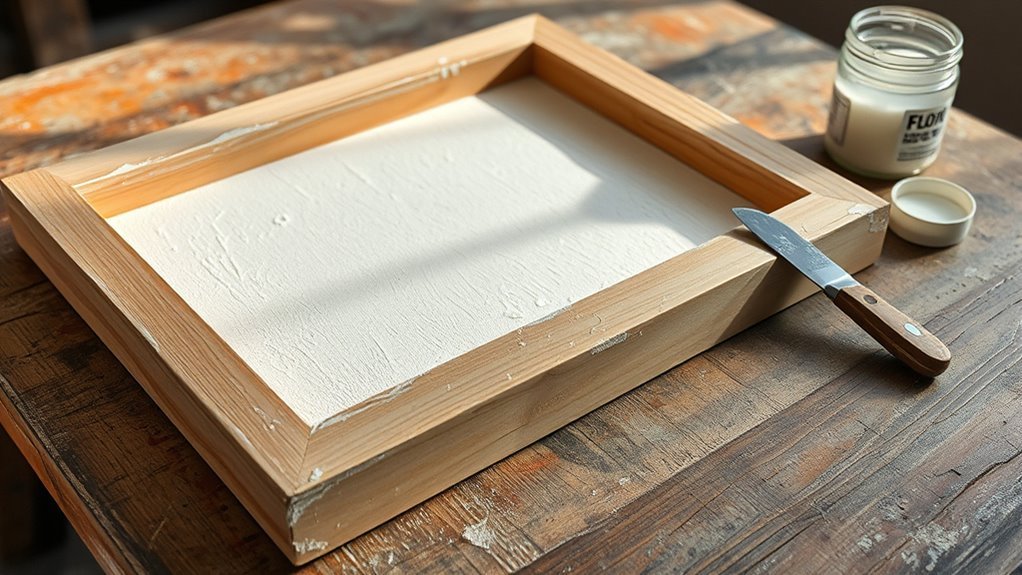
Start by choosing a solid basecoat like white acrylic paint or a pre-primed canvas to create a smooth surface. This step prevents your canvas from soaking up water from joint compound or textured mediums.
Make sure the primer is completely dry before you add any texture layers. You want to avoid any unwanted peeling or bubbling, so patience here really pays off!
Choosing A Basecoat
Why does choosing the right basecoat matter when preparing your canvas for textured art? The base coat sets the stage for your texture by providing a stable, sealed surface. Without proper priming, your canvas can absorb moisture from texture mediums, causing uneven drying or cracking.
To select the best base coat for your canvas, keep these tips in mind:
- Use a pre-primed canvas or apply an even layer of acrylic paint as your base coat.
- Choose white acrylic paint for a classic look or experiment with colors to influence your final texture.
- Make certain the base coat covers the entire canvas thoroughly to prevent texture inconsistencies.
- Allow your base coat to dry completely, usually several hours or overnight, before adding texture.
This foundation ensures your textured art stays vibrant and durable. Give it the time it needs, and you’ll see the difference in your finished piece!
Preventing Canvas Absorption
Although you can find pre-primed canvases, applying a solid base coat of acrylic paint or primer yourself guarantees your canvas won’t absorb moisture from texture materials. Priming creates a protective barrier that prevents joint compound or plaster from soaking into the canvas fibers.
This is important because soaking can cause uneven texture and weak adhesion. Whether you’re working with a new or thrifted canvas, start by cleaning the surface thoroughly, then seal it with gesso or acrylic primer.
Apply a uniform base coat to ensure consistent absorption and a smooth surface for your texture mediums. Make sure the primer or base coat dries completely before adding any texture.
This step is vital to maintain the texture’s integrity and to avoid absorption problems that could compromise your textured art. Taking these precautions really pays off in the final result!
How to Apply Joint Compound Smoothly
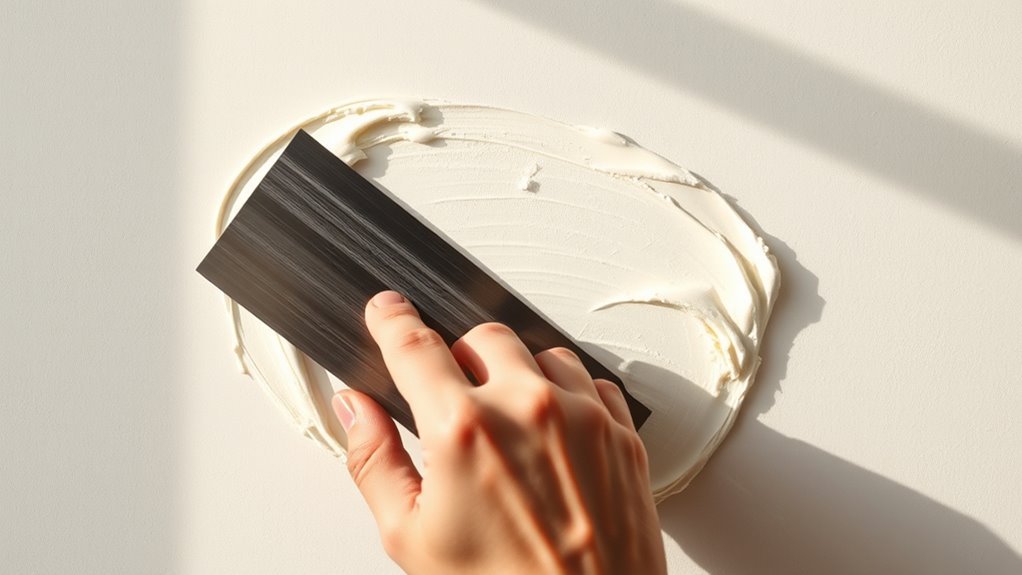
Start by mixing joint compound with water until it reaches a smooth, creamy consistency. Then, use a putty knife or trowel to spread the compound evenly across your surface.
Work quickly to feather the edges and create a seamless finish before it starts to set. It’s all about getting that nice, smooth look!
Preparing Joint Compound
When you mix joint compound with water to a smooth, creamy consistency—similar to thick frosting—you set the foundation for a flawless application. Achieving the right consistency ensures the compound will spread easily and apply smoothly without cracking or sagging.
Here’s how to prepare it properly:
- Stir the joint compound gradually, adding water until you reach a thick but spreadable texture.
- Use a putty knife or trowel to mix thoroughly, avoiding lumps for an even finish.
It’s best to work in small batches so you can keep the ideal consistency throughout your project.
– Let the compound dry completely between layers to prevent peeling or uneven surfaces.
Applying Compound Evenly
How do you guarantee a smooth, even layer of joint compound every time? Start by using a notched trowel or palette knife to spread the joint compound evenly across your surface. Work in small sections so the compound doesn’t dry before you can smooth it out.
Apply light, even pressure to avoid ridges or uneven layers. Keep the thickness consistent by maintaining control over your spreading tool.
After applying the compound, use a straight edge or level to check for flatness and fix any imperfections. Remember, patience is key—allow the joint compound to set and dry completely before sanding or adding another layer.
This method ensures your textured art has a flawless, smooth base ready for the next step.
Tools and Techniques for Creating Texture
Although creating texture might seem intimidating at first, you’ll find that using simple tools like notched trowels, palette knives, forks, and even your fingers can transform joint compound or modeling paste into rich, varied surfaces.
The key is experimenting with these tools to shape and carve your textured medium while it’s still wet. This lets you create unique lines, grooves, and patterns.
Here are some effective tools and techniques to get you started:
- Use notched trowels to apply thick, even layers that add depth and dimension.
- Employ palette knives to spread and manipulate the joint compound, adjusting pressure and angles for diverse effects.
- Try forks or combs for repetitive patterns or fine grooves that add intricate detail.
- Don’t hesitate to use your fingers for organic shaping and blending textures intuitively.
Mastering these techniques will help you create dynamic, textured art that captures attention and invites touch.
How Long to Let Your Textured Layer Dry
Since drying time varies based on factors like thickness and humidity, you’ll want to give your textured layer plenty of time to set before moving on. Typically, you should let the joint compound dry overnight, which is about 24 hours, especially if you’re working in a humid environment.
Thicker or heavily textured pieces might need up to a week to fully dry and cure. To speed up drying time, guarantee good ventilation but avoid rushing, as that can cause cracking or warping.
Before handling or applying any additional layers, gently test a small area of the texture to make sure it feels firm and matte with no tackiness. Proper curing is essential to maintain the integrity of your artwork and prepare it for the next steps.
Taking the time to let your textured layer dry thoroughly ensures the best results and durability for your textured art. It’s worth the wait!
Adding Color to Your Textured Art
Where should you begin when adding color to your textured art? Start by applying thin layers of acrylic paint over your textured surface. Let each layer dry completely before moving on. This helps build depth without obscuring the texture.
To enhance your work, try these tips:
- Use a flat brush or sponge to blend or stipple paint gently. This creates subtle variations in color and adds interest.
- Incorporate metallic acrylic paints for a shimmering effect. These highlights look great on raised areas.
- Mix glazing mediums with your paint to add translucent layers. This emphasizes the dimensionality of your piece.
- Experiment with layering colors, like blue over green or gold over bronze. It helps develop rich, multi-tonal finishes.
How to Seal and Finish Your Textured Artwork
Once your textured layers are completely dry, you’ll want to protect your artwork by applying a clear sealant. Choose either a spray varnish or liquid acrylic to create a strong protective barrier over your piece.
Apply multiple thin coats rather than one heavy layer, allowing each coat to dry thoroughly before adding the next. This approach guarantees durability and an even finish without disturbing the texture.
Pick a matte, satin, or gloss finish depending on the look you’re going for. Matte offers a subtle, natural feel, satin gives a soft sheen, and gloss provides a vibrant, shiny surface that can even laminate your textures for extra depth.
Sealing not only safeguards your art from dust and damage but also enhances the colors and textures, making your work pop. Once sealed, your textured artwork is ready to display or frame, with improved longevity and a professional finish you’ll be proud to showcase.
Frequently Asked Questions
How to Make Textured Art for Beginners Step by Step?
Start by priming your canvas with white paint. Spread joint compound evenly, then create texture using palette knives or brushes.
Let it dry completely, seal the surface, and add colors or metallics for a unique finish. This way, your textured art will really stand out!
What Is Texture in the 7 Elements of Art?
Did you know 90% of people connect emotionally through touch?
Texture in the 7 elements of art is the surface quality you can see or feel. It adds depth and interest that makes your artwork truly come alive.
What Are Some Ideas for Texture Art for Beginners?
You can start by using sponges or forks to create patterns, applying joint compound with a palette knife, mixing sand into paint, or layering colors with a dry brush.
Experiment with different tools to find your favorite textures.
Give it a try and see what cool effects you can come up with!
What Is the Mixture for Textured Art?
Think of your mixture as a recipe: blend joint compound or modeling paste with water and paint until it flows like thick honey.
Add heavy gel or crackle paste to spice up your textured masterpiece with depth and character. It’s all about getting that perfect flow and feel.
Conclusion
Now that you’ve crafted your textured masterpiece, think of it as your own Mount Rushmore—each ridge and valley telling a story only you could carve. With your tools and colors, you’ve transformed a blank canvas into a tactile journey.
Just like a sculptor seals their legacy in stone, securing your art ensures it stands the test of time. So, step back, admire your creation, and let your textured art speak volumes without saying a word.
Creating textured art is all about bringing your vision to life with depth and dimension. By following these easy steps, you’ve learned how to add unique texture and character to your work. Now, your piece isn’t just something to look at—it’s something to feel, experience, and cherish. Keep experimenting with different materials and techniques to make your textured art truly one-of-a-kind.